These are instructions on how to help a customer export their customer list from Fabshop and import them into the duct 4 program.
Exporting from Fabshop
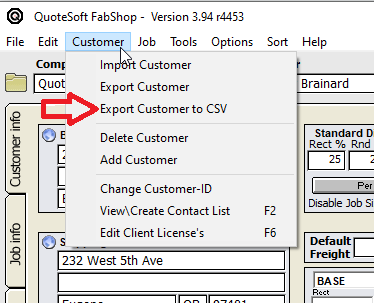
In Fabshop, go to the Customer Info page
Under ‘Customer’ select ‘Export Customer to CSV’.
Save the file to a location which is easy to find (such as desktop).
Exporting from Duct
In Duct 4, go to Job File and select ‘Export Folders’.

Save the file to a location which is easy to find (such as desktop).
Merging customers from Fabshop to Duct 4 exported list
Open the Fabshop .csv file you exported earlier.
Open the Duct Folder List you exported earlier.
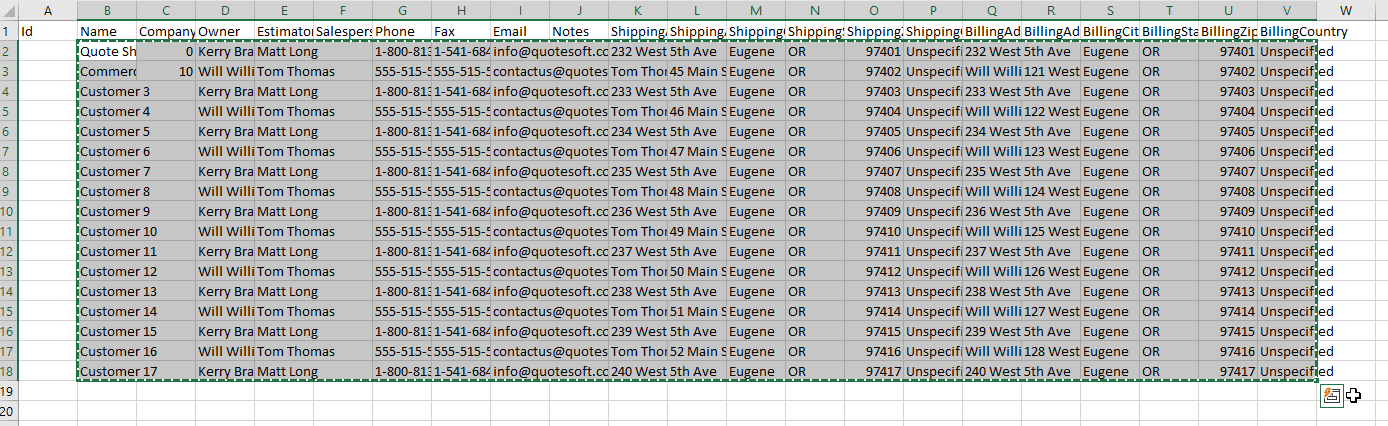
On the Fabshop .csv file, select the name column, being careful to not select the header bar OR the ID column. Example:
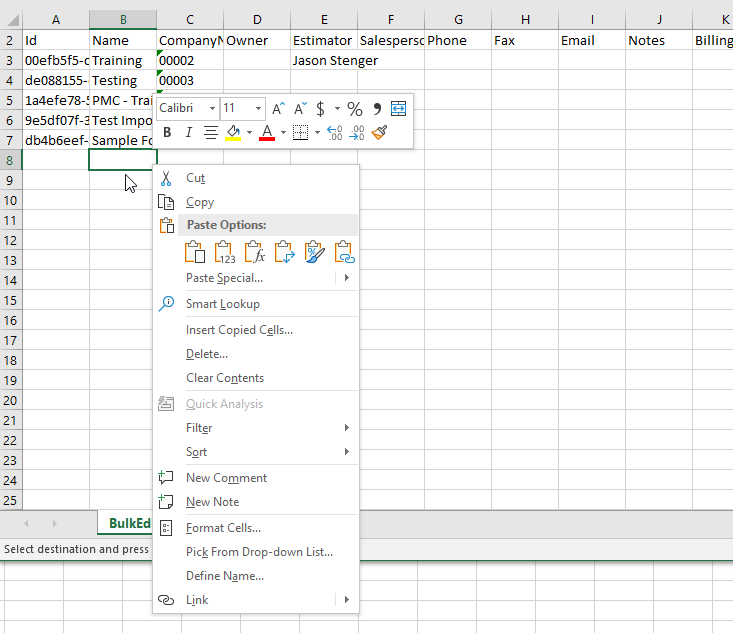
Paste these into the the Duct Folder List. Be sure to paste to the right of the ID column and below the last entry on the file. Example:
| Warning |
|---|
DO NOT OVERWRITE EXISTING ENTRIES!!! |
5. After pasting it should similar to this:
...
| Warning |
|---|
NOTE: There should be NO entries in the ID column! This will be auto generated by the Duct 4 program upon reimport. |
6. Next we need to remove the CompanyNum values (this will be auto assigned by the Duct 4 program on import). Best to use “Clear Content”
...
| Warning |
|---|
NOTE: There should be NO entries in the CompanyNum column! This will be auto generated by the Duct 4 program upon reimport. |
7. Next we verify all columns are lined up properly:
...
If not, align them properly before importing.
| Note |
|---|
NOTE: The columns MAY not match up 100%. Be careful they end up in the correct column or the data will be imported wrong! |
8. Once all rows are aligned, save the duct export file (recommend saving as a different name as to not overwrite the original).
Importing updated Customer List into Duct 4
Go back to Job File in the Duct program.
Select ‘Import Folders’:

and select the file you just saved.
You should have a window appear that looks similar to this:

Notice the existing records give the option to ‘Update’.
You can deselect any entries you do not want to import:

Then select ‘Import/Update Included Records’:

All done! Verify all customers came in correctly:

All done!