...
1 | Configure the set-up you want to save by applying all the necessary filters, selecting layout and status, and arranging your table columns according to your preferences (not applicable for Calendar View). List View 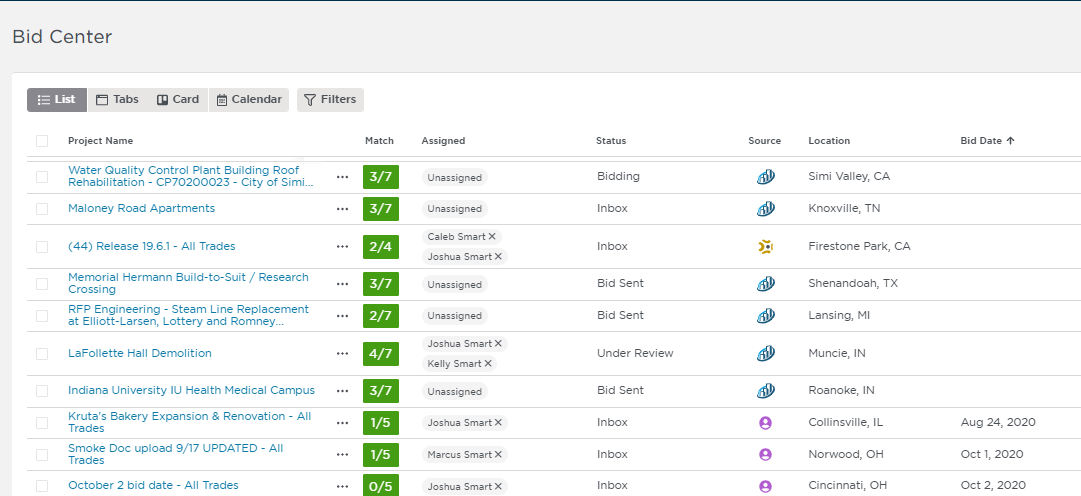 Tab View 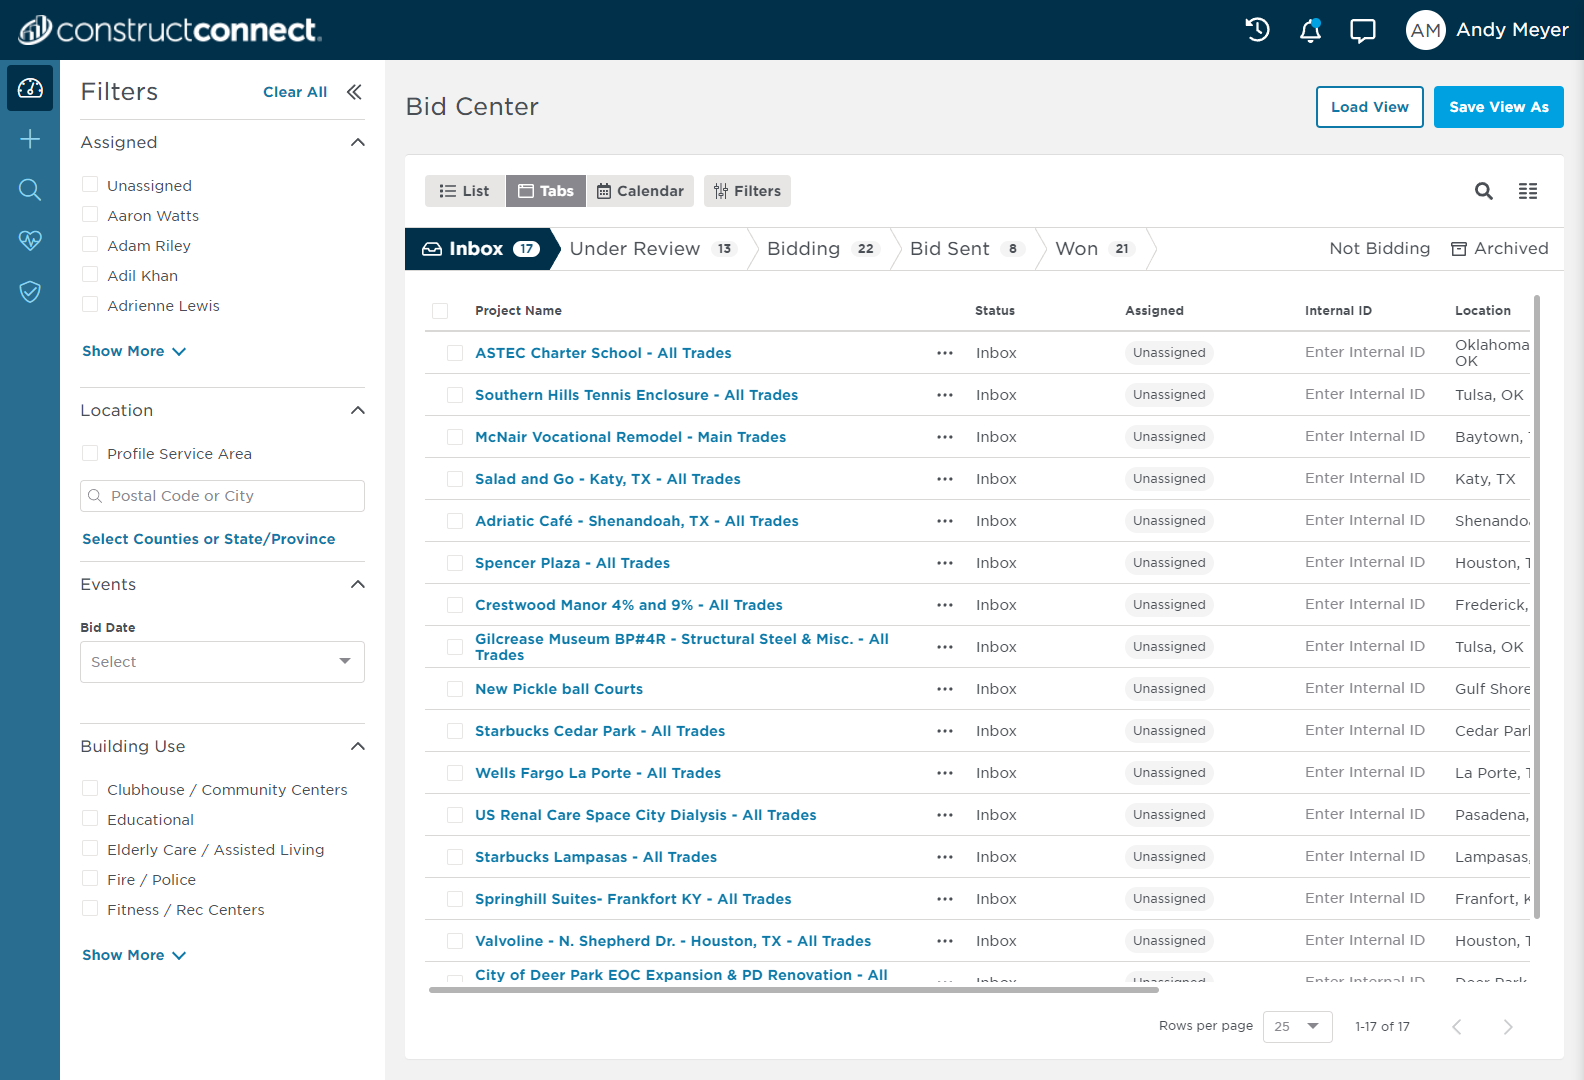 Calendar View 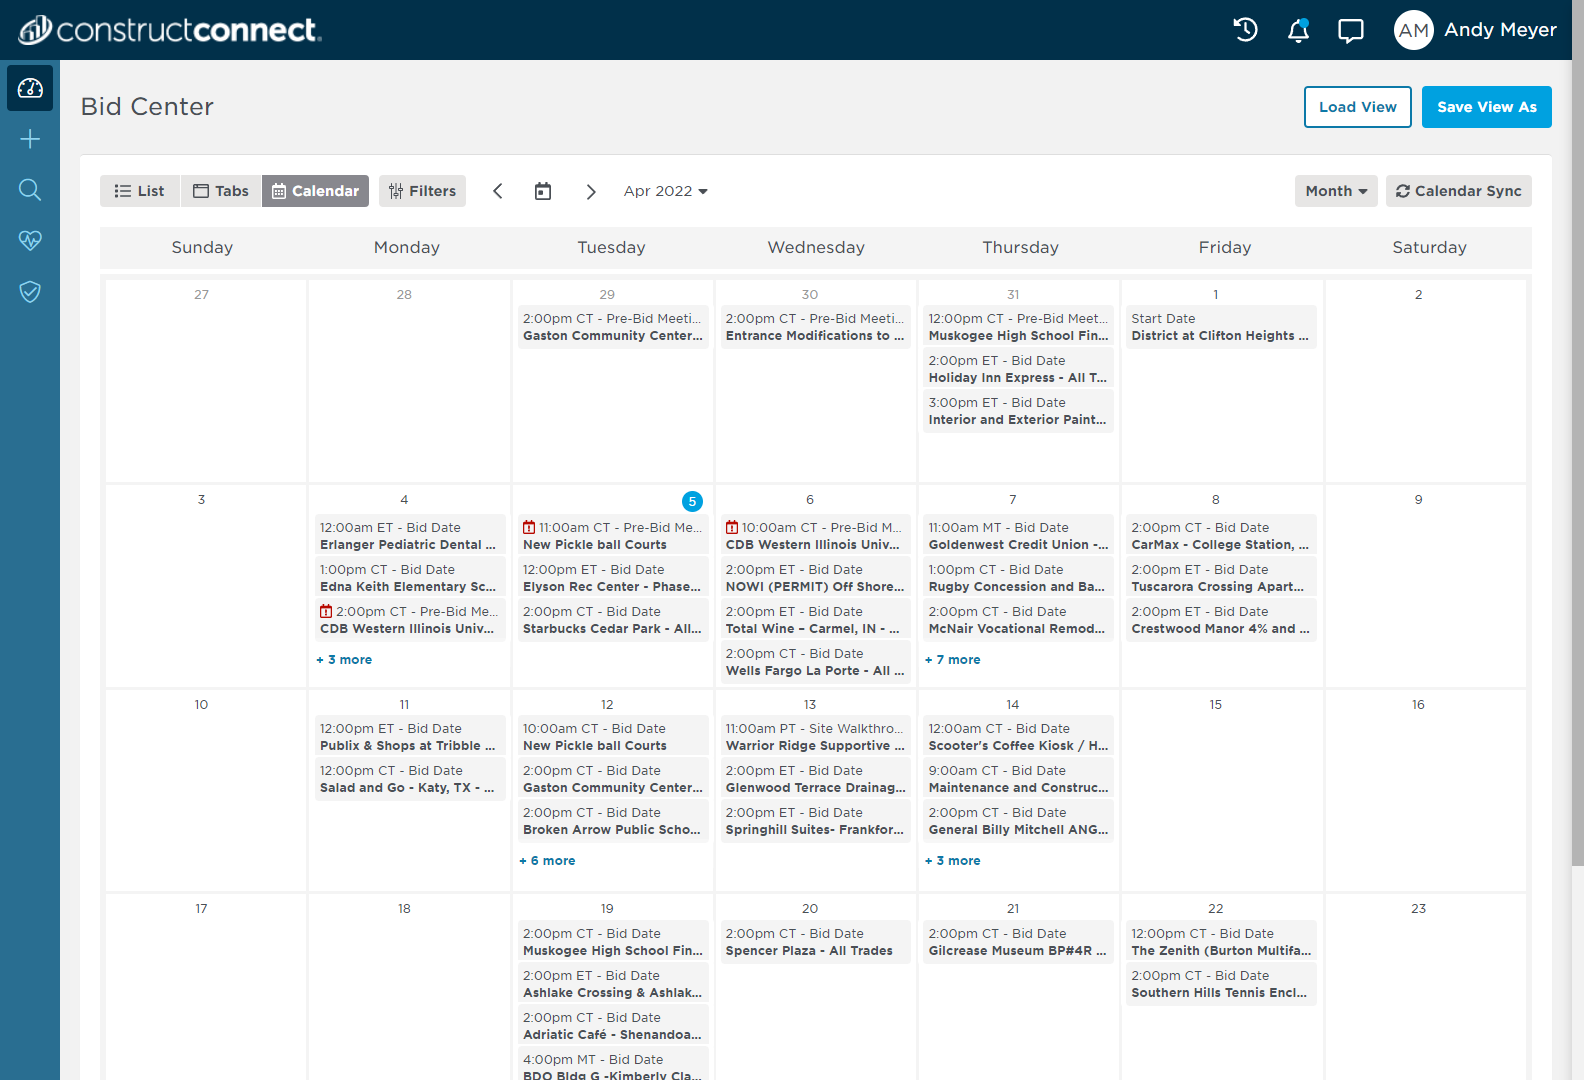 |
2 | Next, click the Save View As button in the top right corner of your screen.   |
3 | Enter a name for your saved view in the Save View As pop-up window (shown below). Click Save when finished. 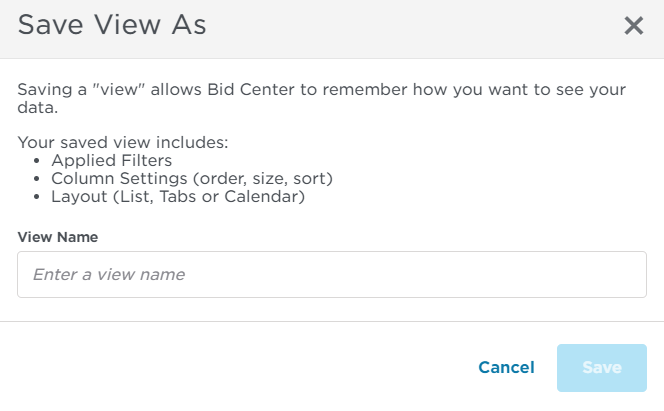 |
4 | Your saved view will now be available for quick loading the next time you need it. |
...
1 | Click the Load View button in the top right corner of your screen. List or Tab View  Calendar View 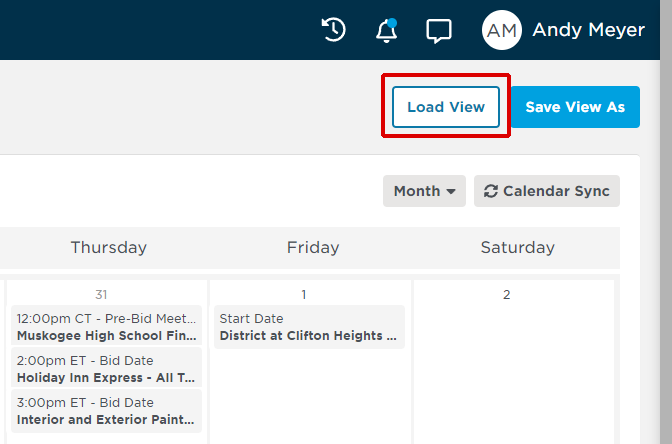 |
2 | Click on the view you want to load. 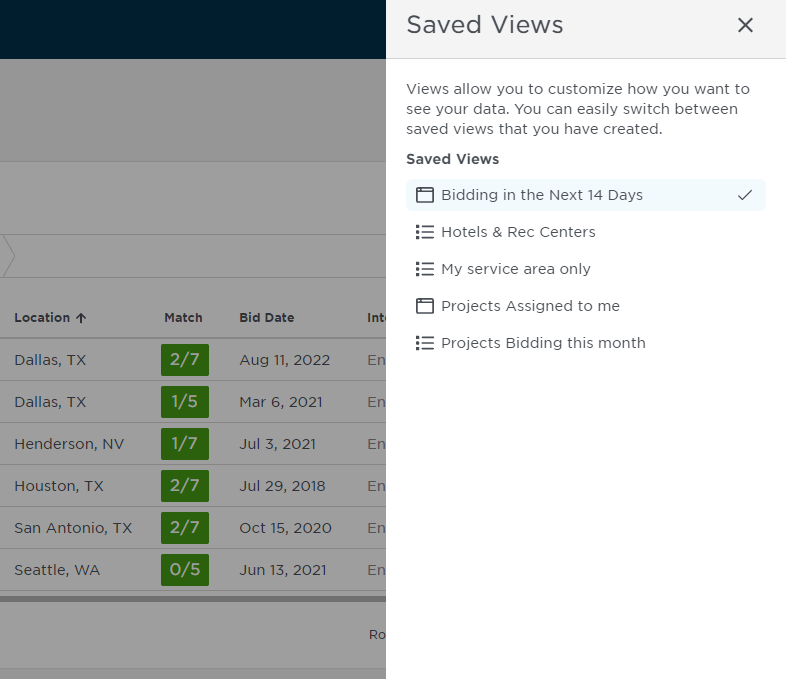 |
3 | After your current view is loaded, select new filters in the menu shown below.  |
4 | Next, click the Save View As button in the top right corner of your screen.  |
5 | Enter a name for your saved view in the Save Filter As pop-up window (shown below). Click Save when finished. |