...
1 | Configure the set-up you want to save by applying all the necessary filters, selecting layout and status, and arranging your table columns according to your preferences (not applicable for Calendar View). List View 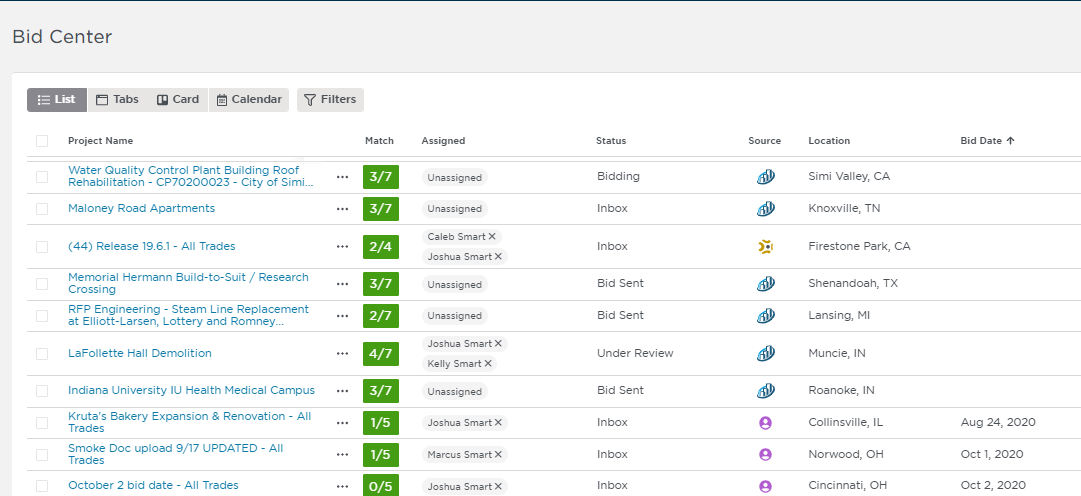 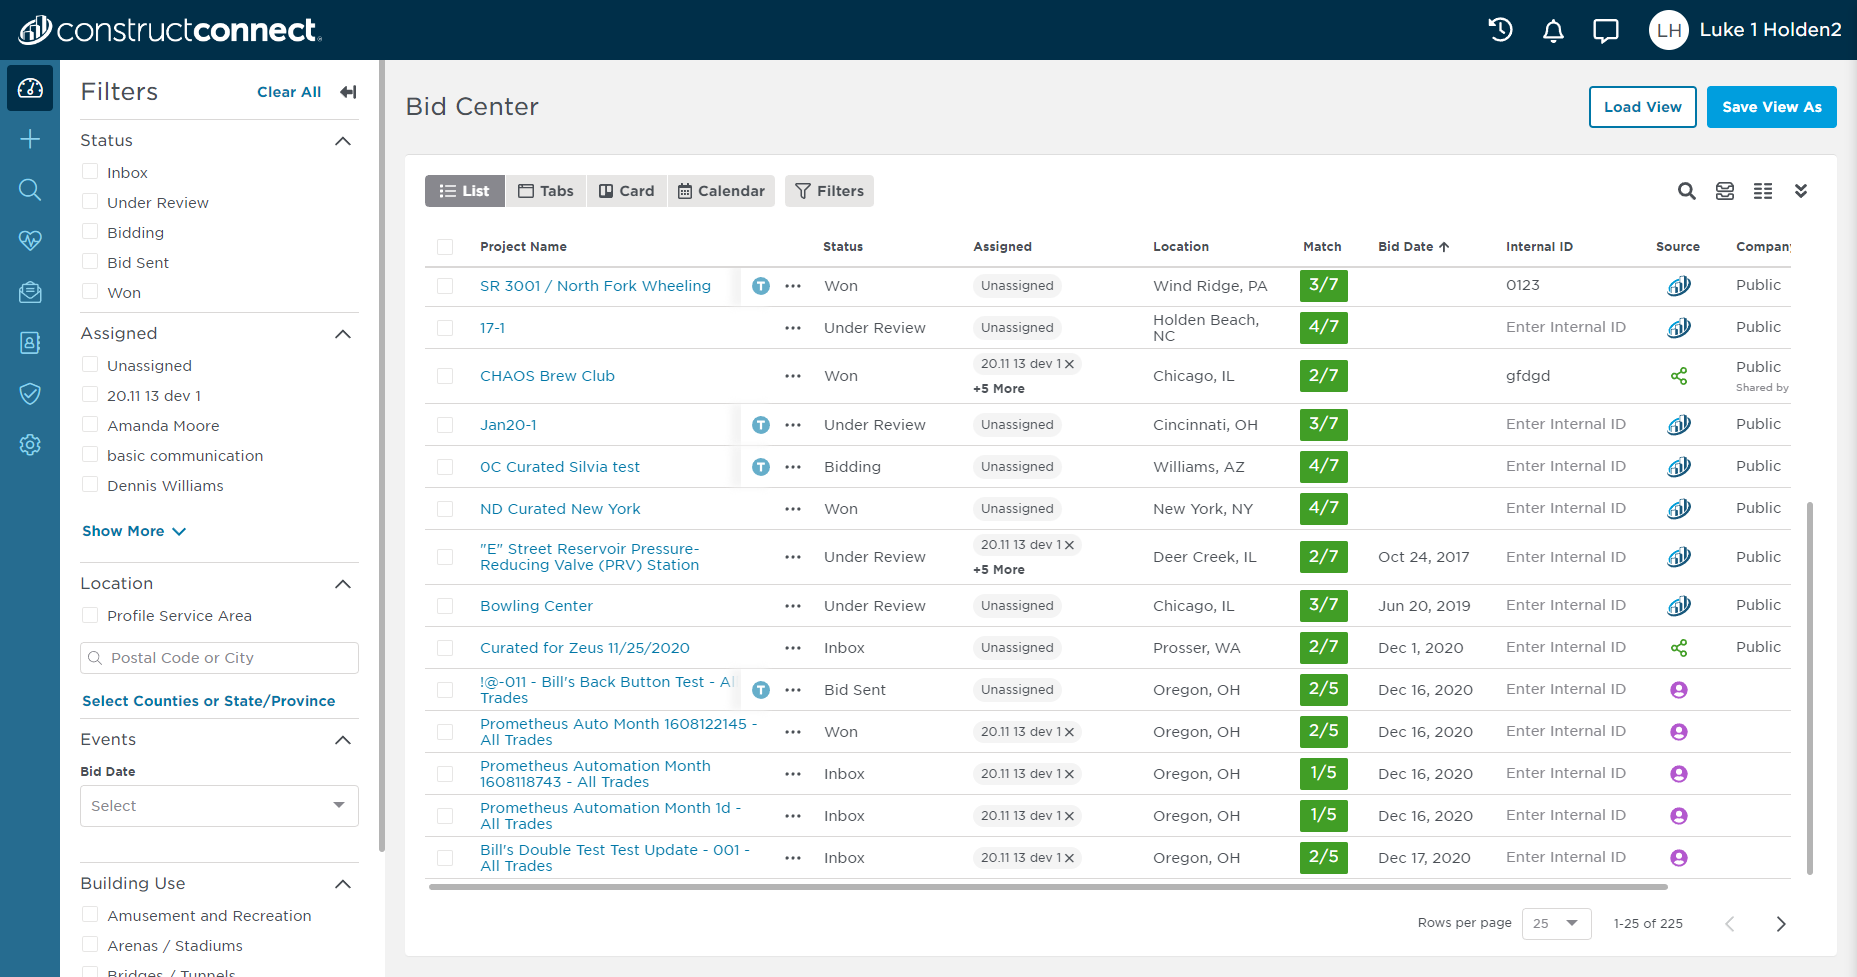 Tab View 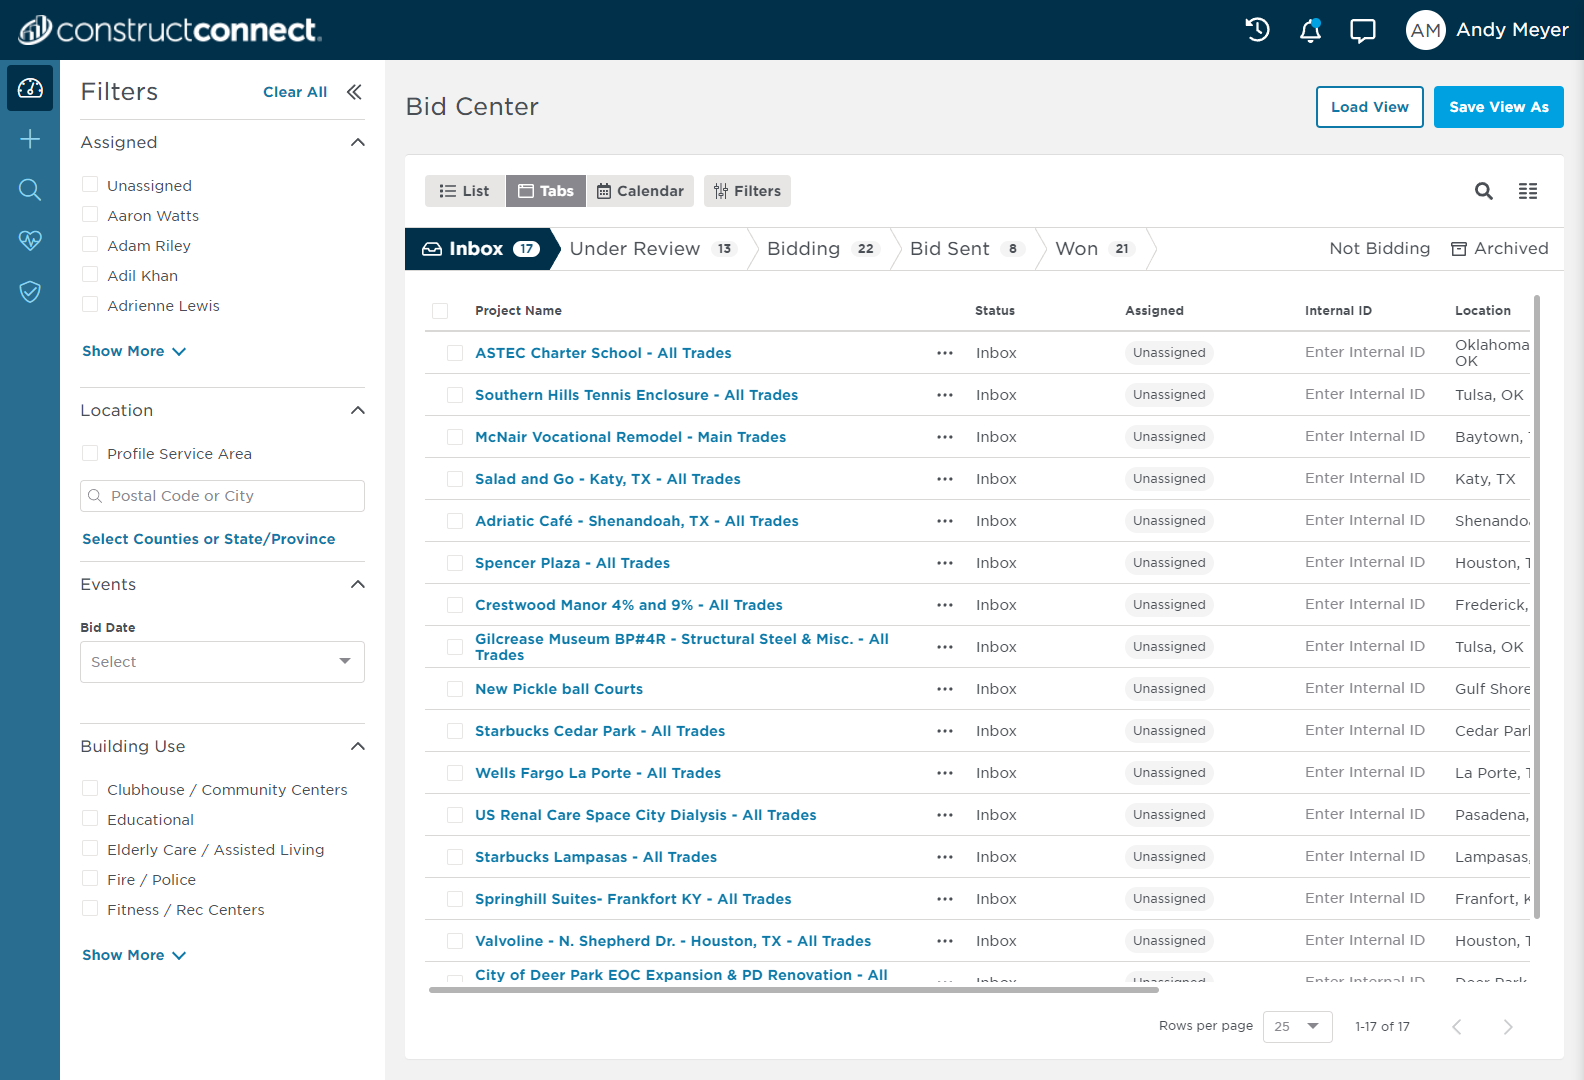  Calendar View 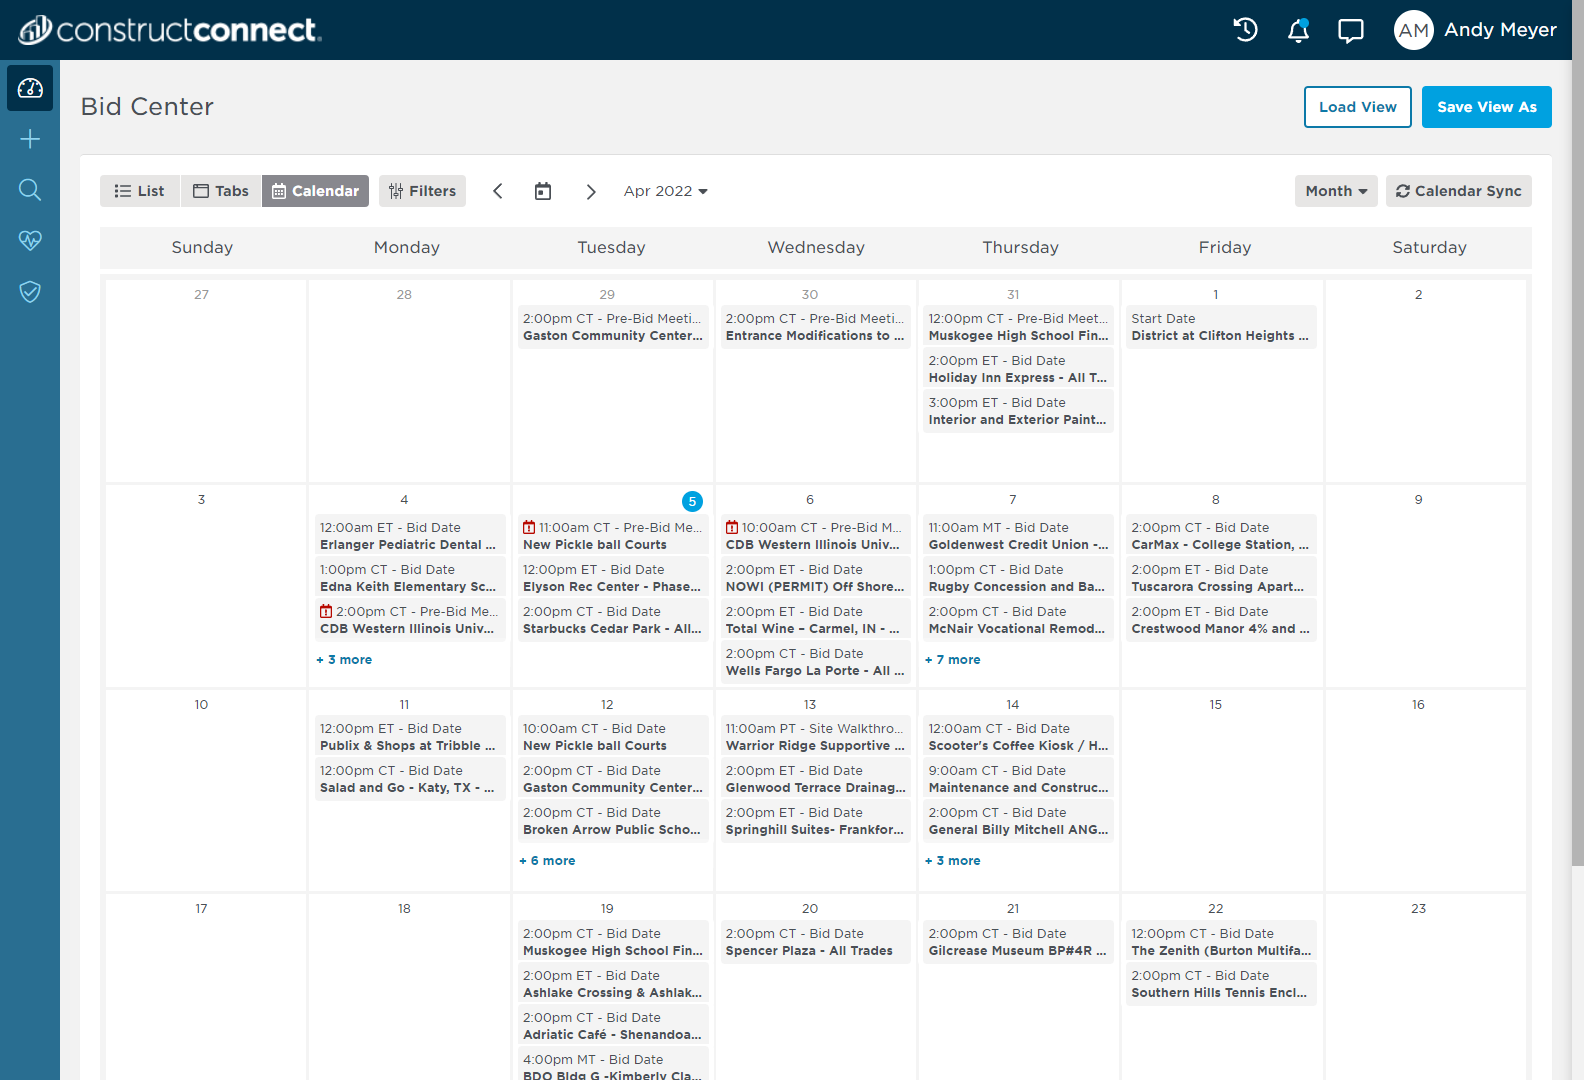 |
2 | Next, click the Save View As button in the top right corner of your screen.   |
3 | Enter a name for your saved view in the Save View As pop-up window (shown below). Click Save when finished. 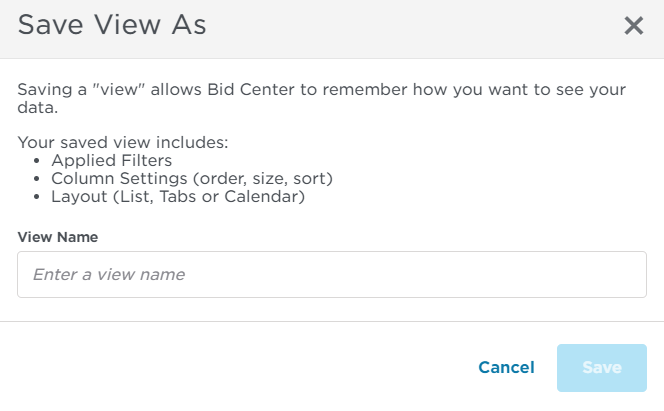  |
4 | Your saved view will now be available for quick loading the next time you need it. |
...
1 | Click the Load View button in the top right corner of your screen. List or Tab View  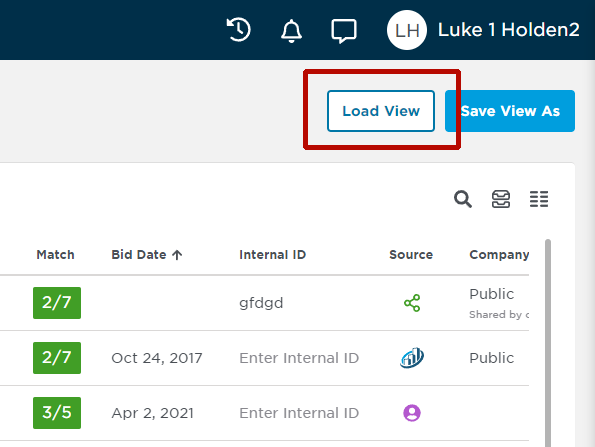
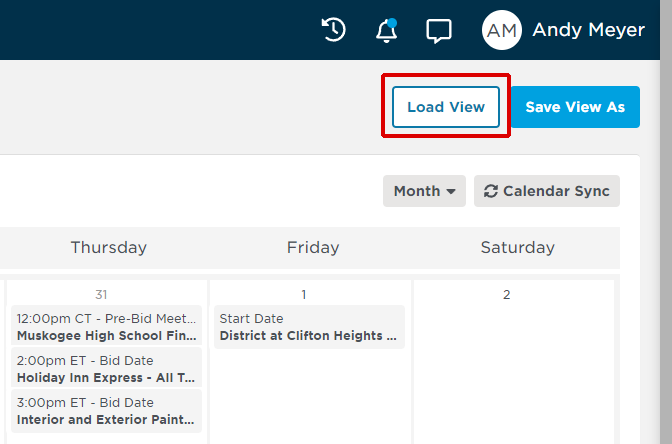  |
2 | Click on the view you want to load. 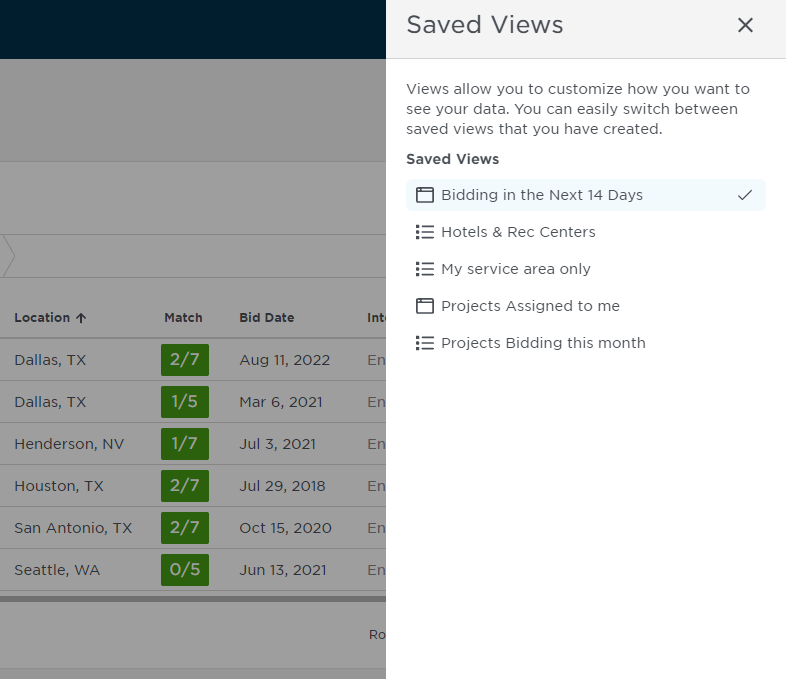  |
3 | After your preferred view is loaded, you can see its name in the top left corner next to Bid Center. 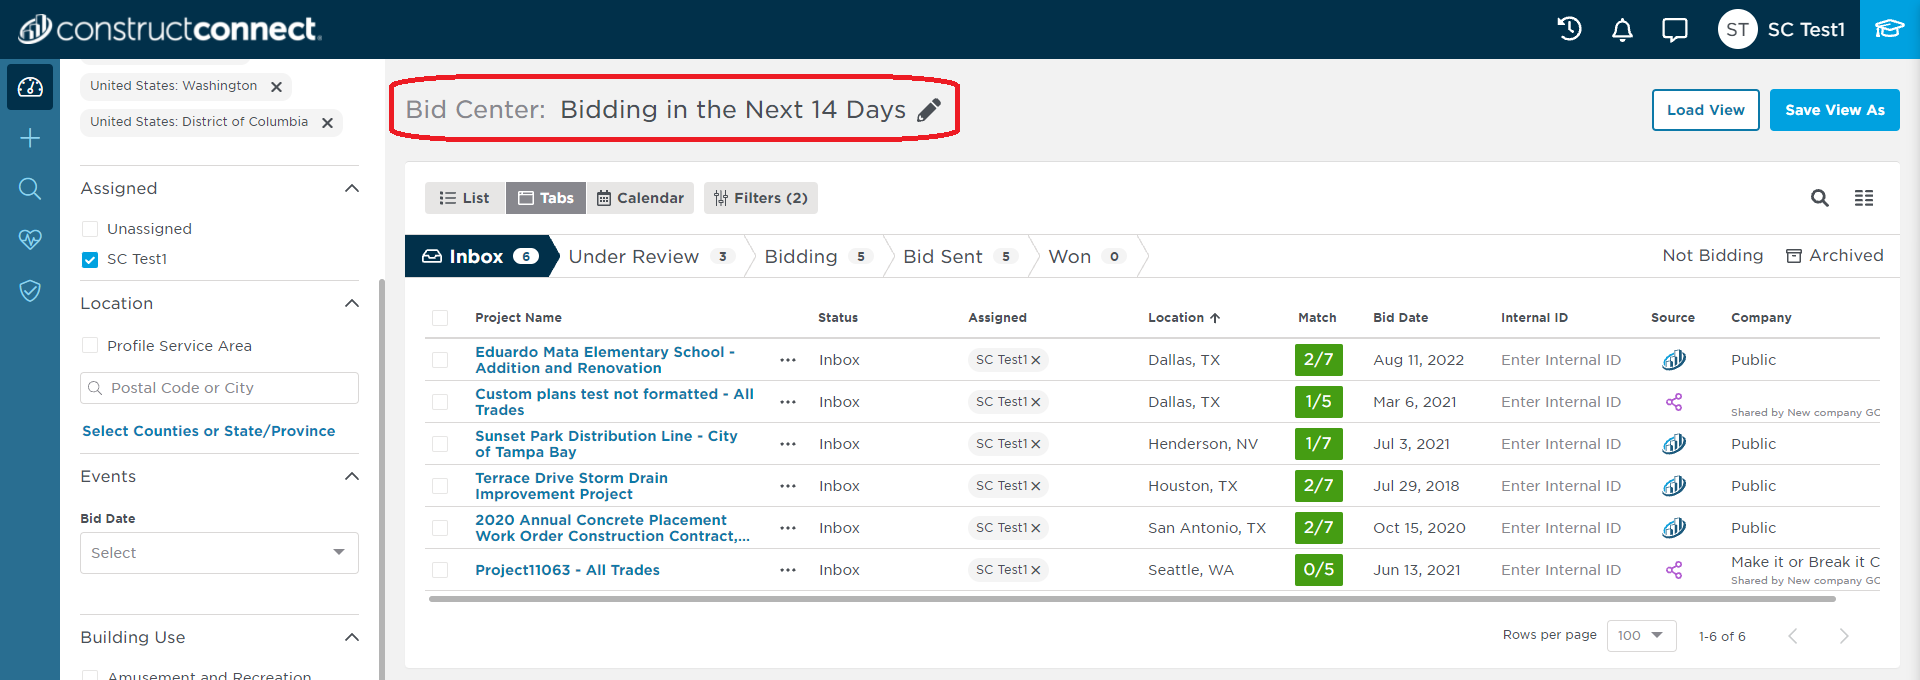 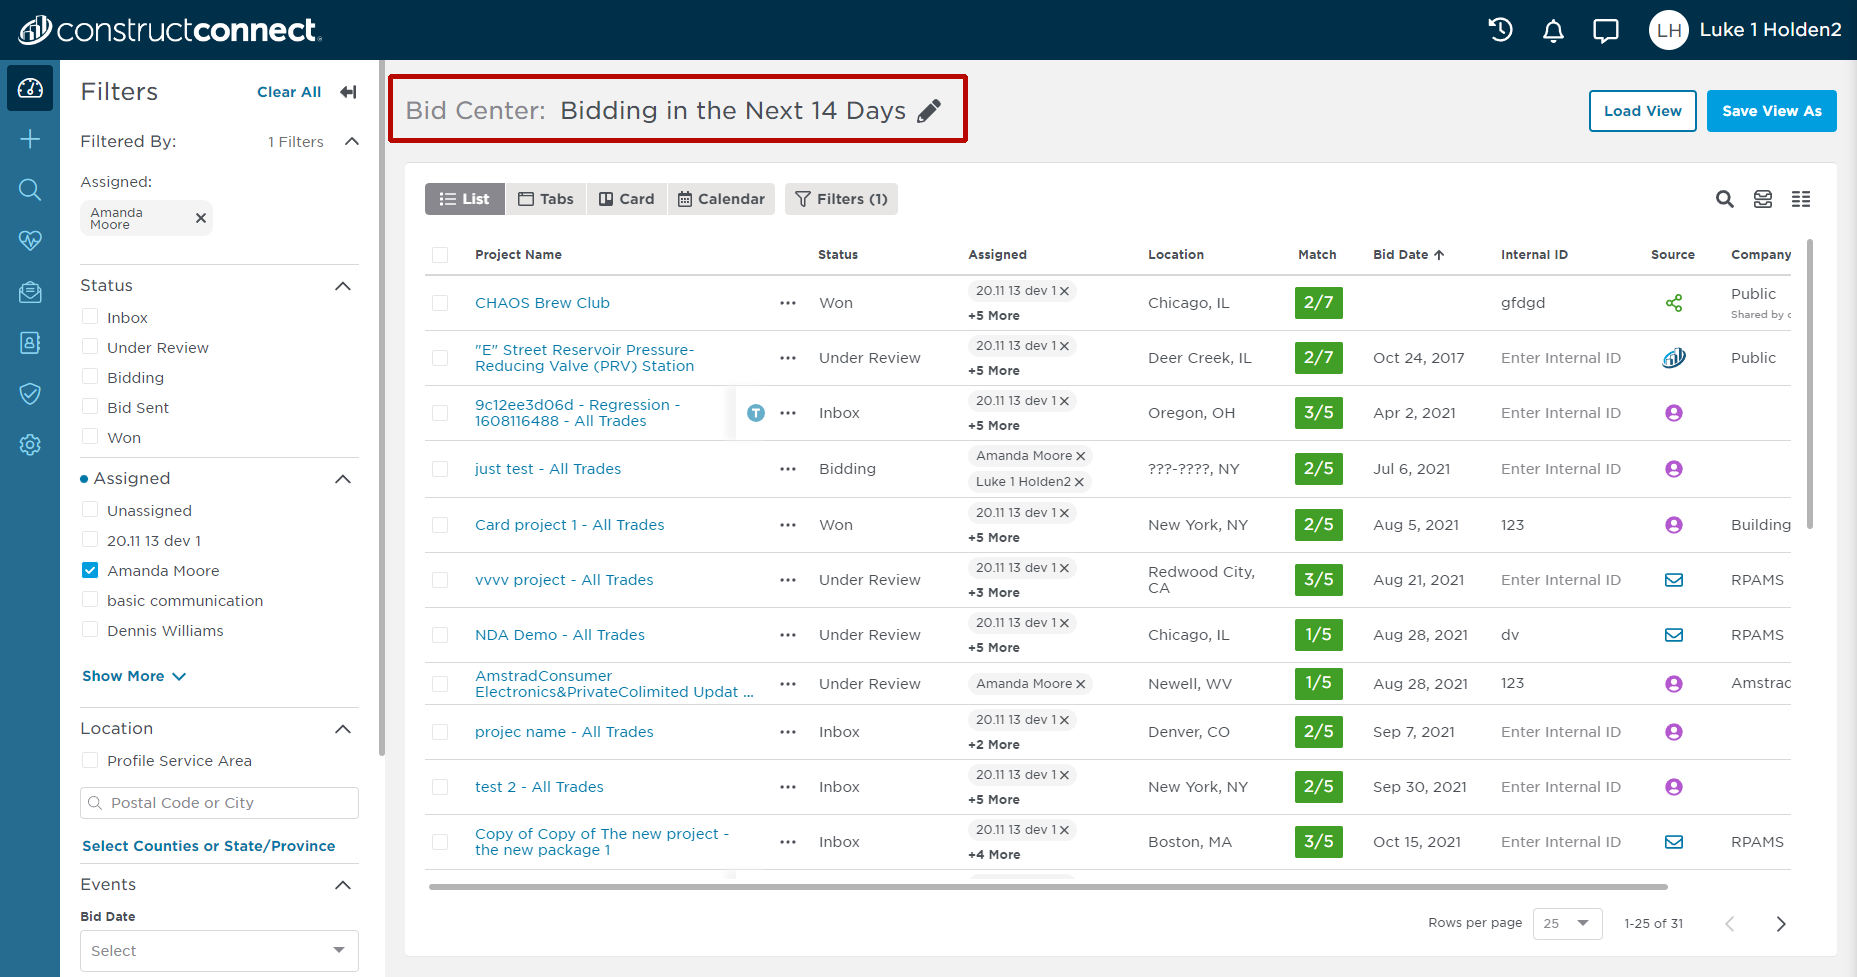 |
...
Change the Name of an Existing View
1 | Click the Load View button in the top right corner of your screen. List or Tab View Calendar View |
2 | Click on the view you want to load. |
3 | After your preferred view is loaded, click on the pencil icon next to the name of your saved view. Type in a new name for your saved view and hit enter. The system will automatically update with the new name for your search.  |
...
Create and Save a New View
1 | Click the Load View button in the top right corner of your screen. List or Tab View Calendar View |
2 | Click on the view you want to load. |
3 | After your current view is loaded, select new filters in the menu shown below.   |
4 | Next, click the Save View As button in the top right corner of your screen.  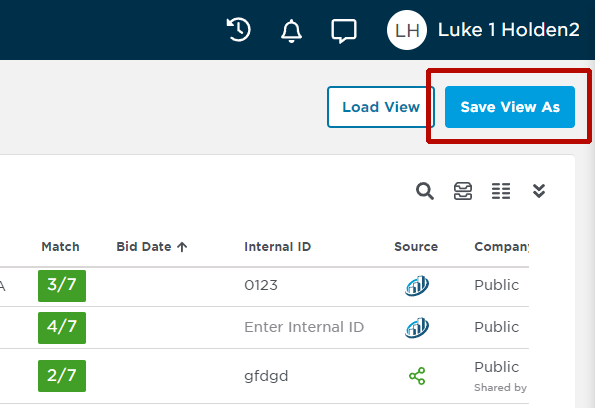 |
5 | Enter a name for your saved view in the Save Filter As pop-up window (shown below). Click Save when finished. |
...
Viewing, Exporting or Changing the Status of No Bid or Archived Projects
1 | To access your no bid or archived inactive (Not Bidding, Archived) projects, in the top-level Bid Center menu, click on the highlighted menu (as icon shown below). List or Tab View  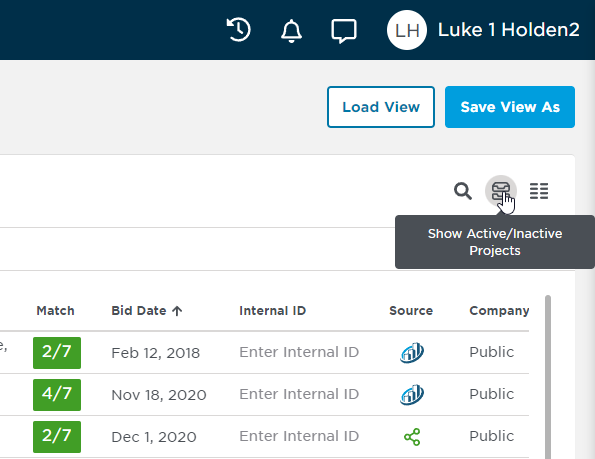 |
2 | A drop-down menu will appear, enabling you to choose from active or inactive (Not Bidding, Archived) projects. List or Tab View 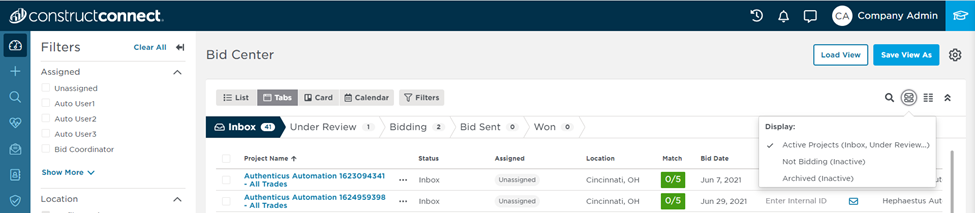 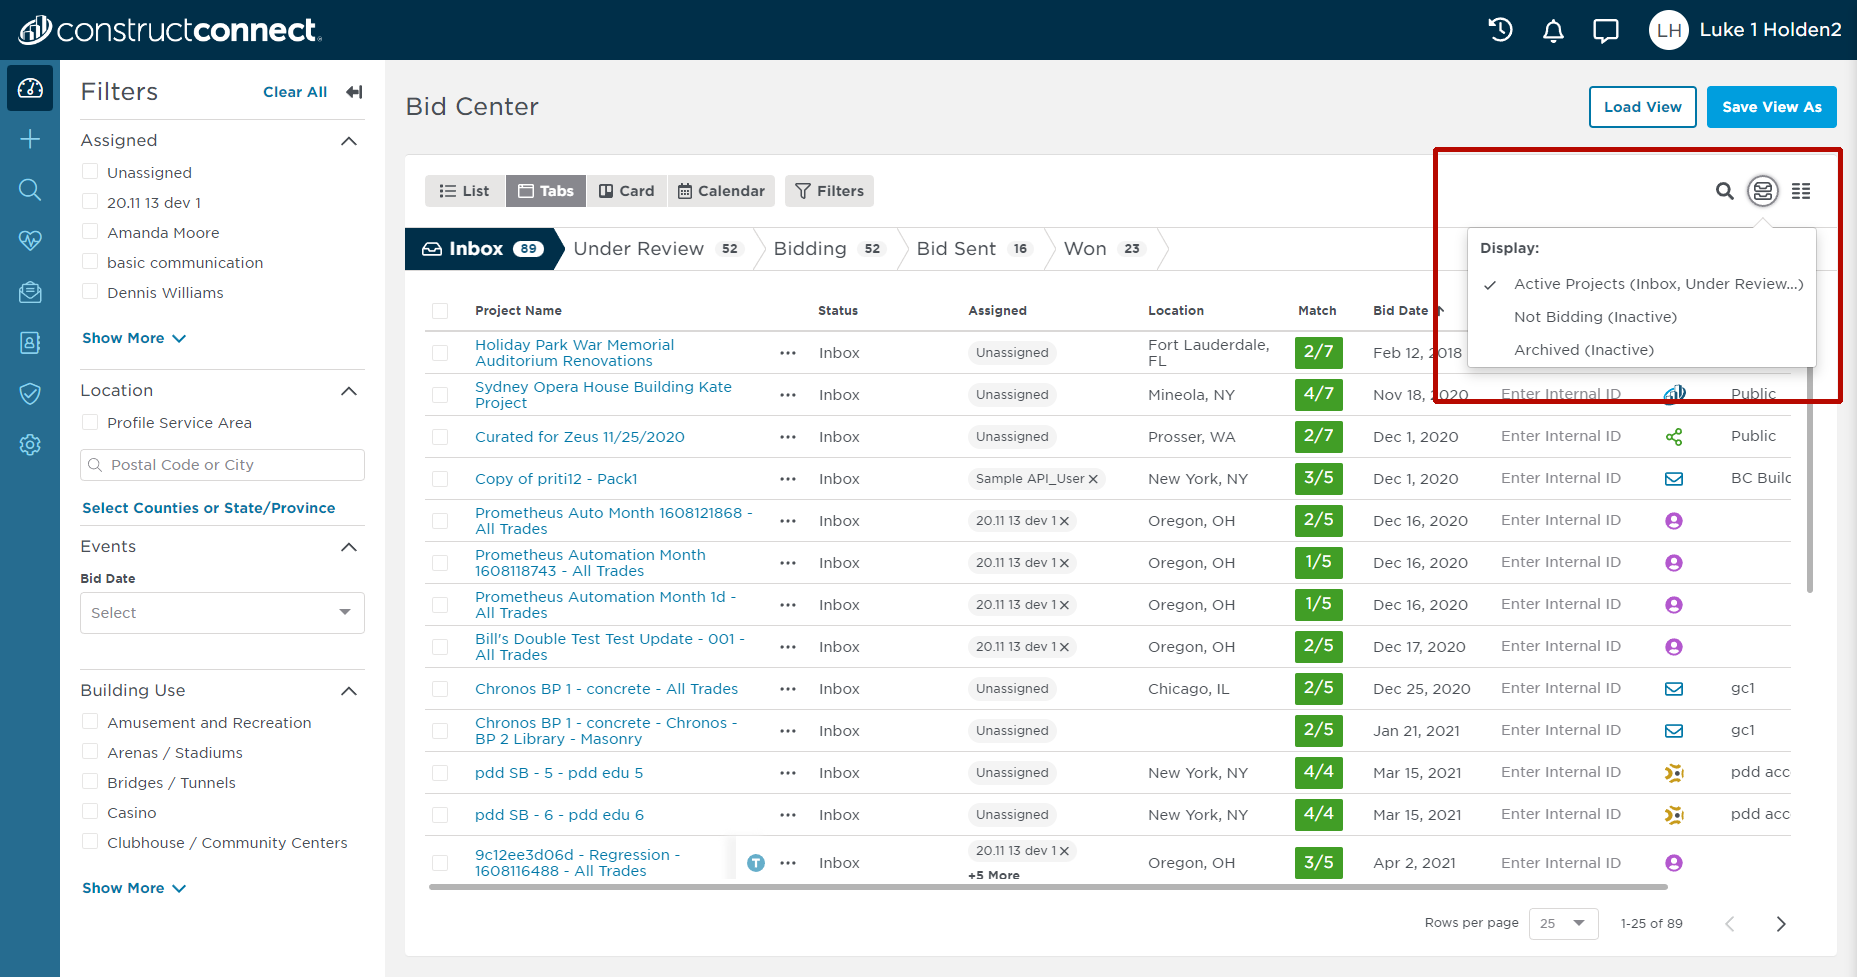 |
3 | Once the system displays your Not Bidding or Archived projects, you can export them to an Excel file for historical reporting. Simply click on the Export file icon (shown below), and .png?version=1&modificationDate=1656610073257&cacheVersion=1&api=v2) 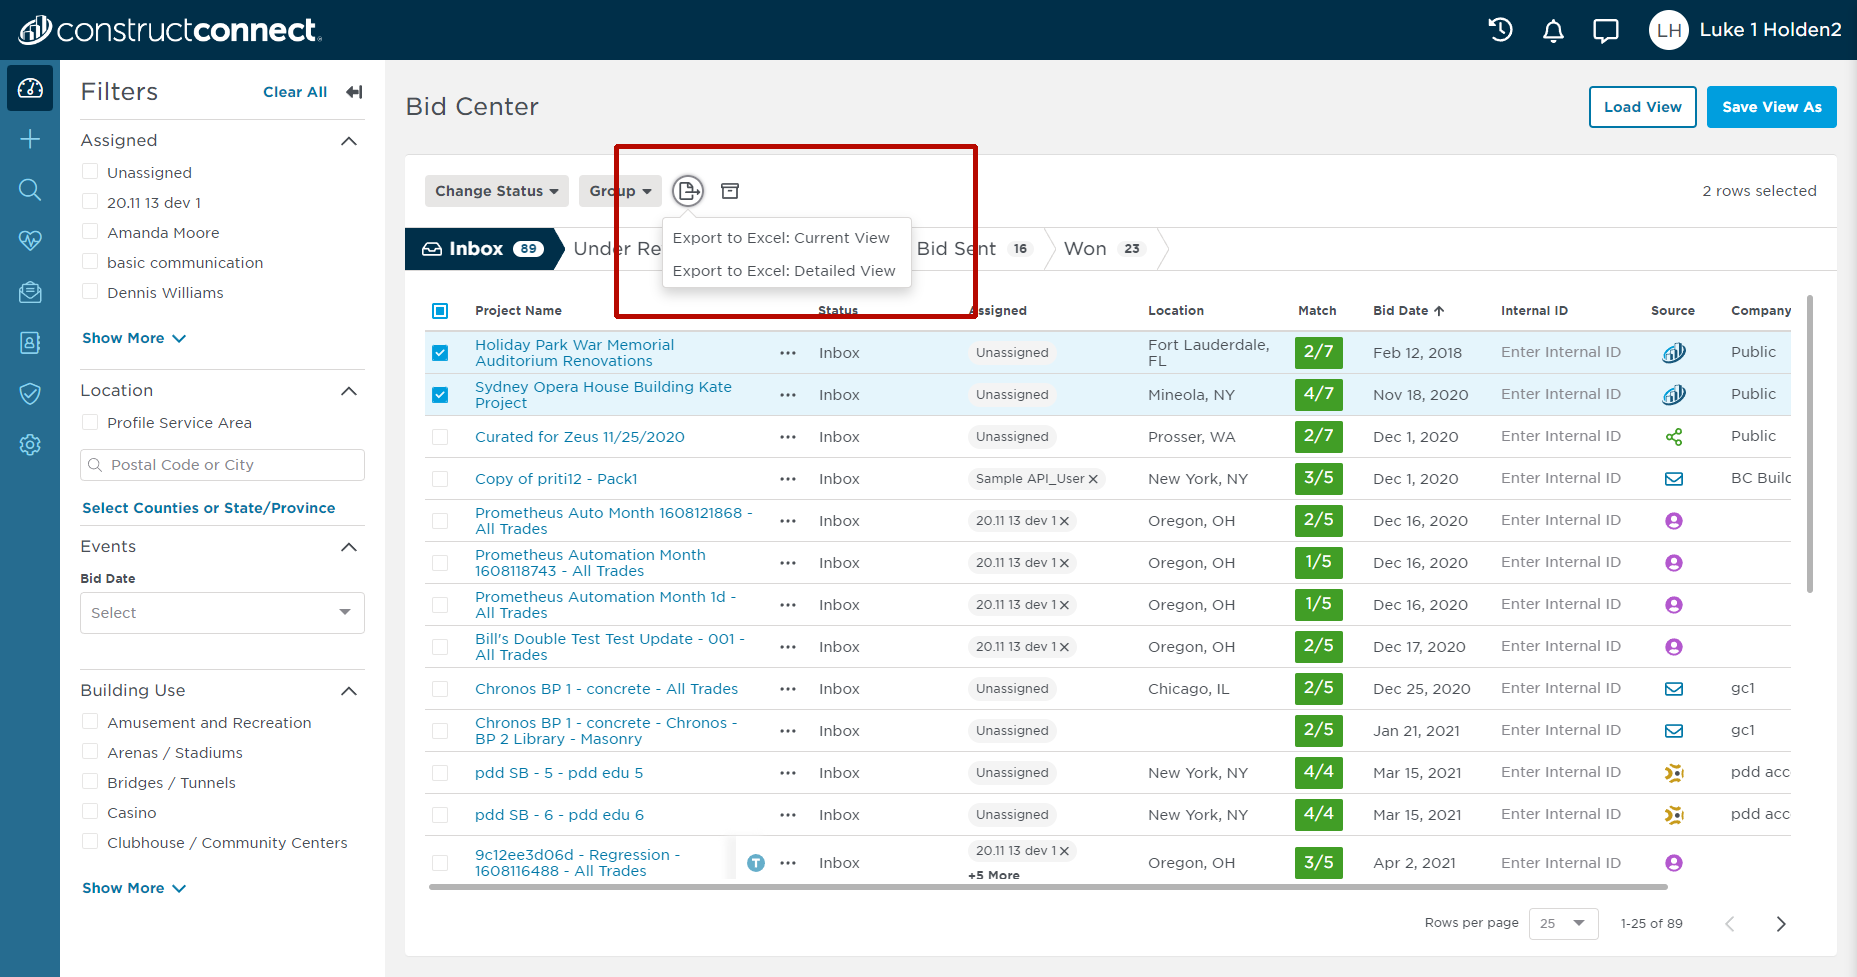 |
4 | If you want to change the status of an inactive project (or projects) and add them back to your active bidding pipeline, select a project(s) by clicking in the check box next to the project name. A new Change Status button will appear (shown below). .png?version=1&modificationDate=1656610309789&cacheVersion=1&api=v2)  Click on the new status for your project (e.g., Under Review), and the project will automatically be restored to your active bidding pipeline. |
...