| Note |
|---|
When installing PlanSwift or upgrading PlanSwift, close any Microsoft Office applications that may be running (Excel, Outlook, etc.). Also, disable your virus scanner for the duration of the installation. |
Applying updates to PlanSwift is simple and fast; this quick guide will show you how to do it.
...
| Info | ||
|---|---|---|
| ||
From version > To version - default action/installation type 8.7.12.1 > 9.1.5.11 defaults to a side-by-side installation (default install folder is "PlanSwift9"). 9.1.5.11 > 10.1.1.8 (or any version of PlanSwift 10) defaults to an upgrade-in-place (default install folder is "PlanSwift9"). You can change the installation folder to PlanSwift10 to perform a side-by-side installation (recommended). The upgrade-in-place means your PlanSwift 9 data visible in PlanSwift 10 upon first launch by default. If you changed the install folder to "PlanSwift10" to perform a side-by-side install (recommended), you can import your PlanSwift 9 data into PlanSwift 10. 10.1.1.8 > 10.2.5.40 is an upgrade-in-place (the folder you installed 10.1.1.8 to is where 10.2.5.40 will be installed); user is not prompted to choose/set installation folder at all, your data will be available when you launch 10.2.5.40. 10.2.5.40 > 10.2.5.41 is an upgrade-in-place (the folder you installed 10.2.5.40 to is where 10.2.5.41 will be installed); user is not prompted to choose/set installation folder at all, your data will be available when you launch 10.2.5.41. 10.2.5.40 > 10.3.0.50 is an upgrade-in-place (the folder you installed 10.2.5.41 to is where 10.3.0.50 will be installed); user is not prompted to choose/set installation folder at all, your data will be available when you launch 10.3.0.50. 10.3.0.50 > 10.3.0.56 is an upgrade-in-place (the folder you installed 10.3.0.50 to is where 10.3.0.56 will be installed); user is not prompted to choose/set installation folder at all, your data will be available when you launch 10.3.0.56. 10.3.0.56 > 11.0.0.89 defaults to upgrade-in-place (default install folder is wherever the highest version of PlanSwift is located - if you have PlanSwift 9 AND PlanSwift 10 installed, PS 11.0.0.89 installs to the PlanSwift10 folder). You can change the installation folder to PlanSwift11 to perform a side-by-side installation (recommended). The upgrade-in-place means your PlanSwift 10 data is visible in PlanSwift 11 upon first launch by default. If you changed the install folder to "PlanSwift11" to perform a side-by-side install (recommended), you can import your PlanSwift 10 data into PlanSwift 11.(this version was pulled from distribution so we could address some issues with the installation/upgrade process) |
If you are installing a new major version (such as 10 on a machine that has 9 installed), the upgrade will be installed "along side" the existing version (you'll have PS9 and PS10, for example). You'll then import the jobs/templates/etc. from PS9 into PS10.
1. Select the Help tab along the top of your screen.

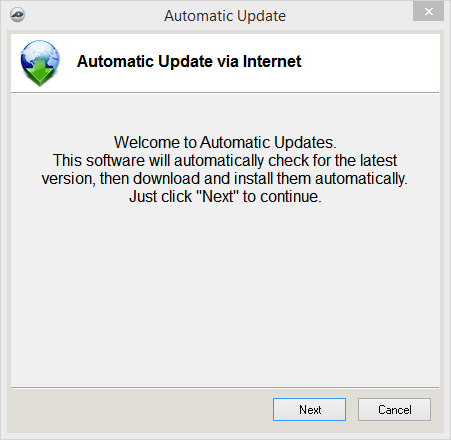
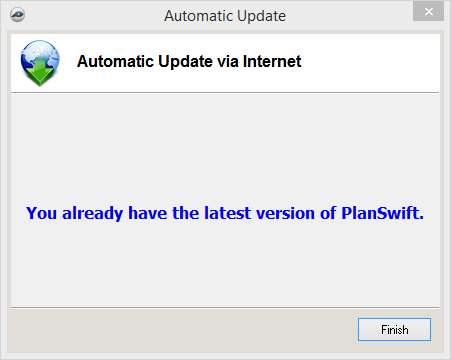
3. Select Next. PlanSwift will automatically check for updates. If your copy needs updating you will be asked to update. Otherwise, you will be informed that you have the latest version of PlanSwift.
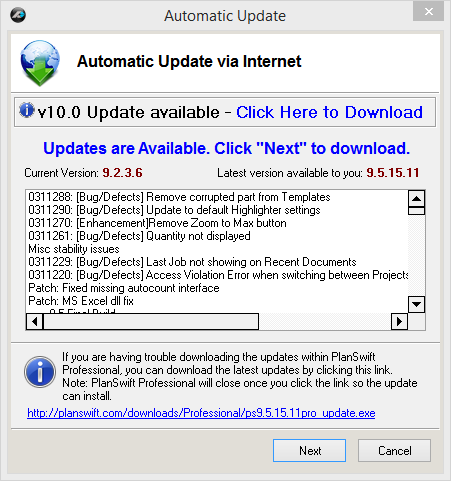
4. If you are already up to date, click Finish to end the updates, OR if you need updates, you will be shown what updates need to be installed.
5. Click Next to download updates to your computer. You can follow the progress of the updates with the download bar.
6. Click Next to begin the installation process. Follow the prompts to allow the program to install the updates.
...
Upgrading PlanSwift
| Child pages (Children Display) |
|---|