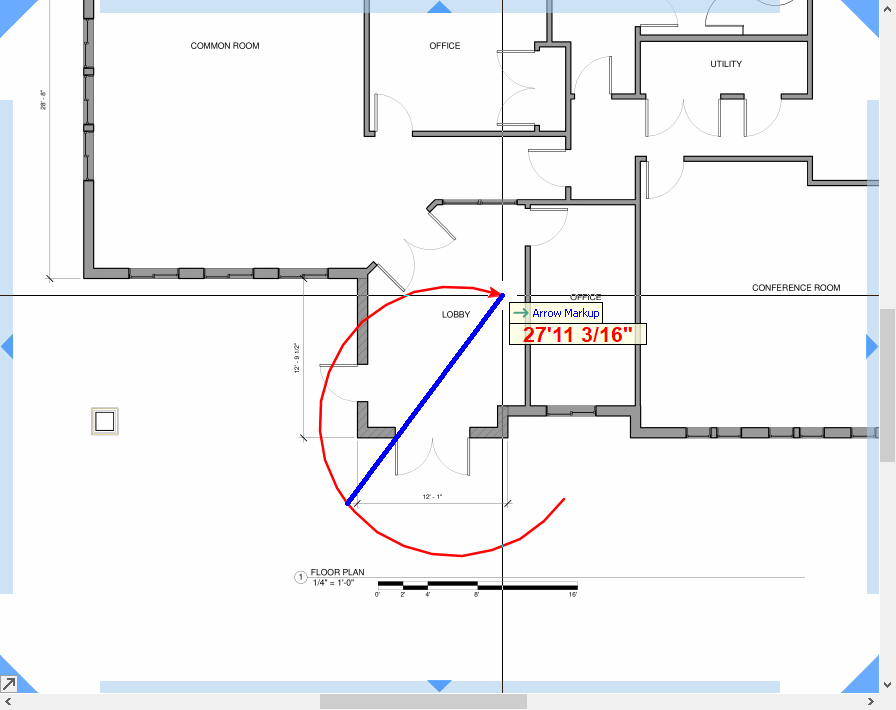
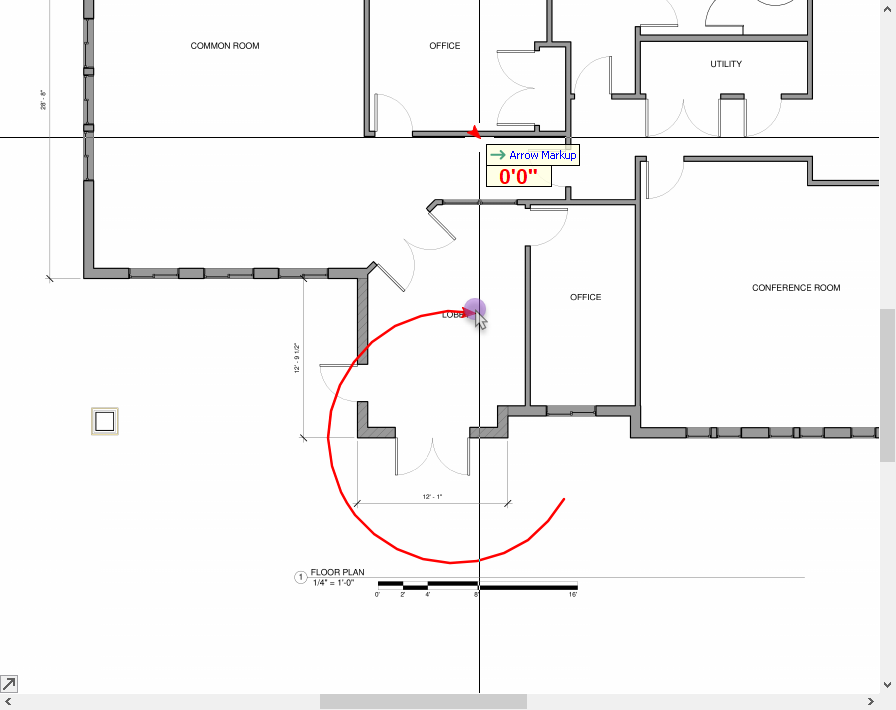
There New in v.10.02.05, there are three Markups Tools available in PlanSwift 10: Arrow, Box, and Pen (line).
You access these tools on the Home Tab by clicking the “Markups” drop-down.
...
You can set color before selecting a Markups tool by clicking the "Markup Color" button - all markups drawn use the selected color.
| Info | ||
|---|---|---|
| ||
You can always change the color after drawing a markup, see: /wiki/spaces/PSUPPORT/pages/298516652. |
Arrow
...
Box
...
Markup
Select Arrow from the Markups drop-down.
Notice: the Digitizer Record button becomes active. The Arrow Tool remains active until you click the Digitizer Record button to stop or press ESC twice on your keyboard.
With the Arrow Tool selected (Notice the cursor changes to indicate which tool you're using), you can drag a single or multi-segment arrow, you can also draw a curved Arrow.
Single Segment Arrow
There are two ways to draw a single-segment Arrow.
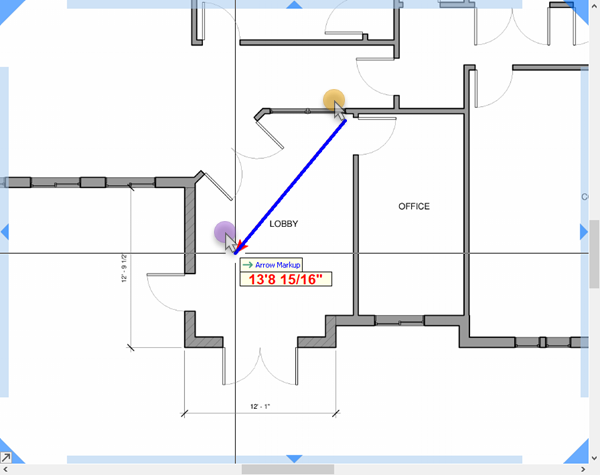
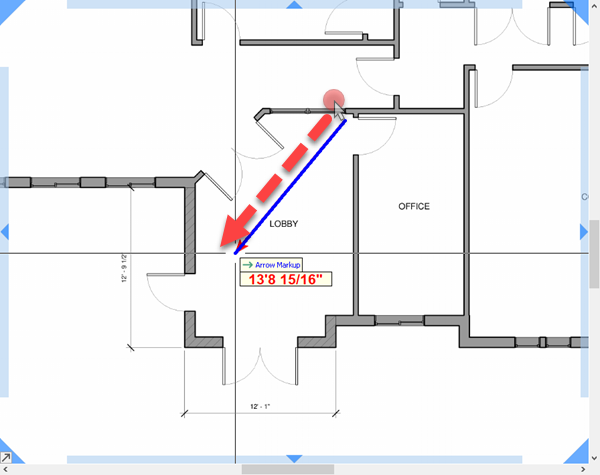
Click the first point and double-click the final. The starting point is the back or "tail" of the arrow, the double-click point is the head or "point".
Or, just click-n-drag, the initial point, again, is the tail of the arrow, and where you release is the point.
Multiple, Connected Segment Arrow
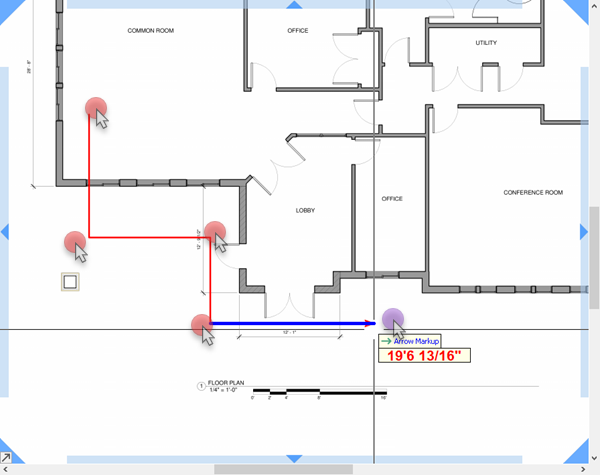
To draw a multi-segment Arrow, click once on each point and then double-click on the final point.
Curved Arrow
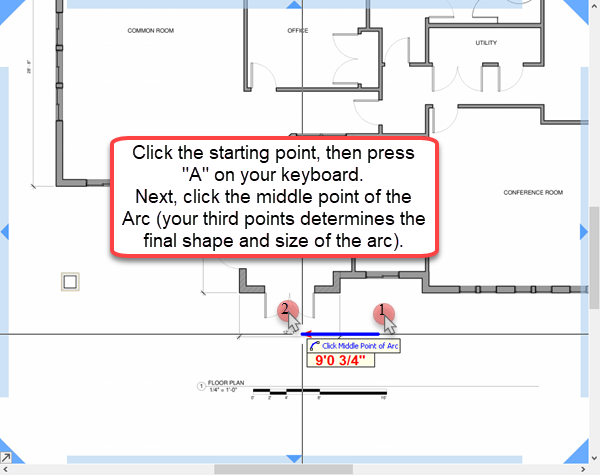
To draw a curved Arrow, press the "A" key on your keyboard before you click the 2nd point (or "next point", when drawing a multi-segment Arrow).
Click the mid-point and then click the final point. Your arc's final size and shape is determined by the 2nd and 3rd points.
Double-click or hit ESC on your keyboard to complete the curved Arrow.

