...
3. Clicking on Next start and completes the update process.

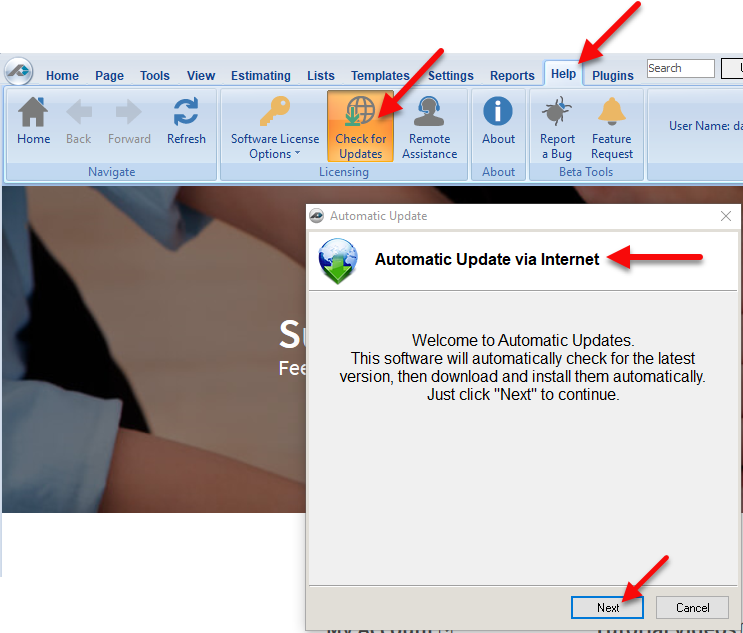
Figure 1
Setting up My Account
...
1. Click on My Account link to open the window shown in Figure 2 below.
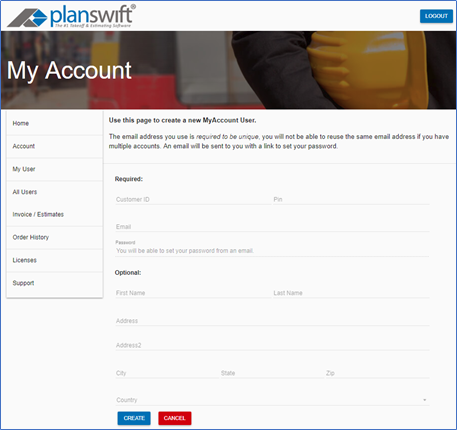

Figure 2
2. Enter in your Customer ID.
...
7. Click on Create to create your My Account (see Figure 3).
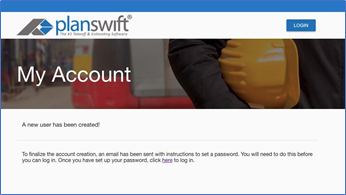

Figure 3
8. If you receive the message “A new user has been created!,” then an email has been sent to your email address. Proceed to step 9.
...
NOTE: If you receive an error message appears telling you that you are not authorized to create an account (see Figure 4), then you will need to have your PlanSwift administrator log in to his or her My Account to create an account (see PlanSwift Activation Requirements46039074) or you will need to have your administrator call PlanSwift Technical Support to create an account.
...
NOTE: If you do not receive an email to set up your password, call Technical Support to have them send you a new email.
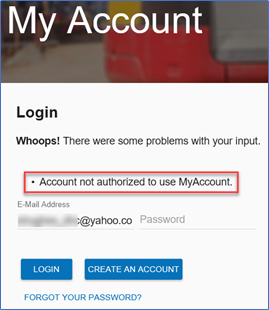

Figure 4
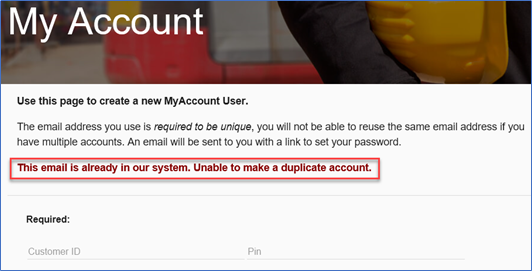

Figure 5
9. Go to your email, click on the provided link, and set up your password as shown in Figure 6.Anchor Steps 9-11 Steps 9-11
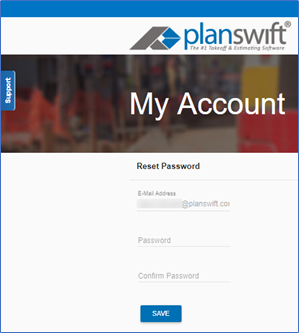

Figure 6
10. Once a password has been created, you will automatically be logged into My Account (see Figure 7).
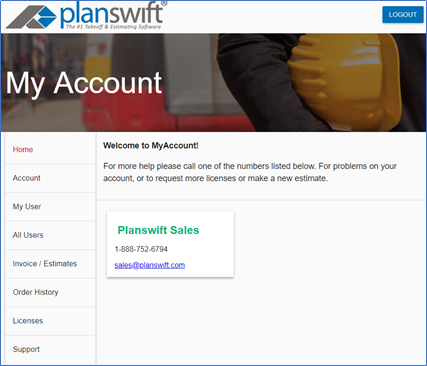

Figure 7
11. With your My Account set up, you can now activate your PlanSwift software using your email address and password.
...
1. Log in to your My Account and click on All Users (Figure 8).
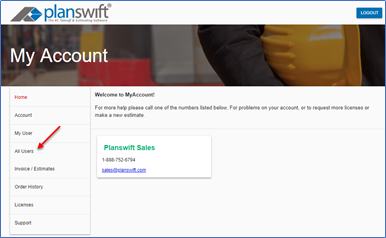

Figure 8
2. Click on New User (Figure 9).
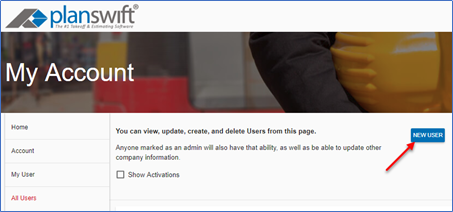

Figure 9
3. Enter the new user’s information and click on Save (Figure 10).
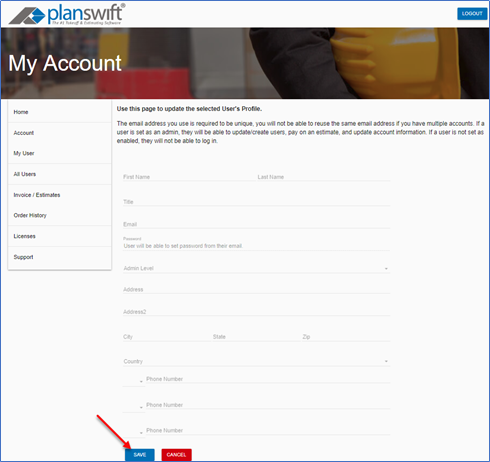

Figure 10
4. The new user will receive an email to set up a password and then will perform steps 9 through 11 in Setting Up My Account to activate PlanSwift.
Widget Connector width 640 url https://www.youtube.com/watch?v=CcJau0Wclls&feature=youtu.be height 360
...