How to: Set-Up a Network Storage
This How To will cover the The process of setting up a network storage for PlanSwift is pretty simple. This guide will only help you once you have set up a network, server, or cloud-storage based system (for example: OneDrive, Google Drive, etc. - as a reminder, we do not provide technical support for any 3rd party applications/solutions).
Table of Contents
| Warning |
|---|
We do not recommend/support using a cloud-based storage for storing working copies of your jobs. This is doable but the storage location needs to be fully-synced and available offline (on your computer) in order for it to work in PlanSwift. Opening a job that has not fully synced yet can result in data loss. If you create a data storage in a network location, be aware that PlanSwift does not support multiple users in the same job. You you must ensure that no other PlanSwift users user on the same network access your opens a job when you are working on it. PlanSwift does not support multiple users in the same job. Also, other users with access to your network location could accidentally or intentionally move, delete, or otherwise alter your data which could corrupt your job. |
...
Once you have your storage set up, the process is very easy.
...
Create Network Data Storage Location Folder
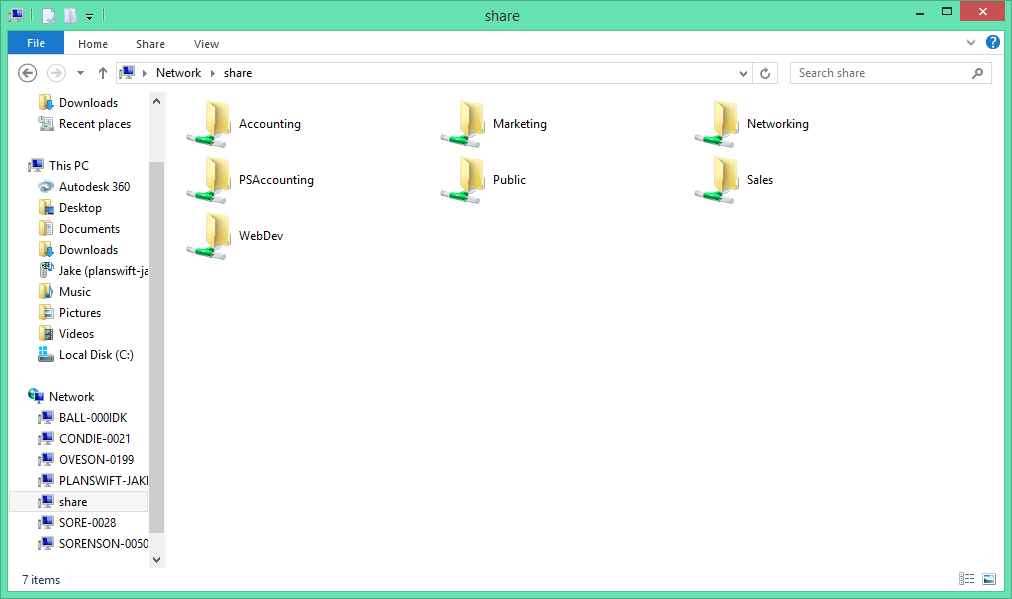
1. Open your Windows File Explorer and go to the established network or servernavigate to the location where you want to create the new Data Storage Location.
2. In the server, right click and move your mouse cursor over the word New. Doing so will pop out an additional right-click menu. Right-click and select New the context menu opens...
3. Click on Folder to create a new folder.
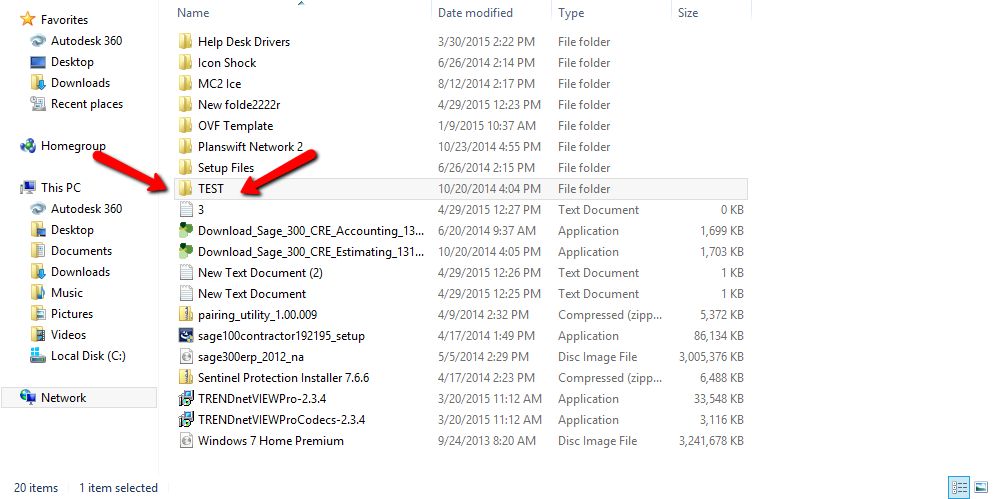
4. Name the folder something you will remember and that is easy to find (for example, PlanSwift Jobs, Network Jobs, or NetworkNetwork, or, like our example "TEST").
5. Now leave Leave the folder completely empty--don't put a single thing in it--and launch , and open PlanSwift.
Configure PlanSwift to Use the Network Folder
To point PlanSwift to a Network Storage Location,
1. Inside of PlanSwift click Click on the Settings tab and go to Data Storages.
2. Select Data Storage
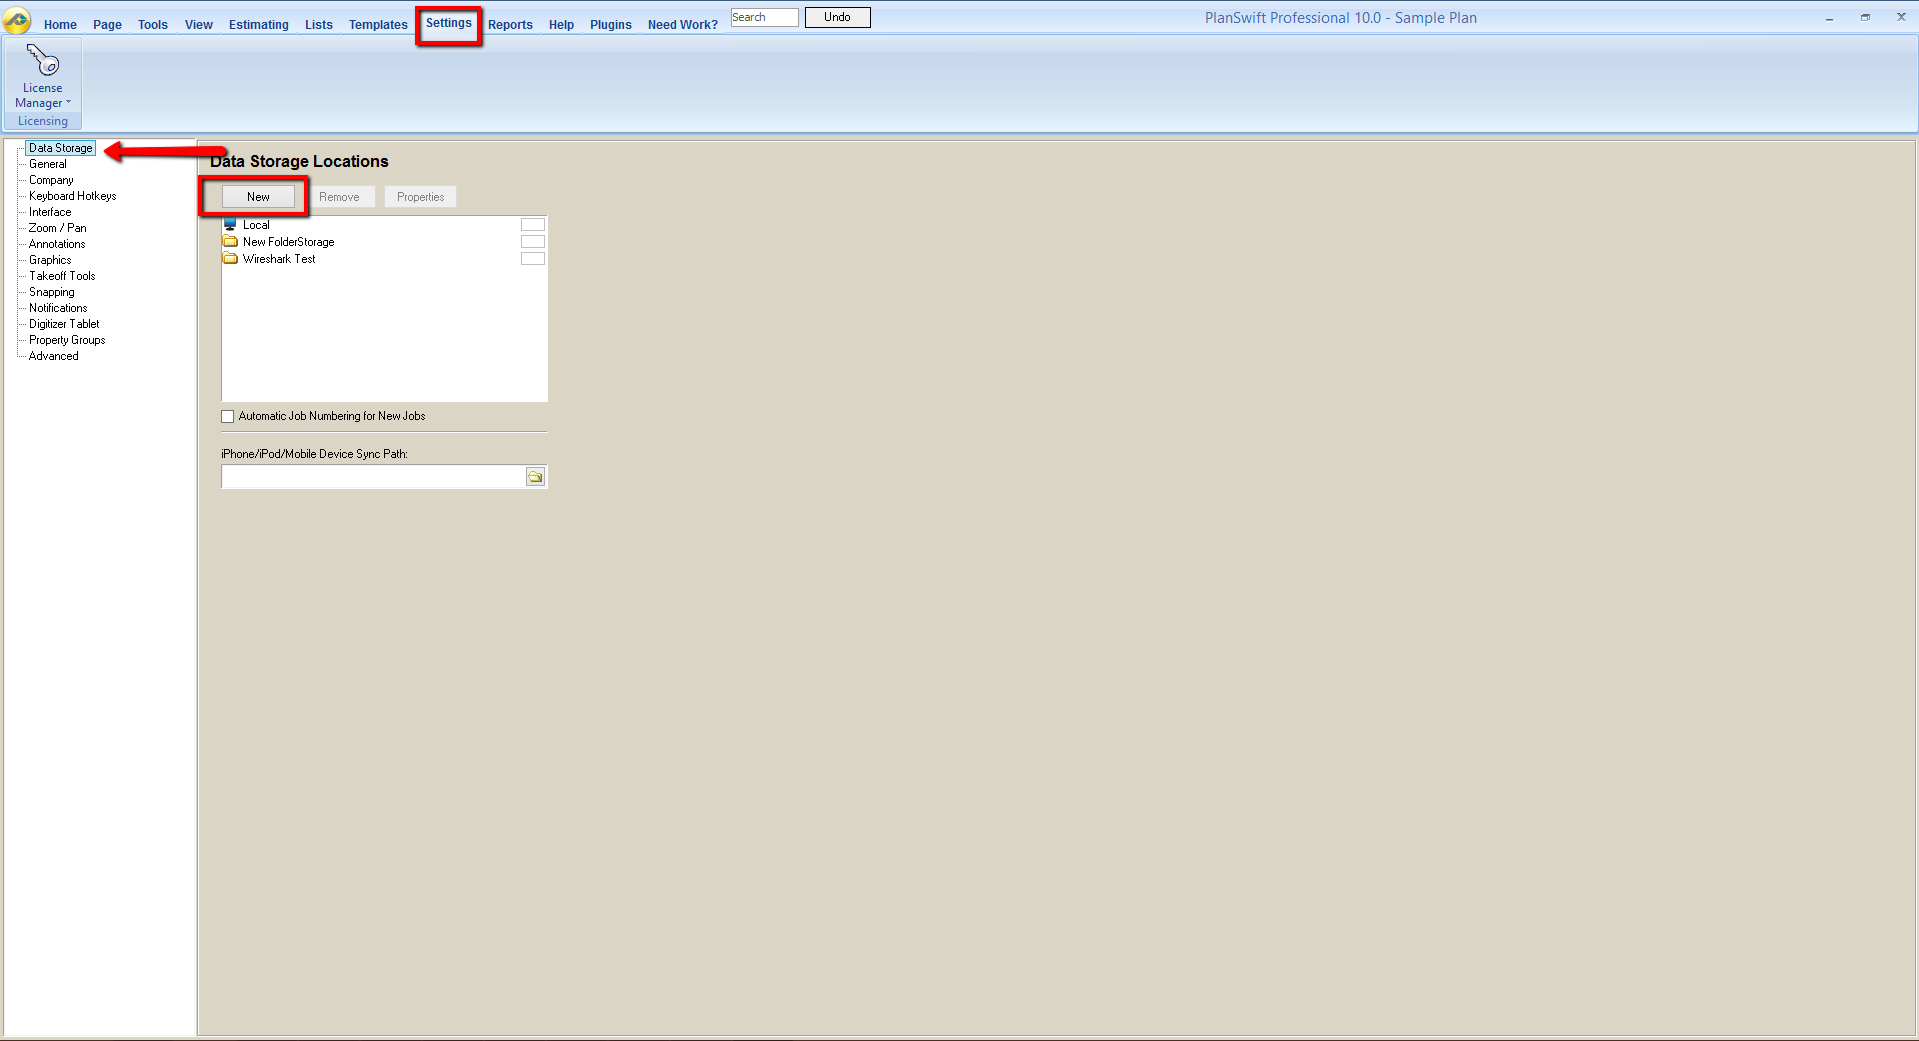
2. Type in the name and select 3. Click New
4. Type in a name for the new storage (this only affects your installation of PlanSwift, think of it as a nickname)
5. Set a color of your choice; then click
6. Click on the ellipse (3 dots on ) in the Folder field to the right.
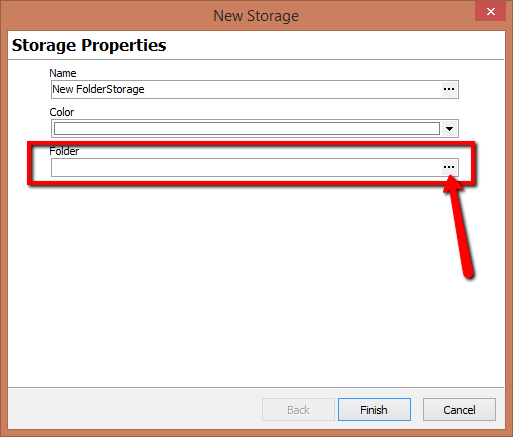
37. Browse to the folder you created in the first section (if you skipped that section, you can click the Make New Folder button and name the folder).
| Warning |
|---|
Do This folder must be used exclusively by PlanSwift - do not store other documents or folders in this storage, or as it may result in missing data errors from PlanSwift reading the folder and not finding PlanSwift job data. . You do not need to store the PDFs or other plan files you wish to use in this location to be able to store jobs here. |
8. Select the folder and click OK
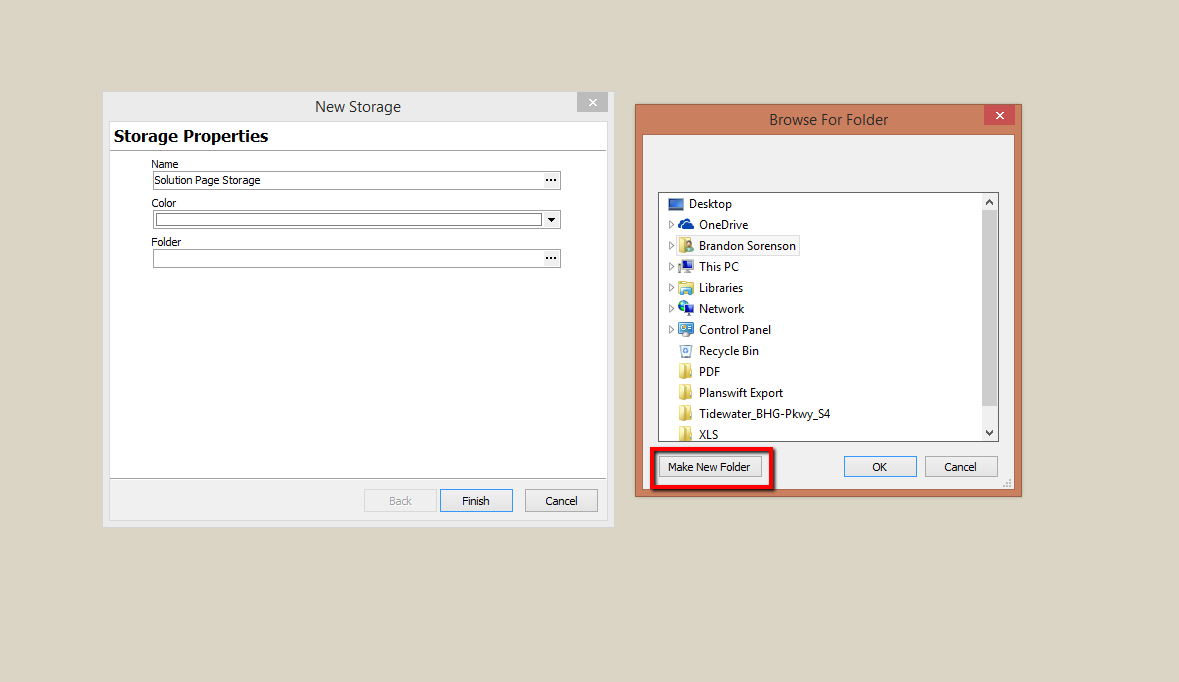
48.) Click Finish
This has created PlanSwift creates the Jobs and Templates folders for you required to put store your jobs indata.
To move your jobs from one Storage to another, see: Moving Your PlanSwift Data Files from One Computer to Another