...
Once you have your storage set up, the process is very easy.
Setup Network Location
1. Open your File Explorer and go to the established network or server.
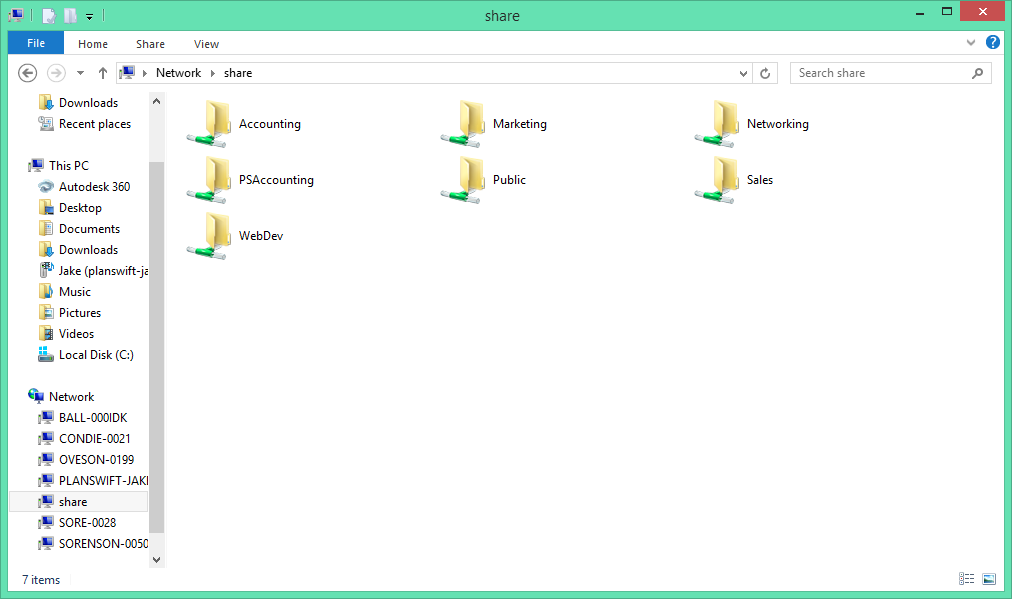
2. In the server, right click and move your mouse cursor over the word New. Doing so will pop out an additional right-click menu.
3. Click on Folder to create a new folder.
4. Name the folder something you will remember and that is easy to find (for example, PlanSwift Jobs, Network Jobs, or Network).
5. Now leave the folder completely empty--don't put a single thing in it--and launch PlanSwift.
Configure PlanSwift to Use the Network Folder
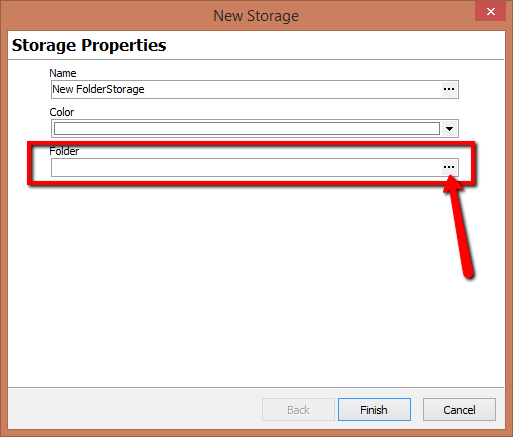
1. Inside of PlanSwift click on the Settings tab and go to Data Storages.


2. Type in the name and select a color of your choice; then click on the 3 dots on the Folder field to the right.
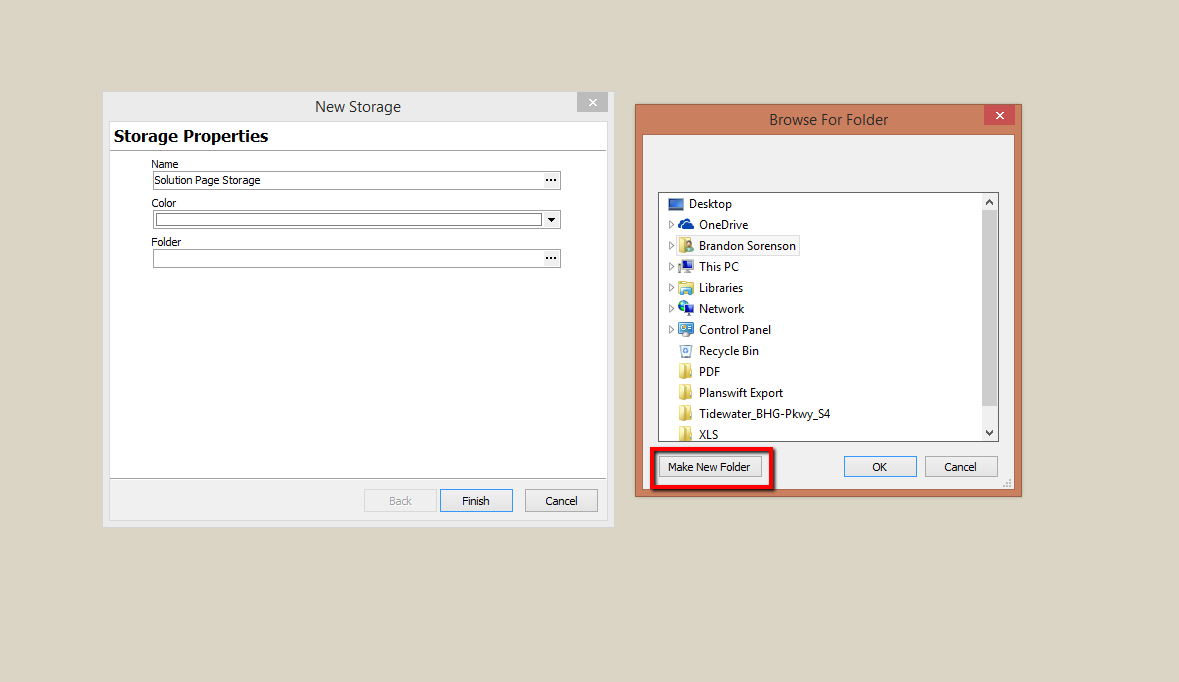
3. Browse to where you want to store the data and the folder you created in the first section (if you skipped that section, click the Make New Folder button and name the folder).
| Warning |
|---|
...
Do not store other documents or folders in this storage, or it may result in missing data errors from PlanSwift reading the folder and not finding PlanSwift job data. You do not need to store the PDFs or other plan files you wish to use in this location to be able to store jobs here. |
...
4.) Click Finish
This has created the Jobs and Templates folders for you to put your jobs in.
...