This How To article will explain the process of making universal changes to default items used in PlanSwift by means of changes made on the "Types" tab. For our example, the Area Tool will be modified so that the main window will display the Description and Cost Each properties alongside the already displayed Name and Color Properties.
| Warning |
|---|
Please be cautious when working in this section, as it contains many important tools that are integral to the program's functionality. Making changes to the tools in this area could alter their intended operation and cause problems when opening the software. It is important to exercise care when working in the Types section. |
1. Go to the Settings tab in PlanSwift.


2. Go to the sub-setting of the interface and check the box that reads Show Types Tab in Templates Screen.
...
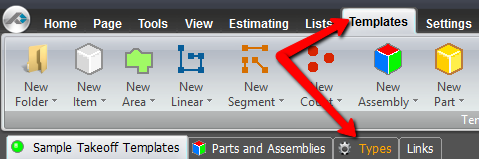
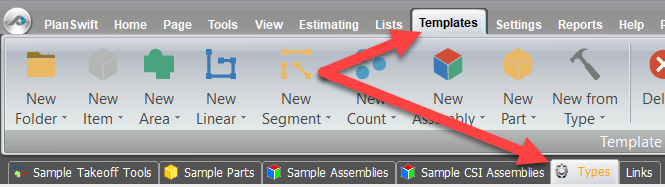
3. Go to the Templates tab in PlanSwift and note the now visible Types tab.
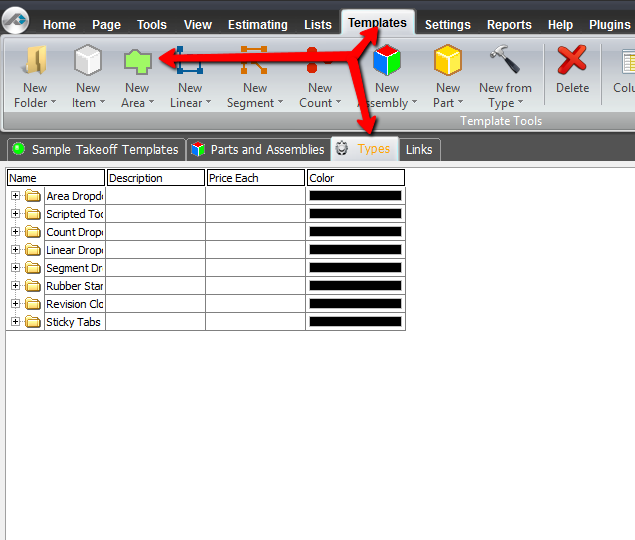
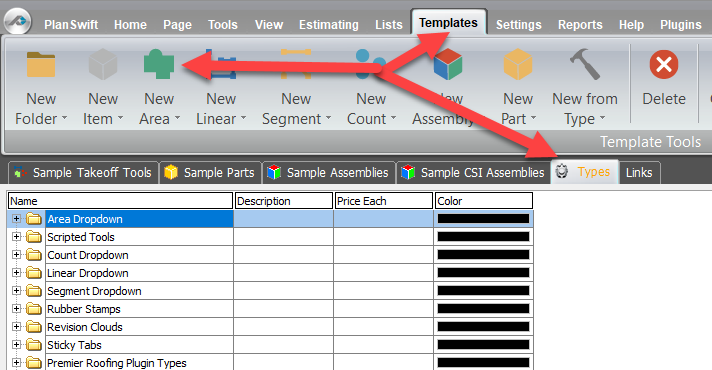
4. After clicking on the Types tab, create a new area takeoff template by clicking the New Area button on the top of the Templates tab.
5. The main window of the Area Item - the Form Layout window - will appear displaying by default only the Name, Color and Fill Type (texture) properties.
...