There New in v.10.02.05, there are three Markups Tools available in PlanSwift 10: Arrow, Box, and Pen (line).
You access these tools on the Home Tab by clicking the “Markups” drop-down.
...
You can set color before selecting a Markups tool by clicking the "Markup Color" button - all markups drawn use the selected color.
| Info | ||
|---|---|---|
| ||
You can always change the color after drawing a markup |
...
Arrow
Box
...
. Just select the markup and edit its properties.
|
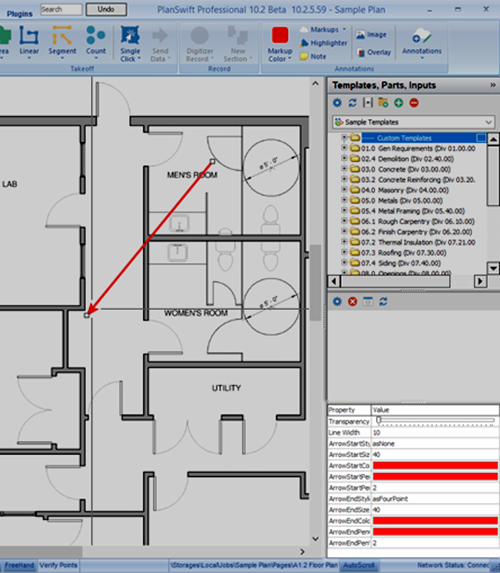
Arrow Markup
Select Arrow from the Markups drop-down.
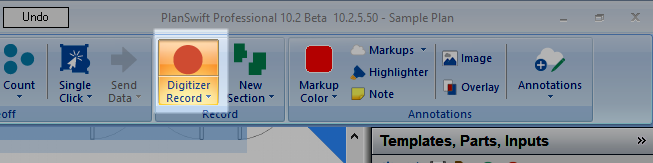
Notice: the Digitizer Record button becomes active.
With the Arrow Tool selected (Notice the cursor changes to indicate which tool you're using), you can drag a single or multi-segment arrow, you can also draw a curved Arrow.
| Tip |
|---|
Like all drawing tools, you can create a curved segment by pressing the "A" button on your keyboard. The next two points define the size of the arc. |
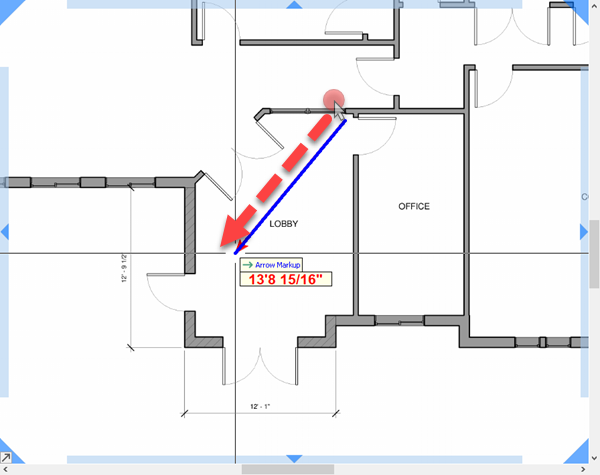
Single Segment Arrow
There are two ways to draw a single-segment Arrow.
- Click the first point and double-click the final (the starting point is the back or "tail" of the arrow)
- Then, double-click point is the head or "point".
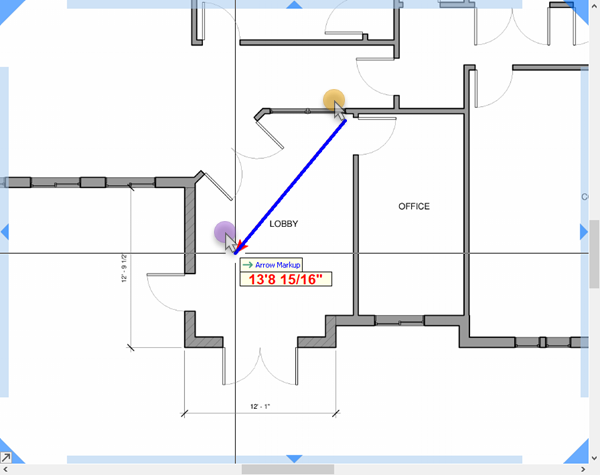
Or,
- Click-n-drag, the initial point, again, is the tail of the arrow, and where you release is the point.
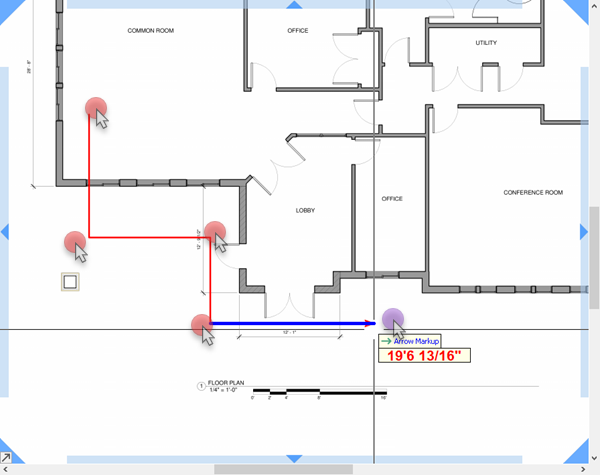
Multiple, Connected Segment Arrow
To draw a multi-segment Arrow,
- Click once on each point
- Then double-click on the final point
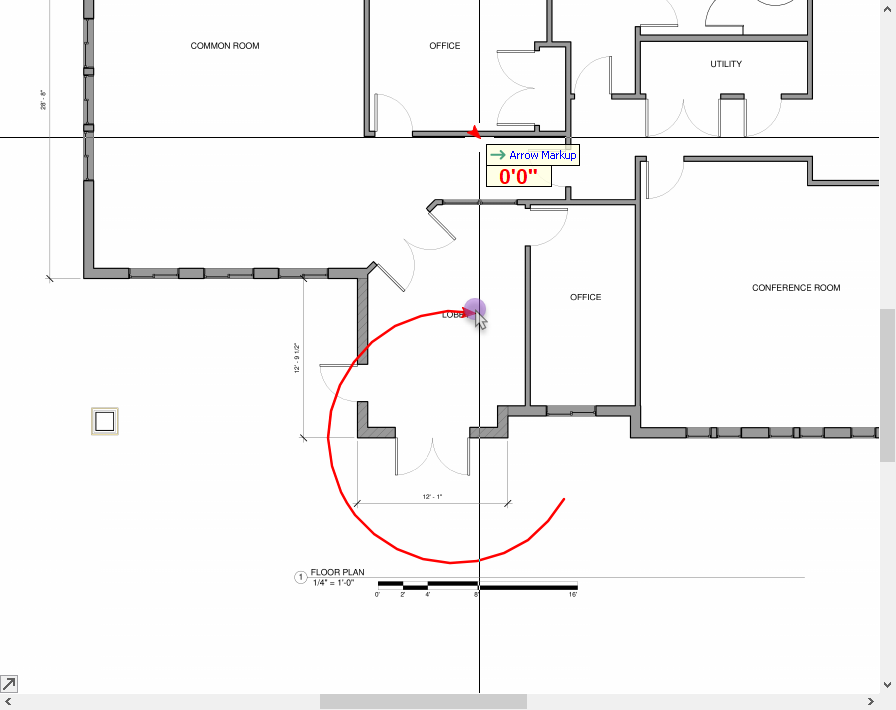
Curved Arrow
To draw a curved Arrow,
- Press the "A" key on your keyboard before you click the 2nd point (or "next point", when drawing a multi-segment Arrow).
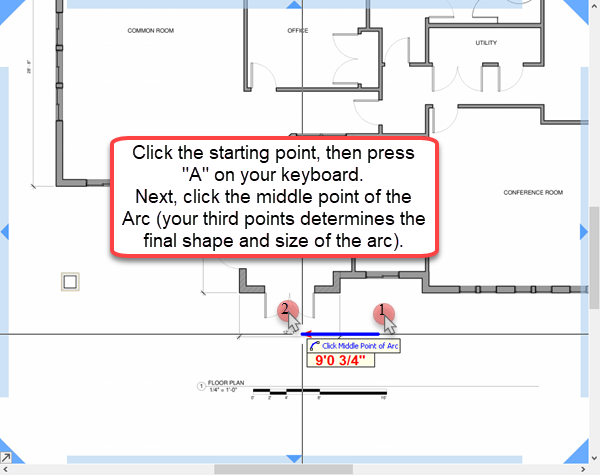
- Click the mid-point and then click the final point. Your arc's final size and shape is determined by the 2nd and 3rd points.
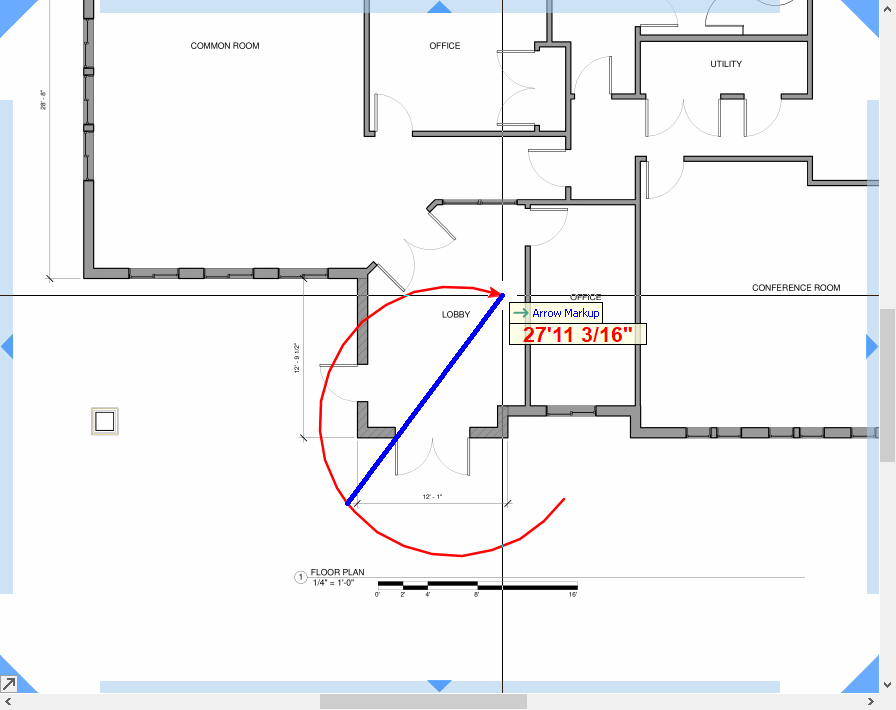
- Double-click or hit ESC on your keyboard to complete the curved Arrow.
| Info | ||
|---|---|---|
| ||
The Arrow Tool remains active until you click the Digitizer Record button to stop or press ESC twice on your keyboard. |