Quick Start
Reference:Guide for PlanSwift Integration to Excel
The PlanSwift 10.2 release includes some powerful, new capabilities, including the ability to link to and update Excel WorkBooks in real-time, initiate and add to PlanSwift takeoffs from PlanSwift Integration to Excel, navigate easily from Excel takeoff values to PlanSwift takeoff values, assign multiple properties to a single takeoff, export Excel templates from Excel back into PlanSwift, and unlink a job. This functionality is provided via a new PlanSwift Ribbon-bar Tab and also via an updated Right-click Menu. Both of these provide essentially the same functions. This Quick Start Reference Guide for Integration to Excel covers the following:
| Table of Contents | ||
|---|---|---|
|
PlanSwift Ribbon-bar Tab
The new PlanSwift Ribbon-bar Tab (Figure 1) is visible once PlanSwift 10.2 is installed and Excel is started.
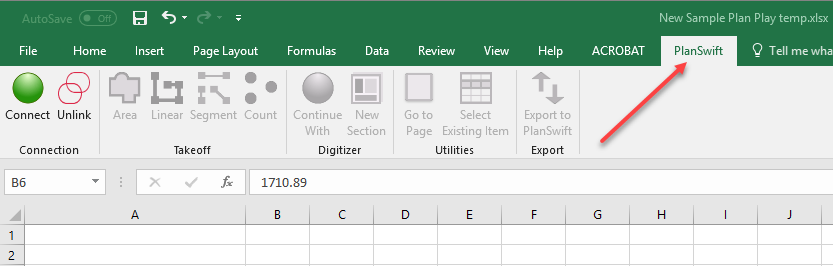
Figure 1
- Click on the PlanSwift Ribbon-bar-Tab (Figure 1) so that the PlanSwift Ribbon-bar icons are visible.
Connecting to and Disconnecting PlanSwift from Excel
Connecting to Excel links PlanSwift and PlanSwift Excel Integration into a live-link so that the powerful features in Microsoft Excel and PlanSwift can be utilized.
- Open PlanSwift and open the job that you want to link the PlanSwift Excel Integration.
- Open Excel to the spreadsheet to which you want PlanSwift linked and click on the PlanSwift Ribbon-bar Tab.
- In Excel, click on the Connect (green orb) icon (Figure 1). Once you are connected, the other PlanSwift Icons on the PlanSwift Excel Ribbon-bar will be available.

Figure 1 - To disconnect from PlanSwift, click on the Disconnect (red orb) icon (Figure 2).
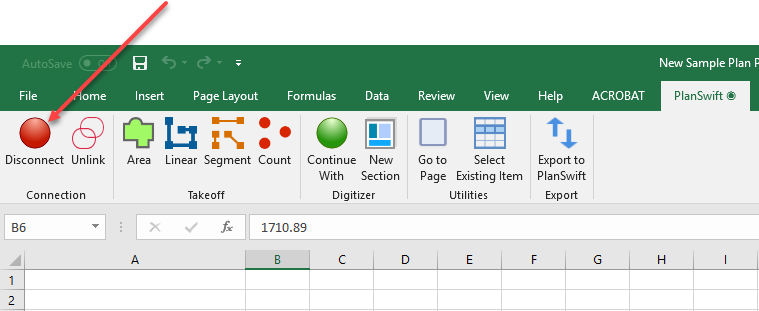
Figure 2
Initiating PlanSwift Takeoffs from Excel
PlanSwift takeoffs may now be initiated from within Excel by following the procedure below. Note that PlanSwift must be open and a job and a floorplan selected before beginning a takeoff.
To initiate an area takeoff, click on a cell in the spreadsheet where you want the new area value to be stored (see Figure 1).
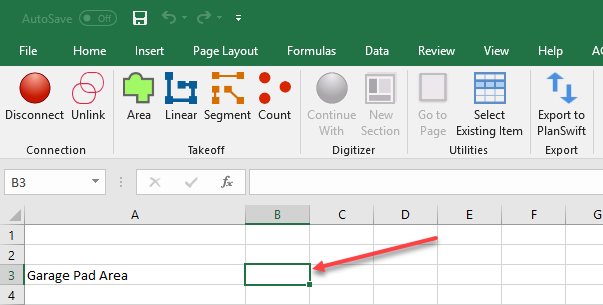
Figure 1- Click on the Area icon in the Takeoff group of the Excel PlanSwift Ribbon-bar.
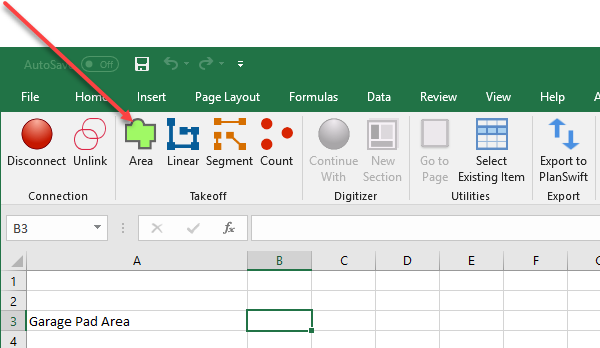
Figure 2 - A Properties - [New Area] window appears in PlanSwift allowing you to give a Name to the area takeoff (Figure 3). Enter a name of your choice and click Ok.
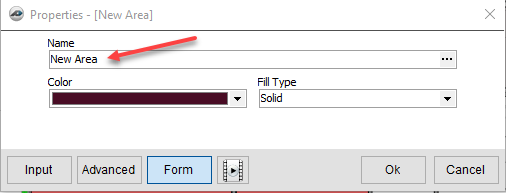
Figure 3 PlanSwift is now ready for you to perform an area takeoff. Perform the takeoff, and the takeoff value will appear in the cell you selected. That value and the name of the takeoff will also appear in PlanSwift. The Linear, Segment, and Count takeoffs all work similarly to the Area takeoff you just performed. If you make any changes to the takeoffs in PlanSwift, those changes are automatically updated through the PlanSwift Excel Integration, as long as Excel remains connected to PlanSwift.
Adding New Sections to Takeoffs
The Digitizer group Continue With and New Section icons, which work identically in Excel, are used to digitize (or add) a new section to a takeoff. Follow the procedure below to add a new section to an existing takeoff. Note that PlanSwift must be open and a job and a floorplan selected before you can add a new section to a takeoff.
- Click on an active takeoff cell (containing a takeoff value) within your linked Excel spreadsheet to activate these icons (Figure 1).
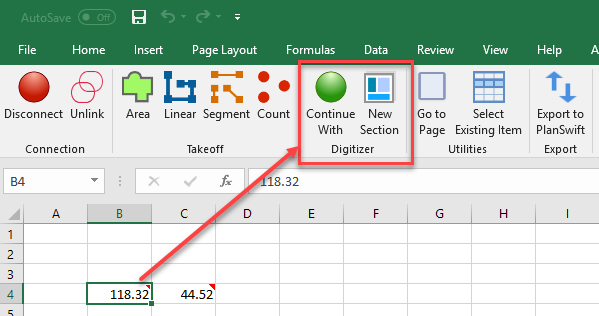
Figure 1 - Click on either Continue With or New Section.
- PlanSwift is now ready for you to add to your takeoff. Perform the takeoff in PlanSwift, and the value of the new section will be added to the existing takeoff value in the linked Excel spreadsheet. That added value will also be reflected in PlanSwift. If you make any changes to the takeoffs in PlanSwift, those changes will automatically be reflected in Excel, as long as you remain connected to PlanSwift.
Navigating from Excel Takeoff Values to PlanSwift Takeoff Values
The Go to Page option (Figure 1) in the Utilities group of the PlanSwift Ribbon-bar Tab allows you to select a takeoff value from your linked spreadsheet and click on Go to Page in order to jump to the page and location of the takeoff value in PlanSwift. After the jump, the PlanSwift page where the takeoff value is located is automatically highlighted in reverse video.
- Click on the linked cell where the takeoff value is that you want to find in PlanSwift (Figure 1).
- Click on Go to Page (Figure 1).
- Click on the page in the Select Page window (Figure 2).
- Go to PlanSwift. The page where the takeoff value is located will be highlighted. Open the page by clicking on the + if necessary to view the takeoff value (Figure 3).
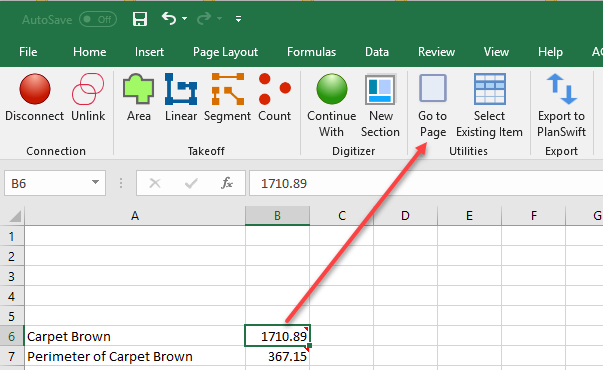
Figure 1
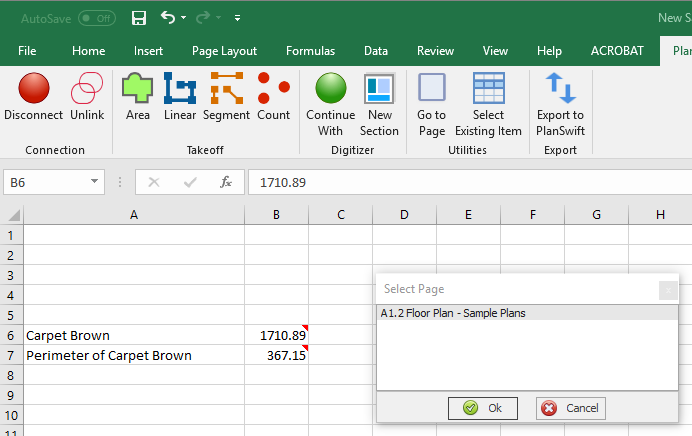
Figure 2
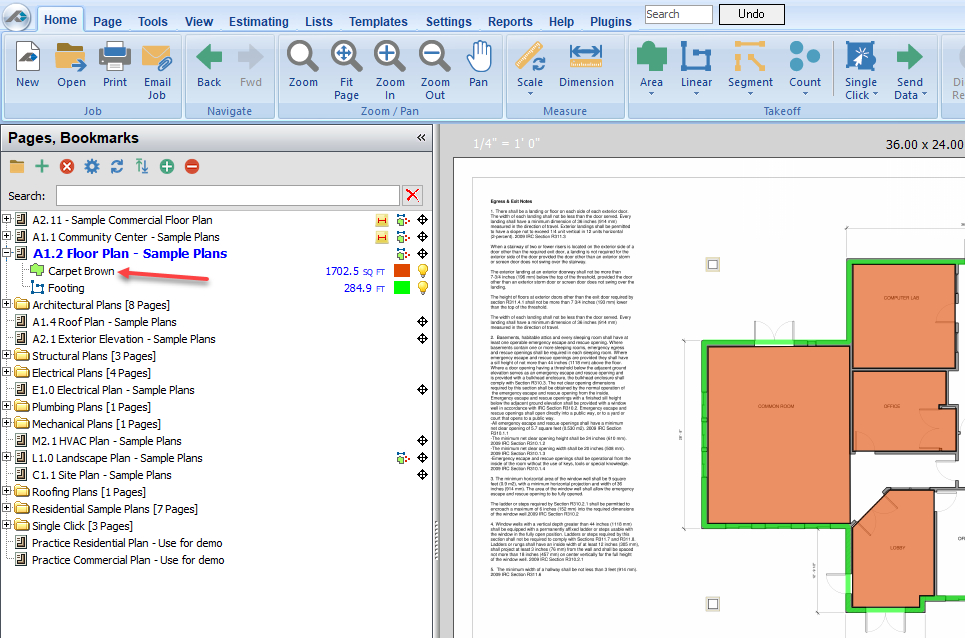
Figure 3
Assigning Multiple Properties to a Takeoff Using 'Select Existing Item'
The Select Existing Item option allows you to assign multiple properties to a single takeoff (or item). Follow the procedure below. Note that PlanSwift must be open and a job and a floorplan selected before you can assign a different property to a takeoff.
- Click on an empty cell in the linked spreadsheet where you want the value of the new property assignment to be stored.
- Click on Select Existing Item (Figure 1).
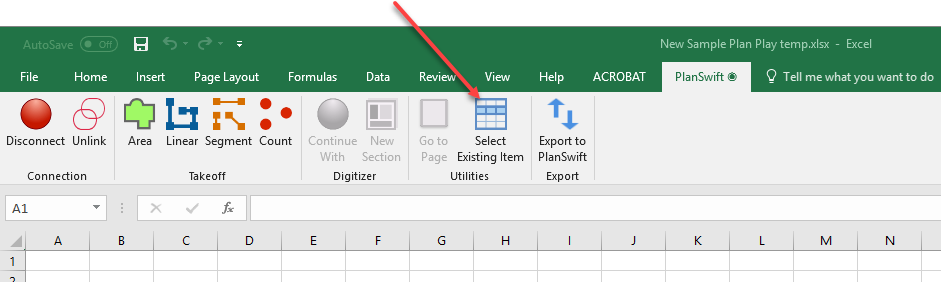
Figure 1 - In the Select Existing Item window (Figure 2), click on the item in the left column that you want to use (in this case we are selecting "Carpet Brown" which has an "area" property of about 1710 square feet), and then, in the right column, click on Linear Total. (Some examples of properties that you might want to use are Area, Linear Total, Qty, Section Count, Segment Count, and Depth, and others are available.)
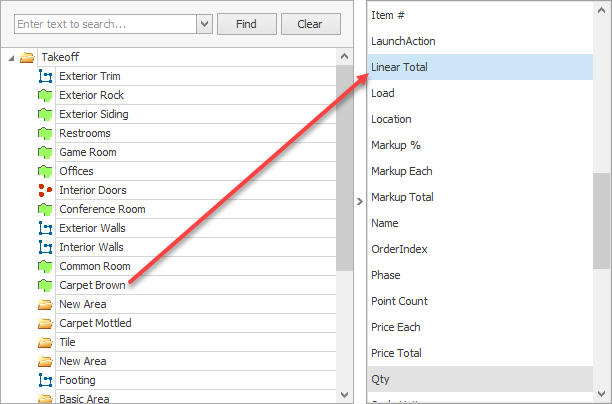
Figure 2 - The result in the linked Excel spreadsheet cell B7 is 367 linear feet (Figure 3), which is the linear perimeter in feet of the 1710 square-foot Carpet Brown takeoff area (shown in cell B6 of Figure 3). Thus, without having to perform the takeoff twice (once for the carpet area and once for the perimeter of the room, one takeoff can perform both area and perimeter properties.
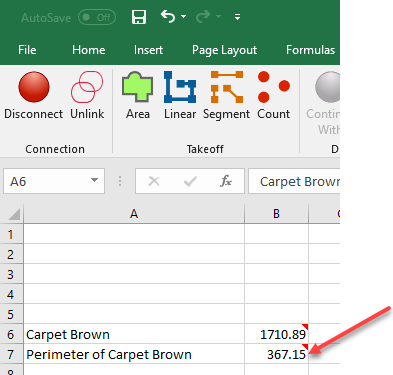
Figure 3
Right-Click Menu
Figure 1 shows the Right-click Menu. As with the PlanSwift Ribbon-bar Tab, the Right-click Menu is only fully functional when PlanSwift is connected to Excel. When it is not connected, then only the Connect button is functional (Figure 2).
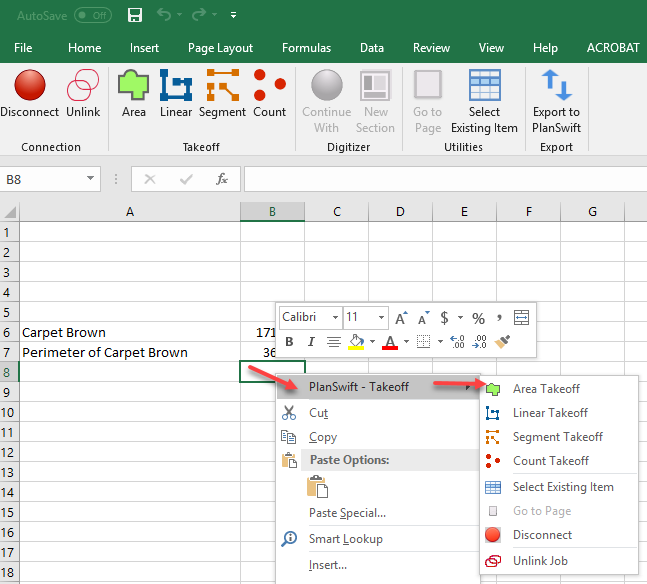
Figure 1
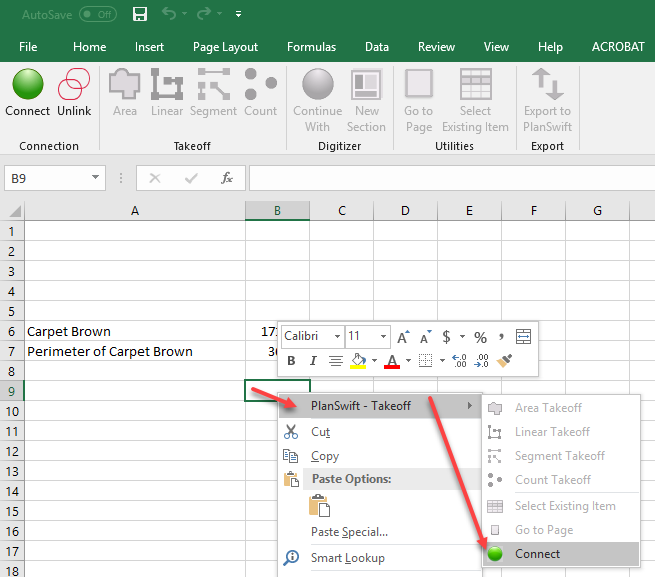
Figure 2
Unlinking a Job
The Unlink option on the Planswift Ribbon-bar Tab (Figure 1) is generally used only when two WorkBooks are accidentally linked to one PlanSwift job. This allows for unlinking a spreadsheet from the PlanSwift job. You are asked to confirm twice. Once you confirm, all cells are unlinked, although their values remain in the Excel spreadsheet.
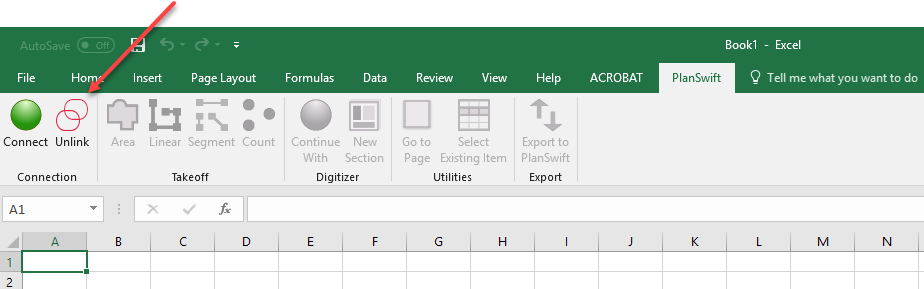
Figure 1
Exporting Templates from Excel to PlanSwift
Figure 1 shows a simple Excel template. Figure 2 shows a more complex new sample template released with PlanSwift 10.2. Template filename extensions are normally .xltx . If older .xlt templates are used, they are converted automatically to .xltx formats. Templates may be saved and exported to different jobs in PlanSwift, saving considerable time when jobs are similar or the same. The Export to PlanSwift button is on the PlanSwift Ribbon-bar Tab (Figure 3). Click here for the procedure for exporting an Excel Template to PlanSwift.

Figure 1
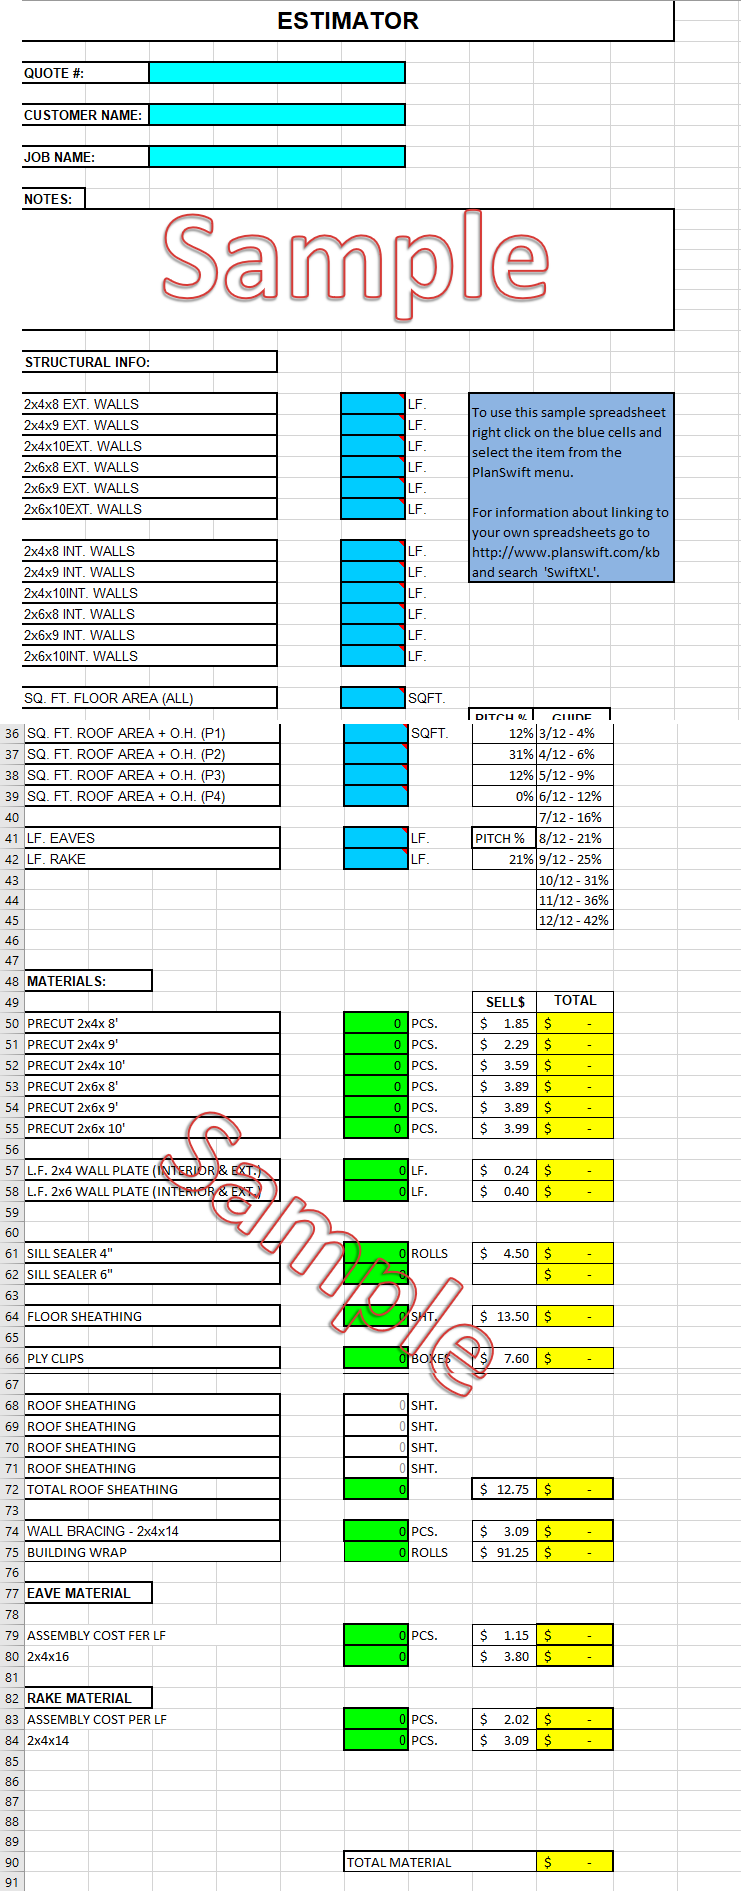
Figure 2
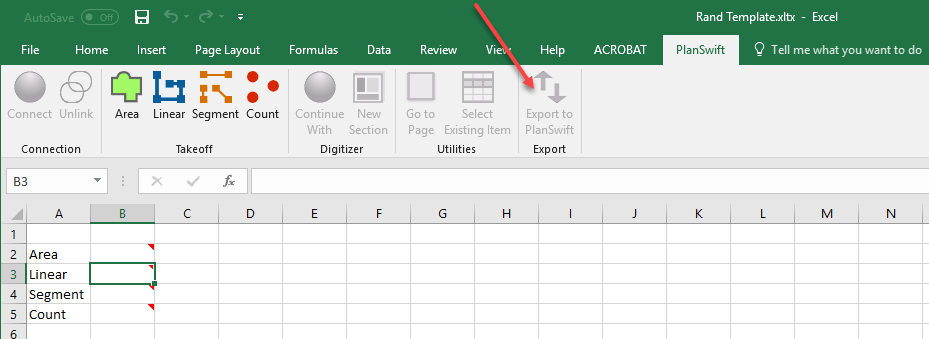
Figure 3