...
- Open PlanSwift and start a new job (Figure 1). Enter a Job/Quote # (use "12345" or another name of your choice) and a Description, such as "Garage", then click on Next.
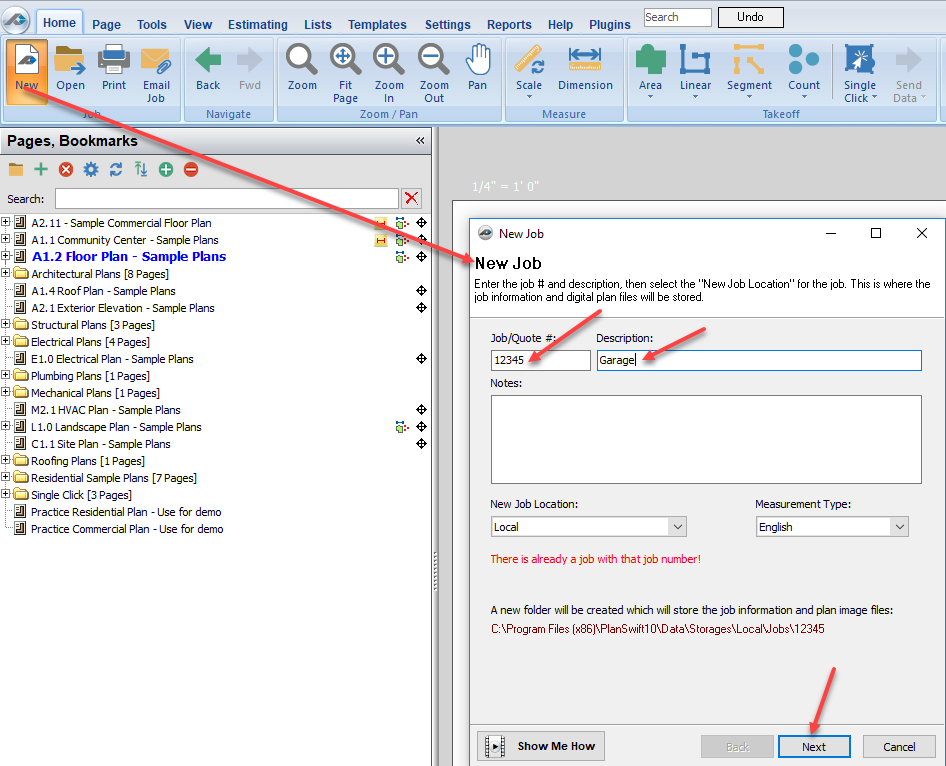
Figure 1 - In the Image Files window (Figure 2), click Next to skip it (or if you do have images, you can load them here). Either load your images or click Yes when you're asked if you want to continue without adding any images. Images may be added later.
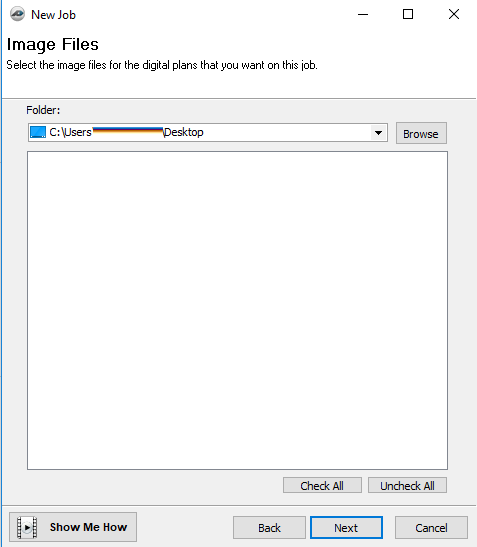
Figure 2 - Click Next on the Convert Settings window (Figure 3).
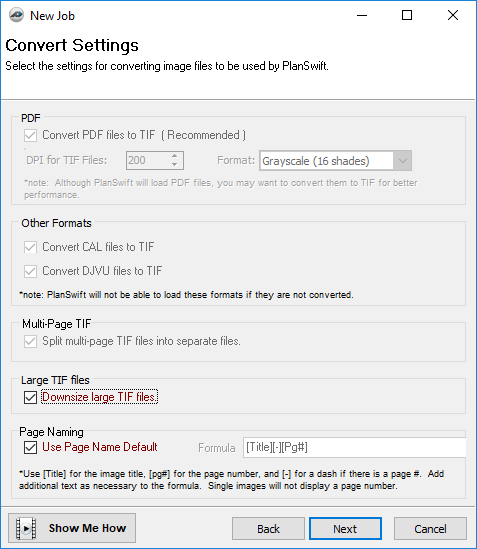
Figure 3 - Click on Finish in the Ready to Create Job window (Figure 4).
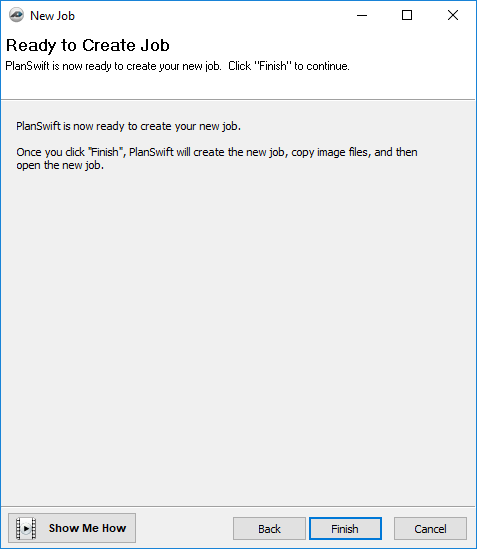
Figure 4 - Click on the green plus (+) under Pages,Bookmarks (Figure 5), click on Blank Page, and then click on Next. (Or you can add pages from image files of your choice here by selecting the From Image Files option.)
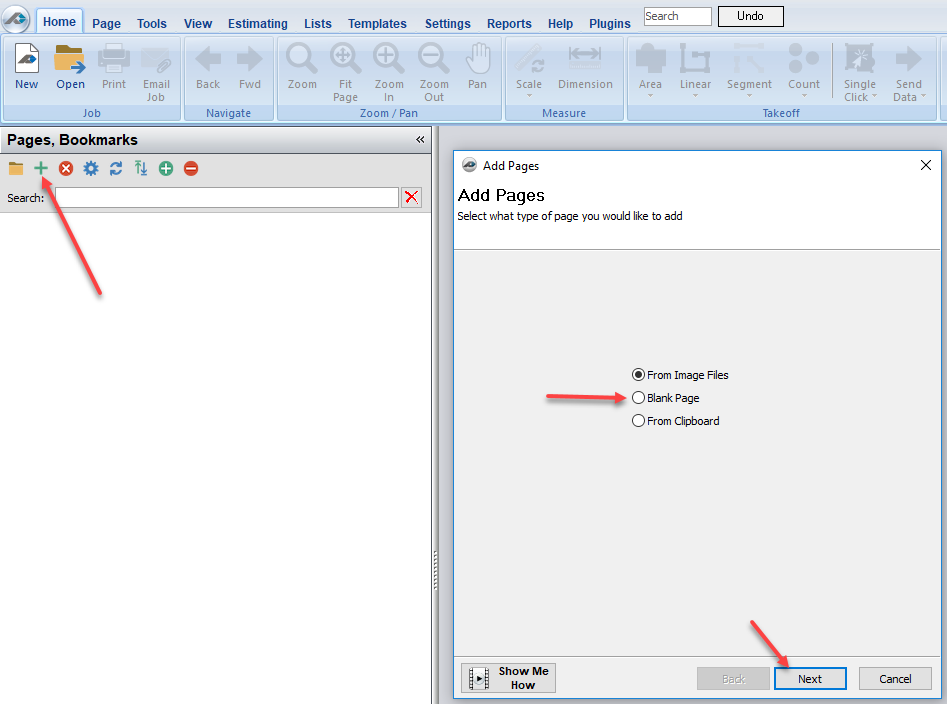
Figure 5 - In Figure 6, give this page a new name, "General", and click on Finish.
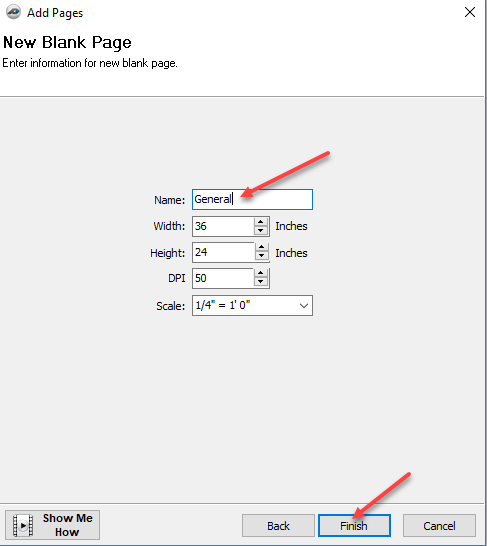
Figure 6 - The "Garage" job is now open and set up (Figure 7), and you can see the General page. Click on Takeoff Summary to display the Takeoff Summary window (Figure 7).
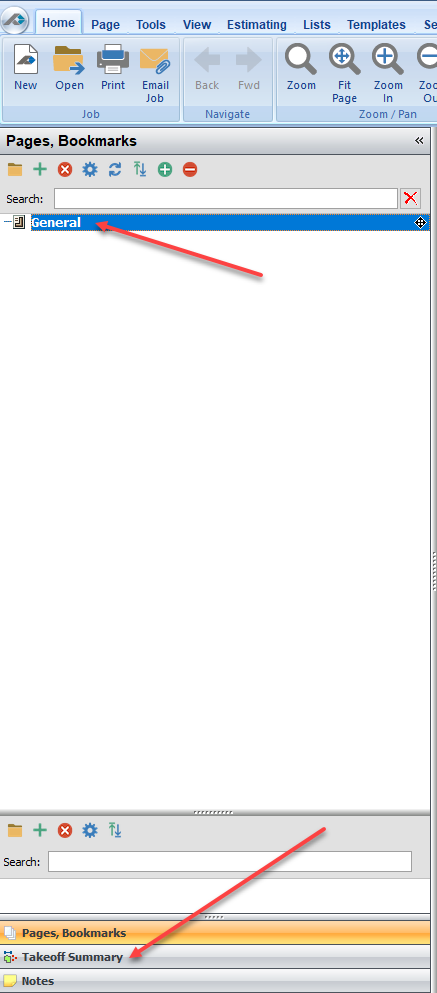
Figure 7 - The Takeoff Summary window is visible in Figure 8, which shows the General page.
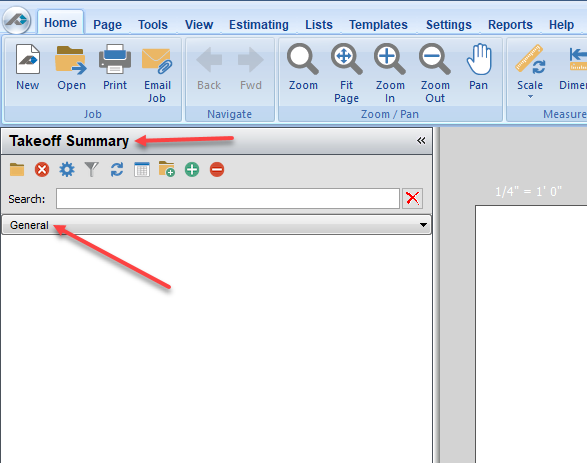
Figure 8 - Now that your job is set up, use Windows Explorer to navigate to the Excel template file (.xltx) that you wish to have exported to PlanSwift as an Excel WorkBook (Figure 9), and double-click on the file to open it. In this case, we're using PlanSwift Sample Converted.xltx.
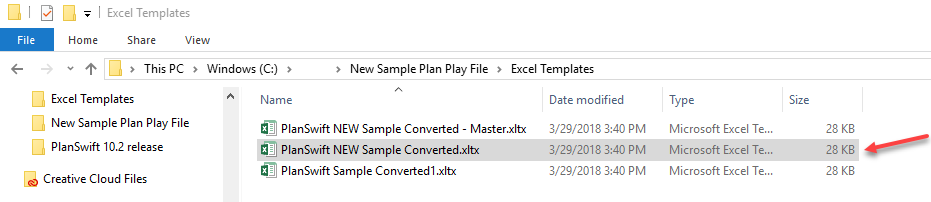
Figure 9 - This opens the PlanSwift Sample Converted.xltx template file into a workbook file (Figure 10). Click on File and save this file (it will have an .xlsx filename extension) to a location of your choice, then click on the PlanSwift Ribbon-bar Tab.
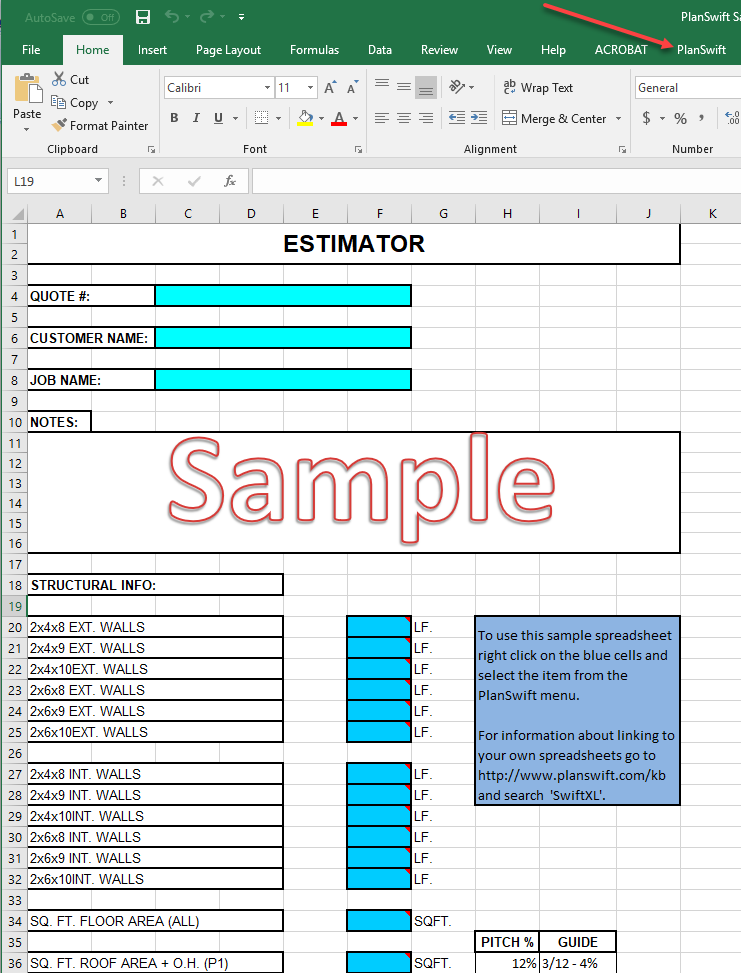
Figure 10 - To connect this workbook to the PlanSwift Garage job, click on Connect.
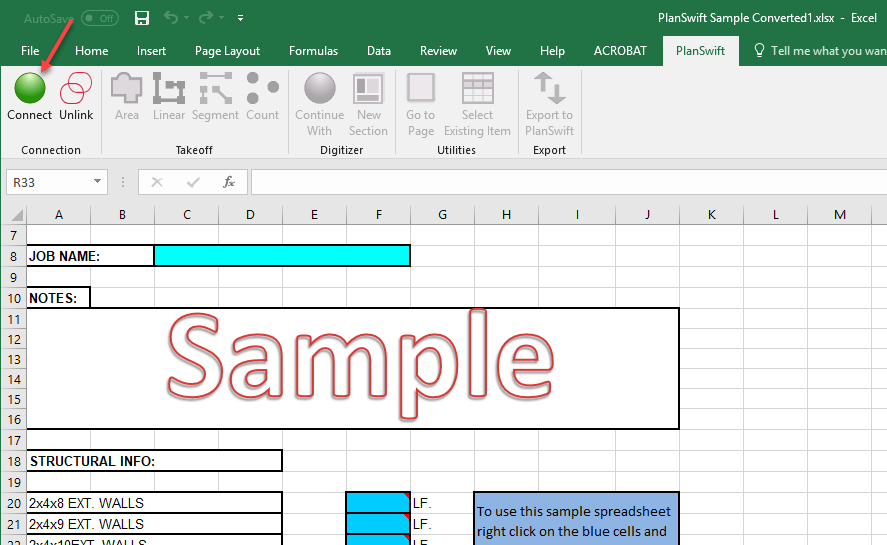
Figure 11 - When connected, the Connect icon toggles to a red Disconnect icon (Figure 12). Now, while watching the Takeoff Summary window in PlanSwift, click on the Export to PlanSwift icon.
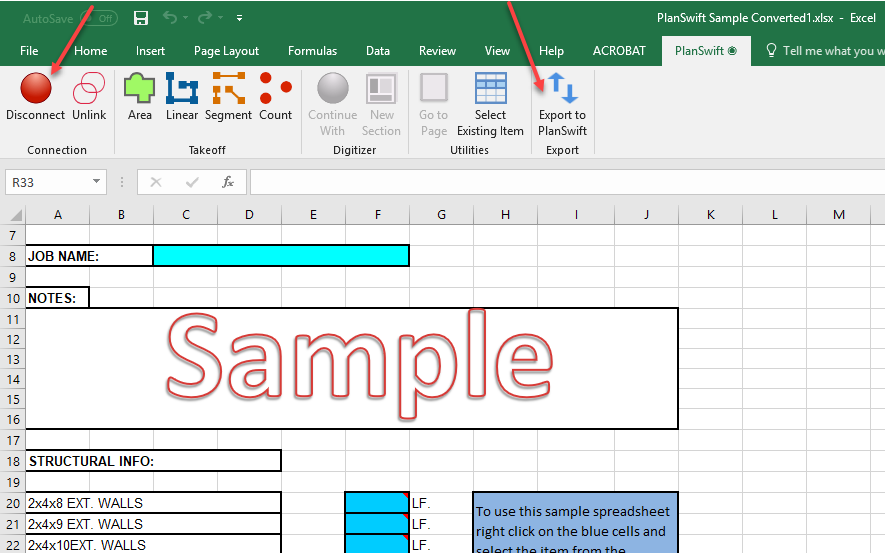
Figure 12 - The template items will populate in the Takeoff Summary window. Click on the black + to open all of the folders (Figure 13) so that the template items are visible. Then click on the Pages,Bookmarks window.
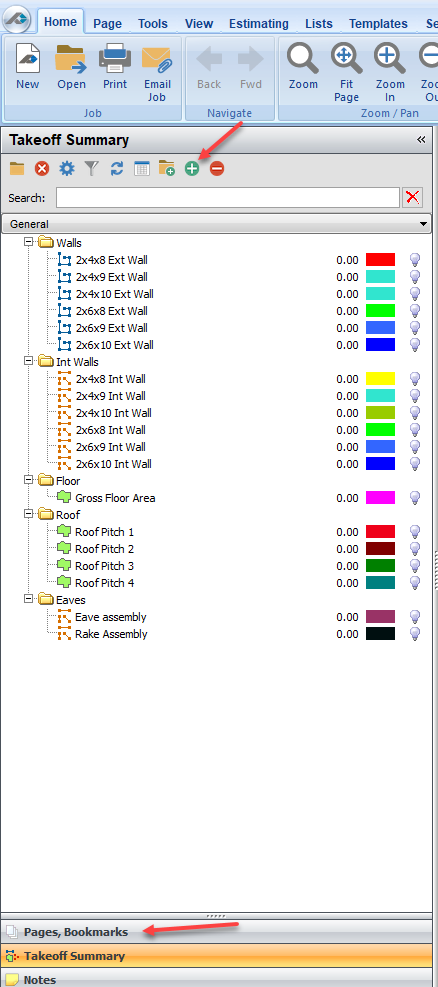
Figure 13 - The Pages,Bookmarks window (Figure 14) will now allow you to see the takeoffs you execute from Excel. Move back to the Excel WorkBook window.
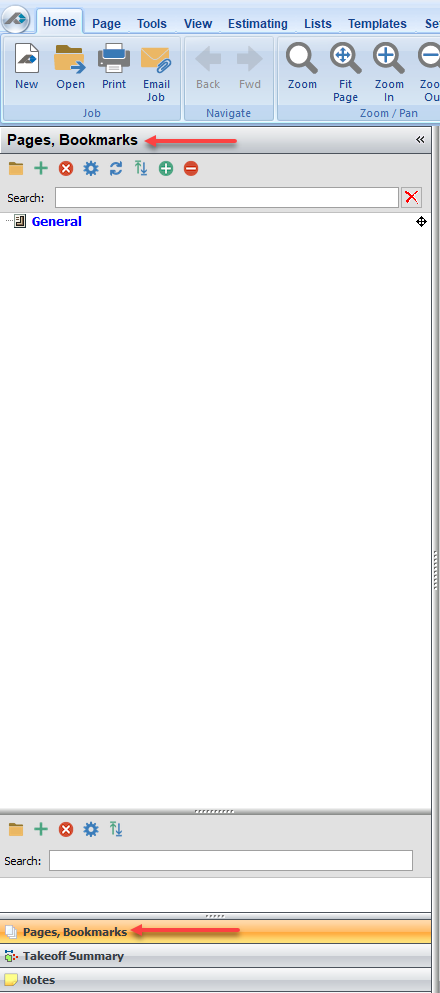
Figure 14 - In Excelthe WorkBook, click on cell F50 (arrow 1 of Figure 15), and then click on the Area Linear icon.
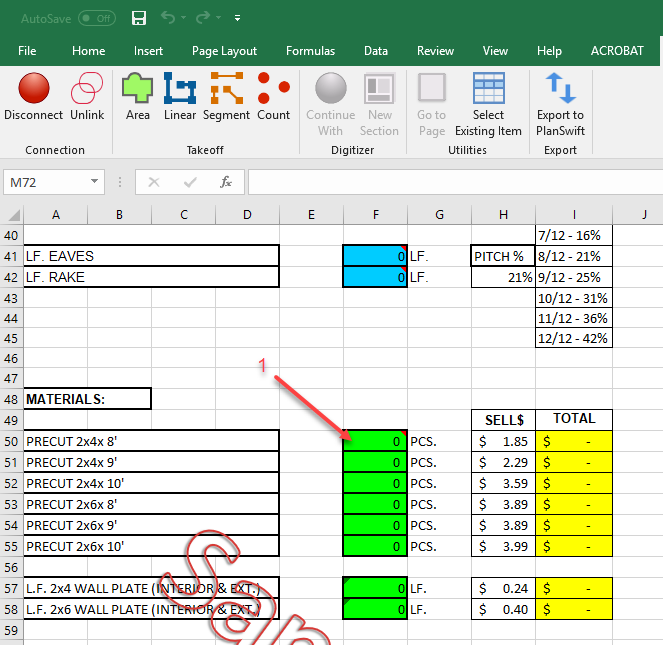
Figure 15 - Perform an area takeoff like that shown in Figure 16. After the takeoff is completed, the New Area and the takeoff area value appears in the Pages,Bookmarks window.
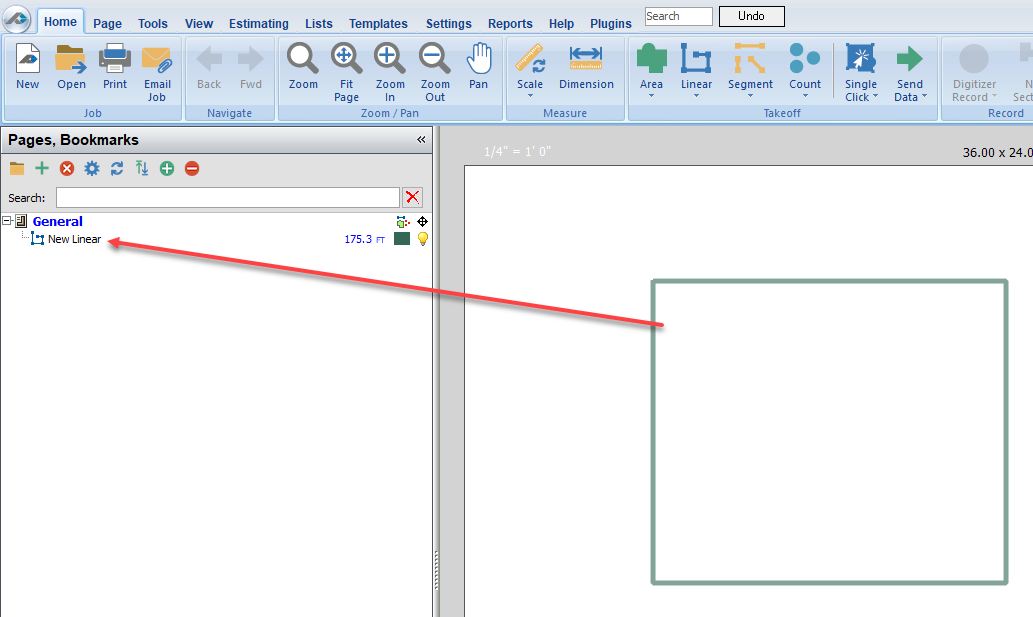
Figure 16 - That WorkBook cell F50 will now reflect the number of 2x4x8' pieces of pre-cut material required for that takeoff and will also display the pricing ($5.37) for those pieces (Figure 17).
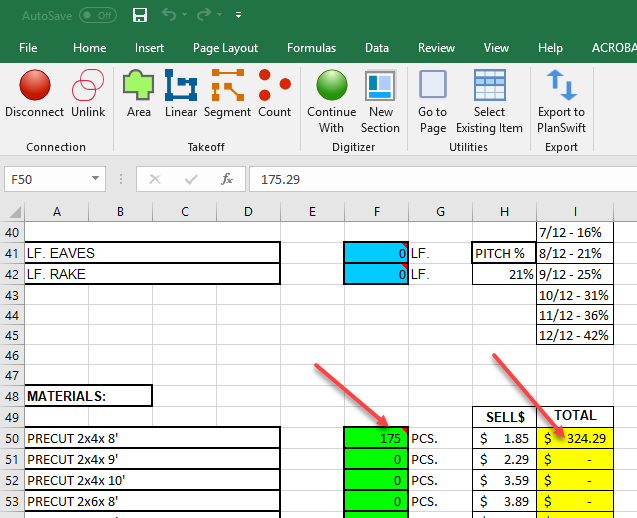
Figure 17