...
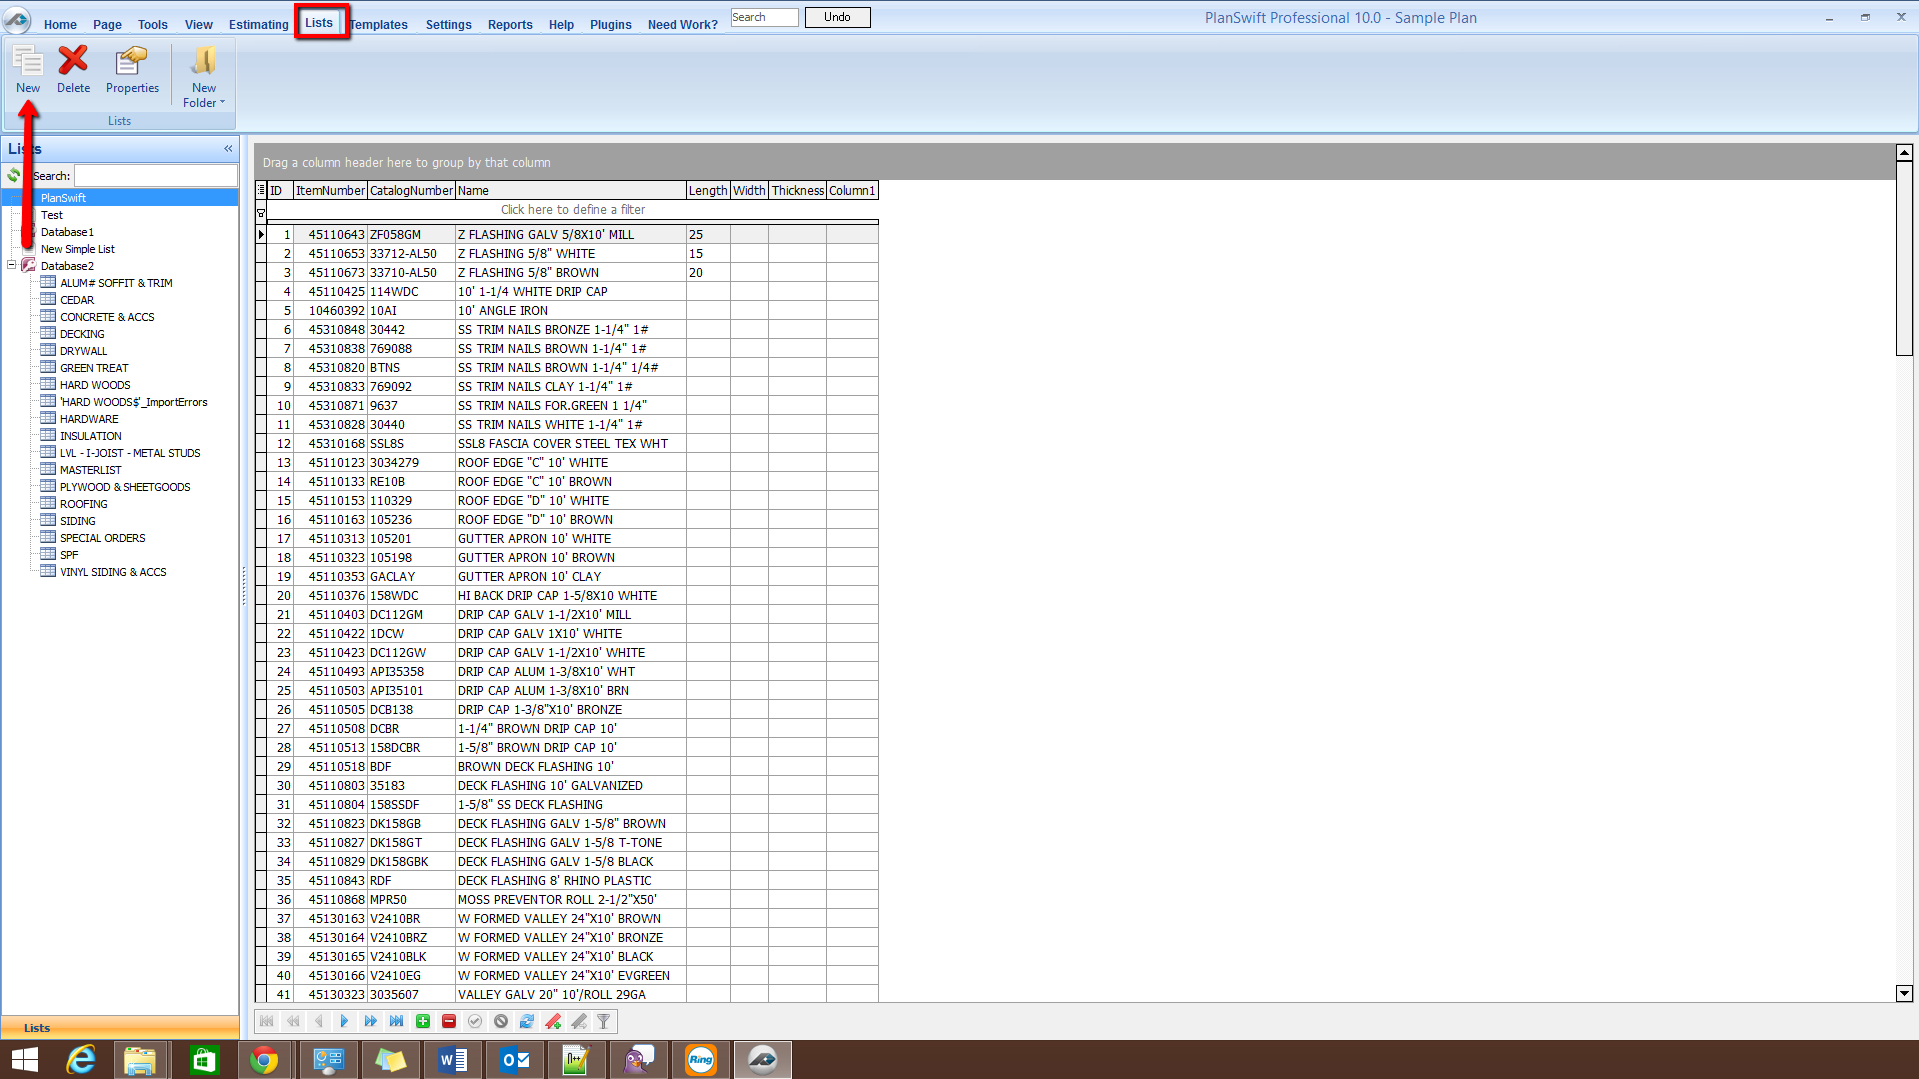
1. Once you have PlanSwift loaded you can go to the Lists tab and click on New list to create a list.
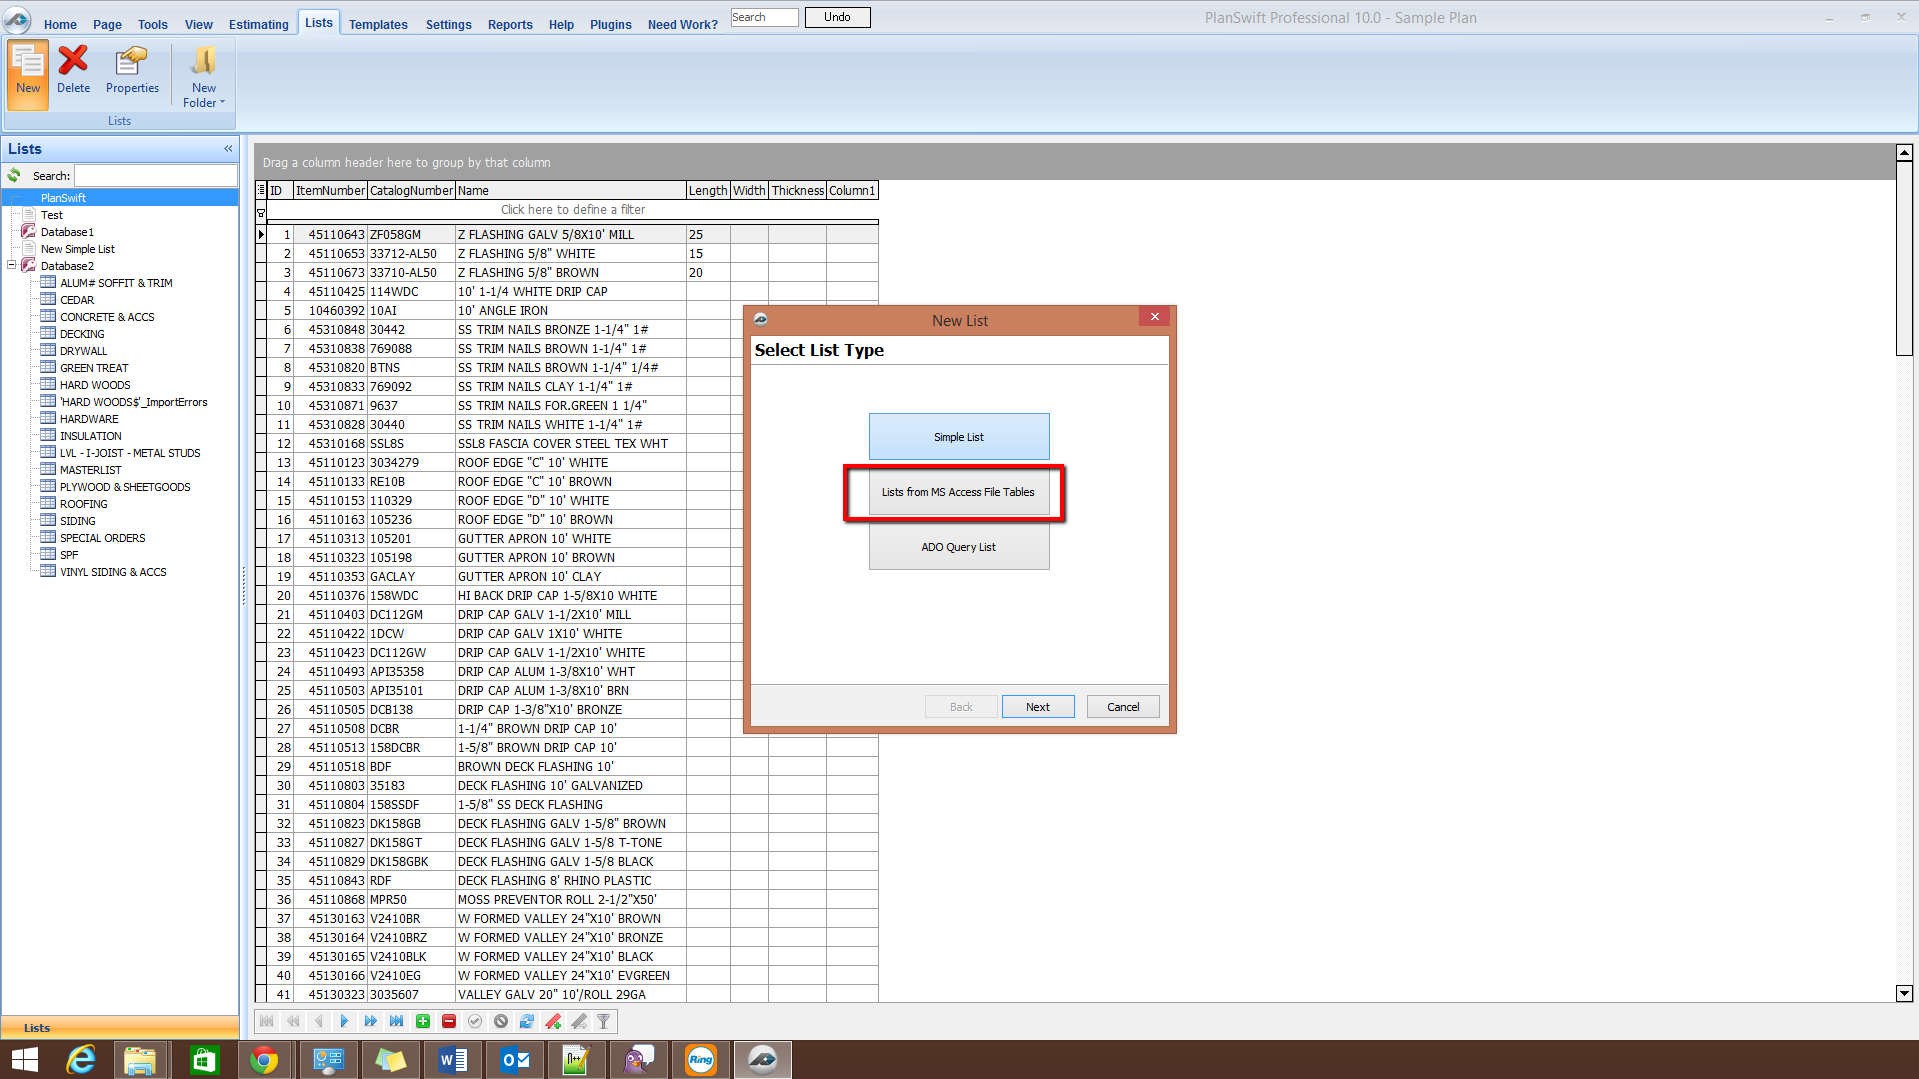
2. Click on List from MS Access Tables and click Next.
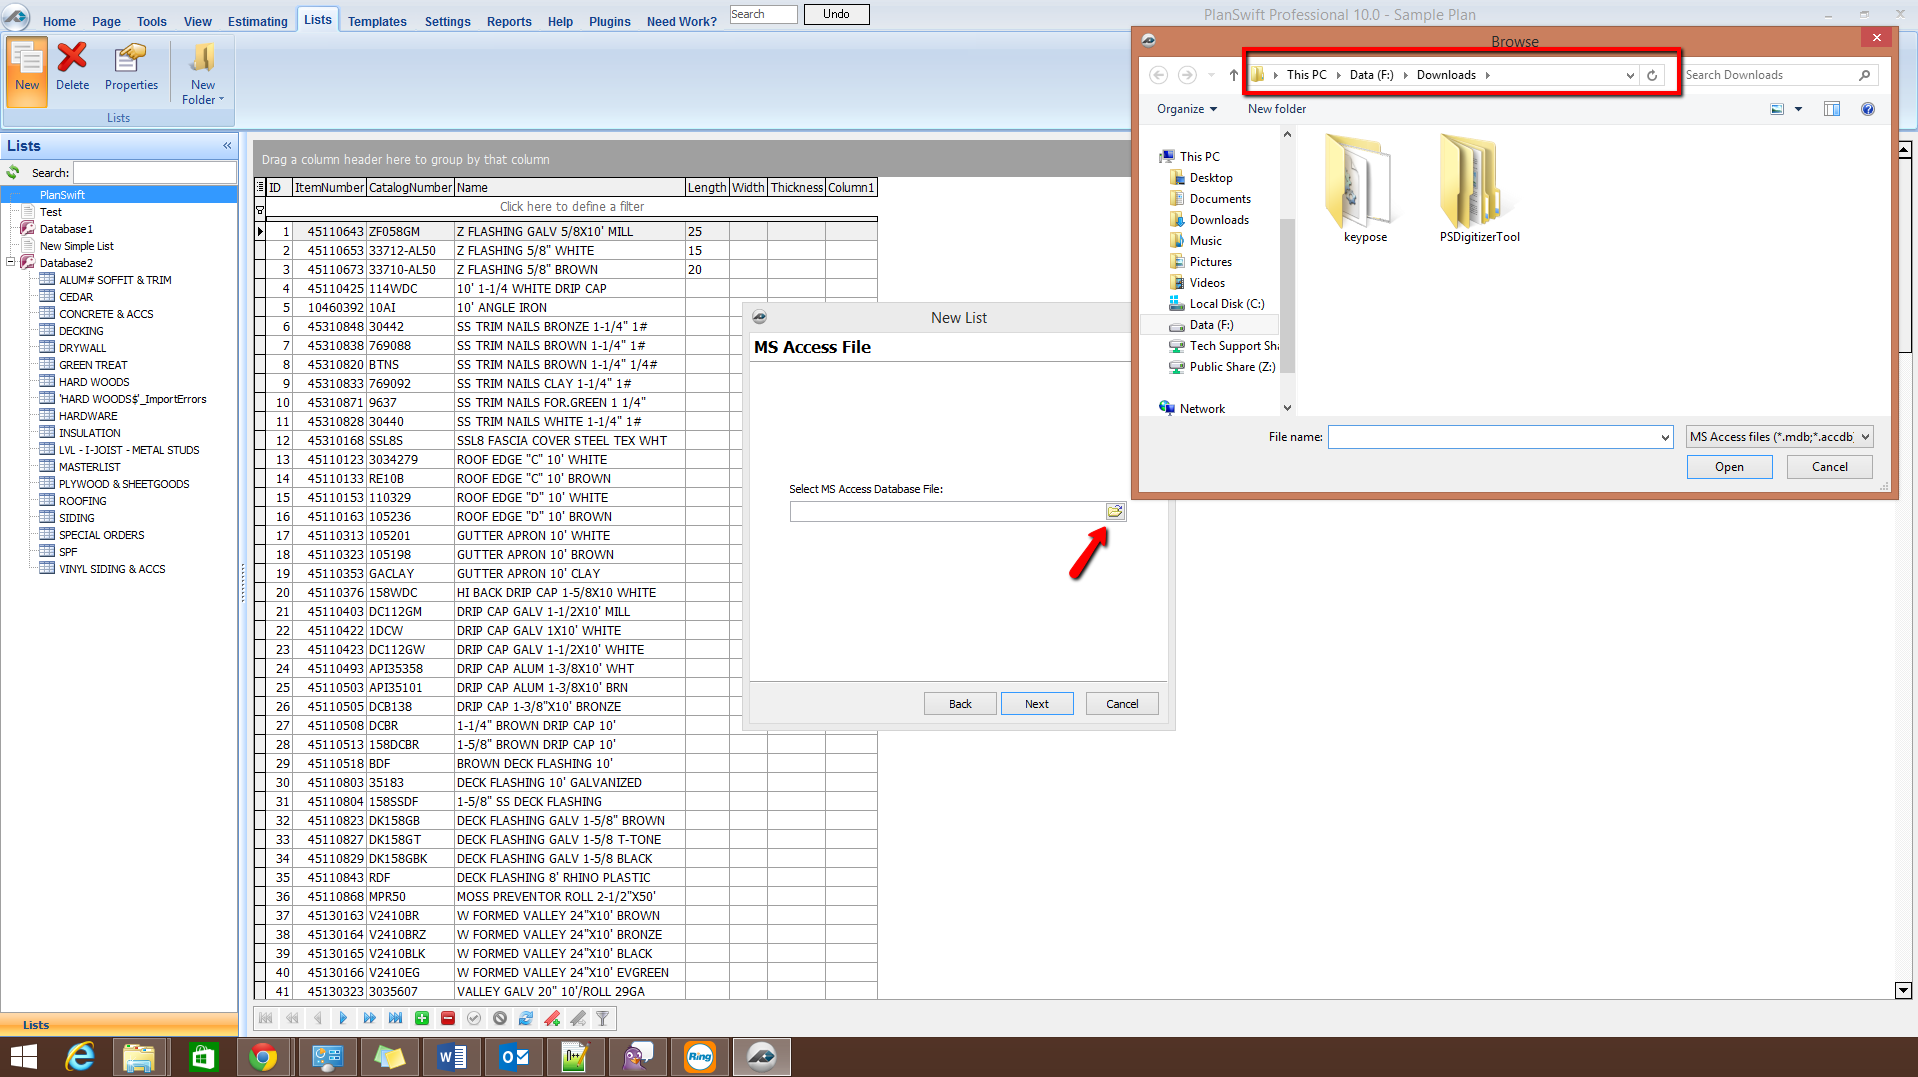
3. Click the button on the right-hand side and it will bring up your Browse window. Once You have your Browse window you can browse to the location of your Access Database and select it.
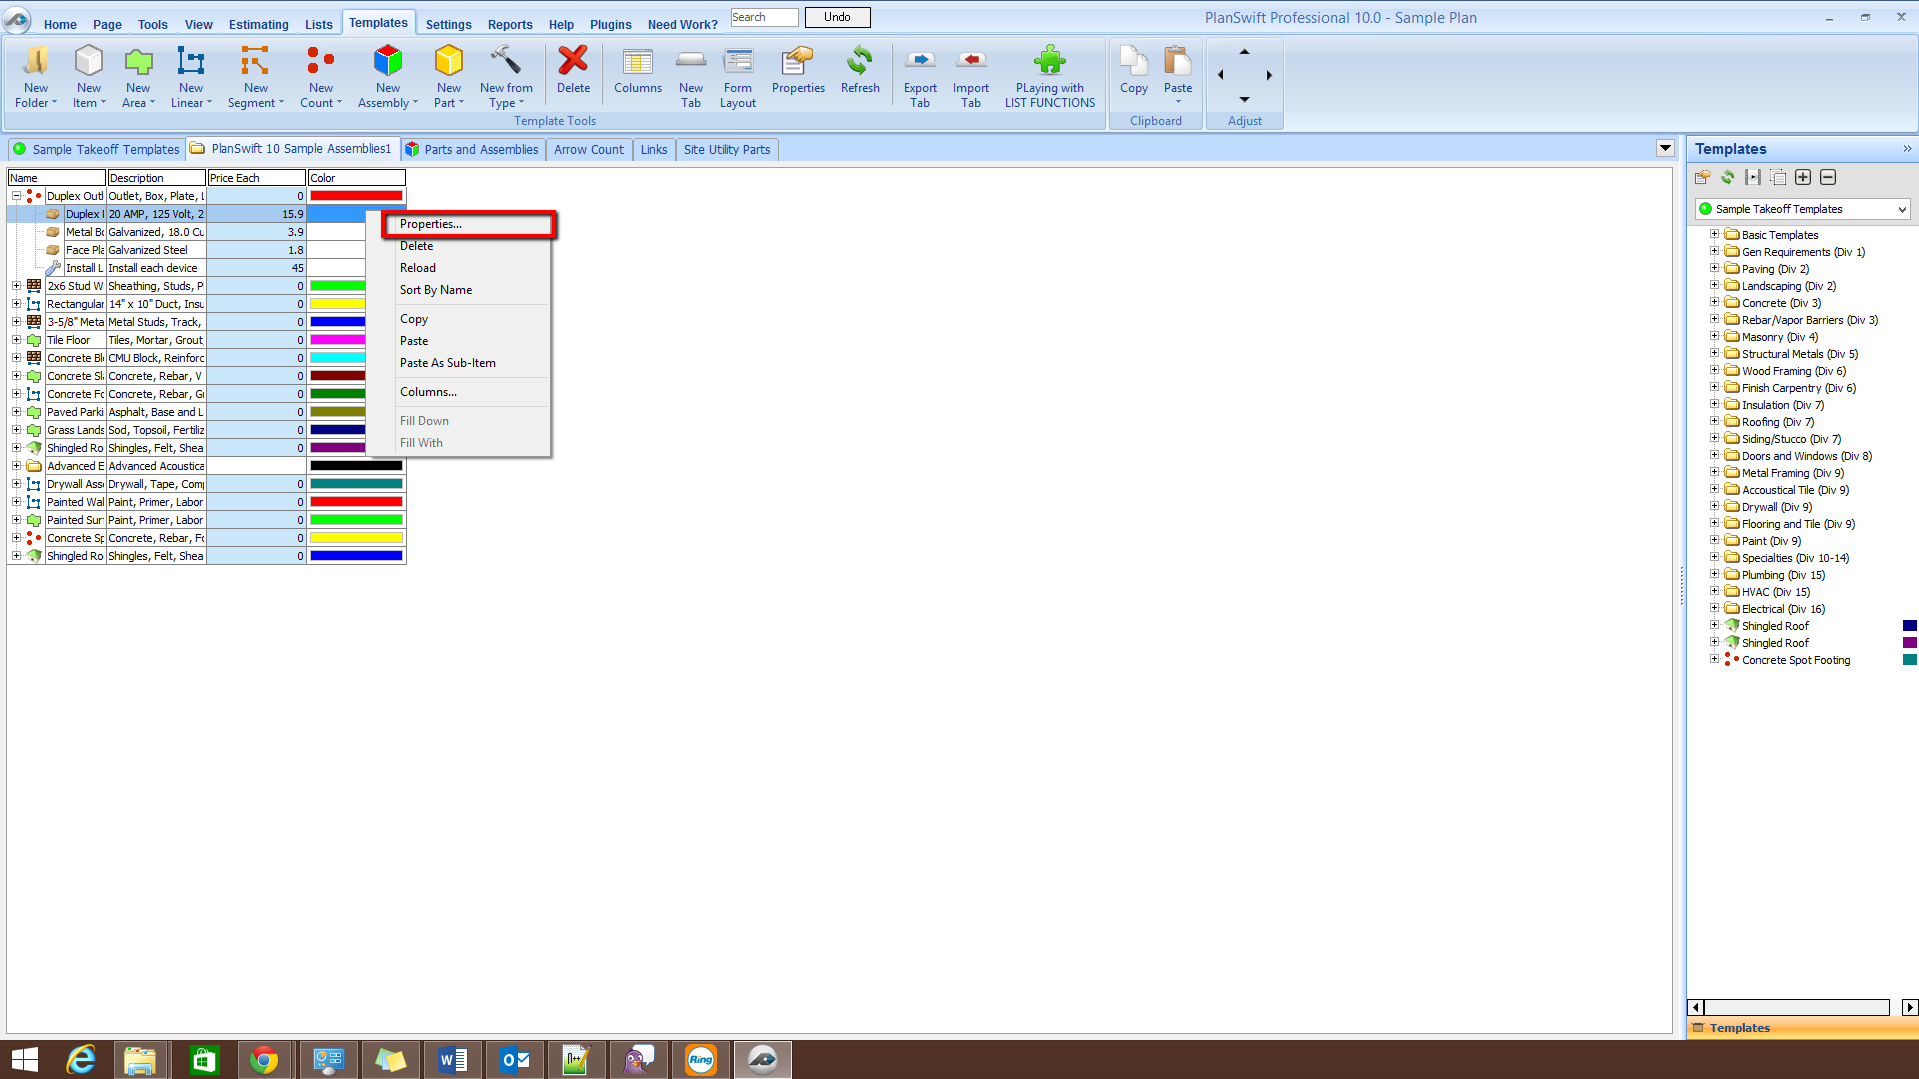
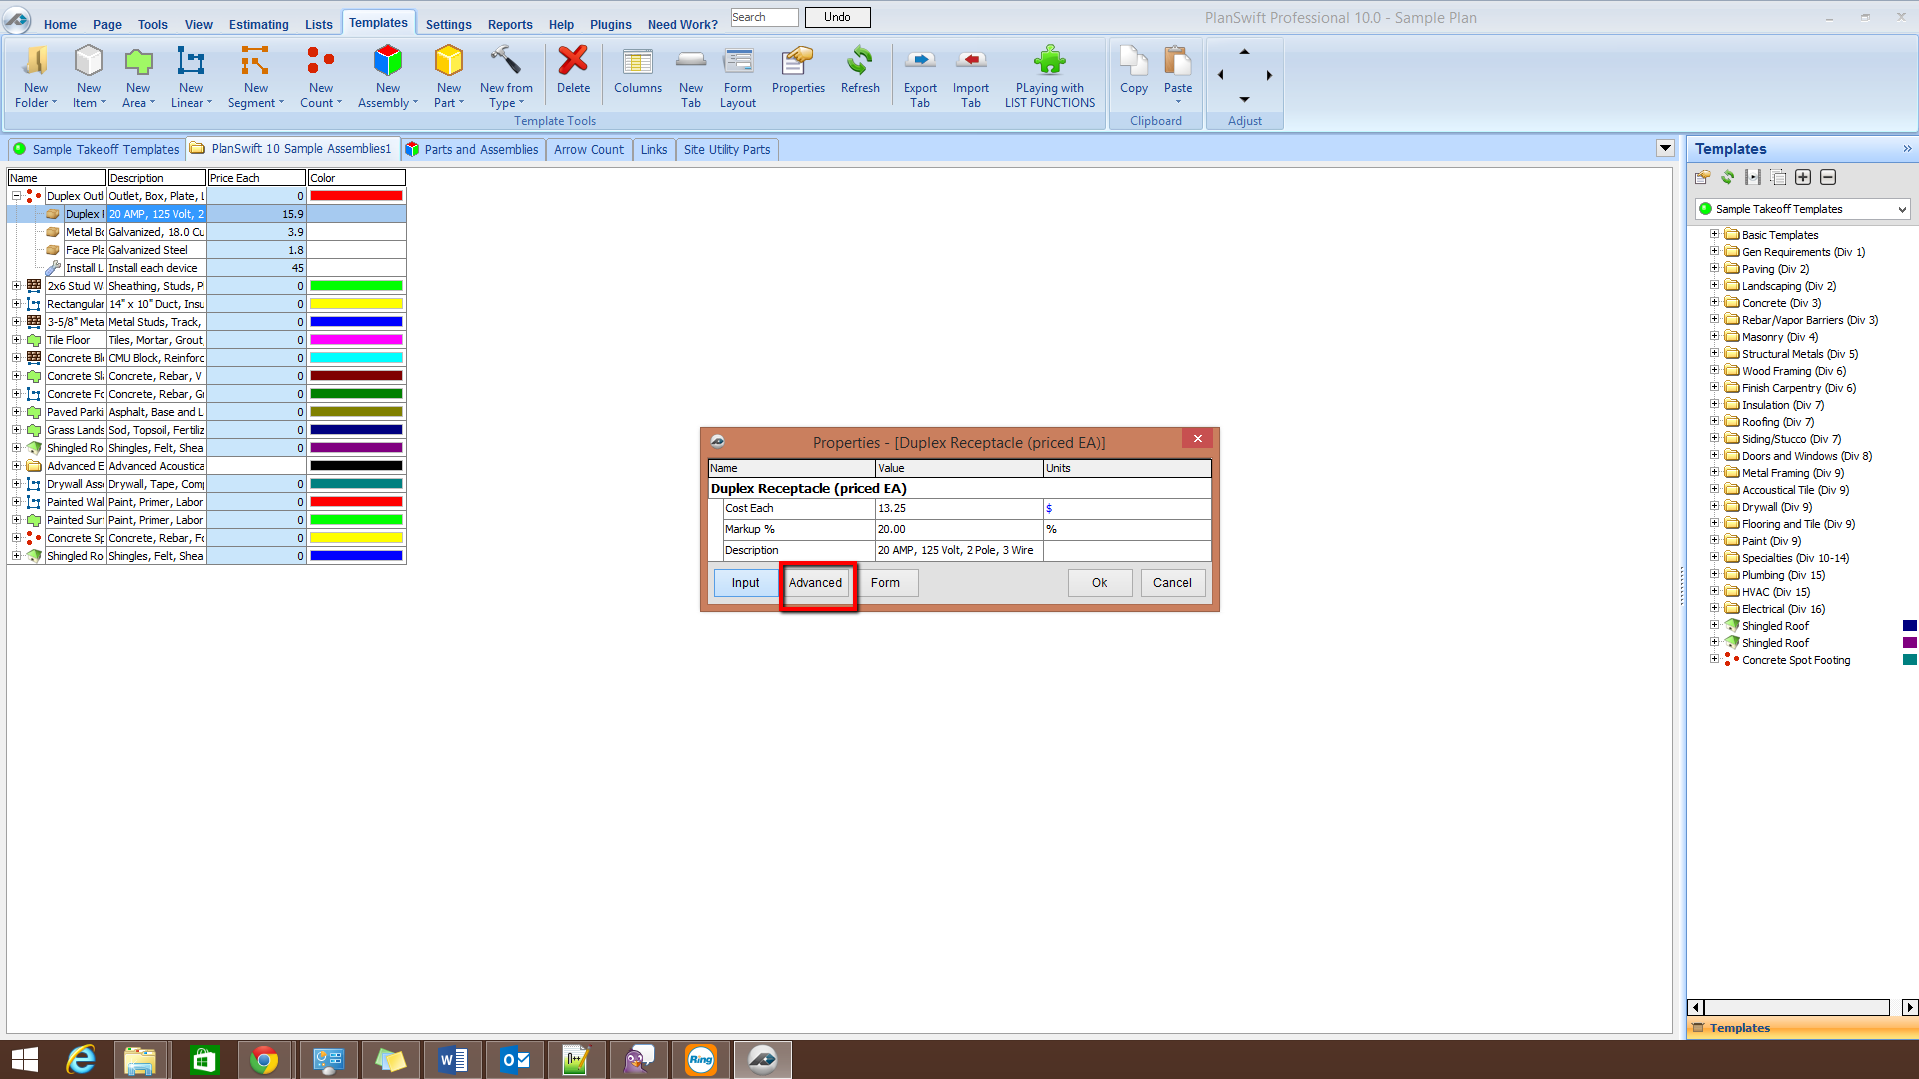
4. Once you have your Database connected and coming up, you can now go into the Advanced properties of an item by right-clicking on the item you want to connect your database to and going to Properties then clicking Advanced.
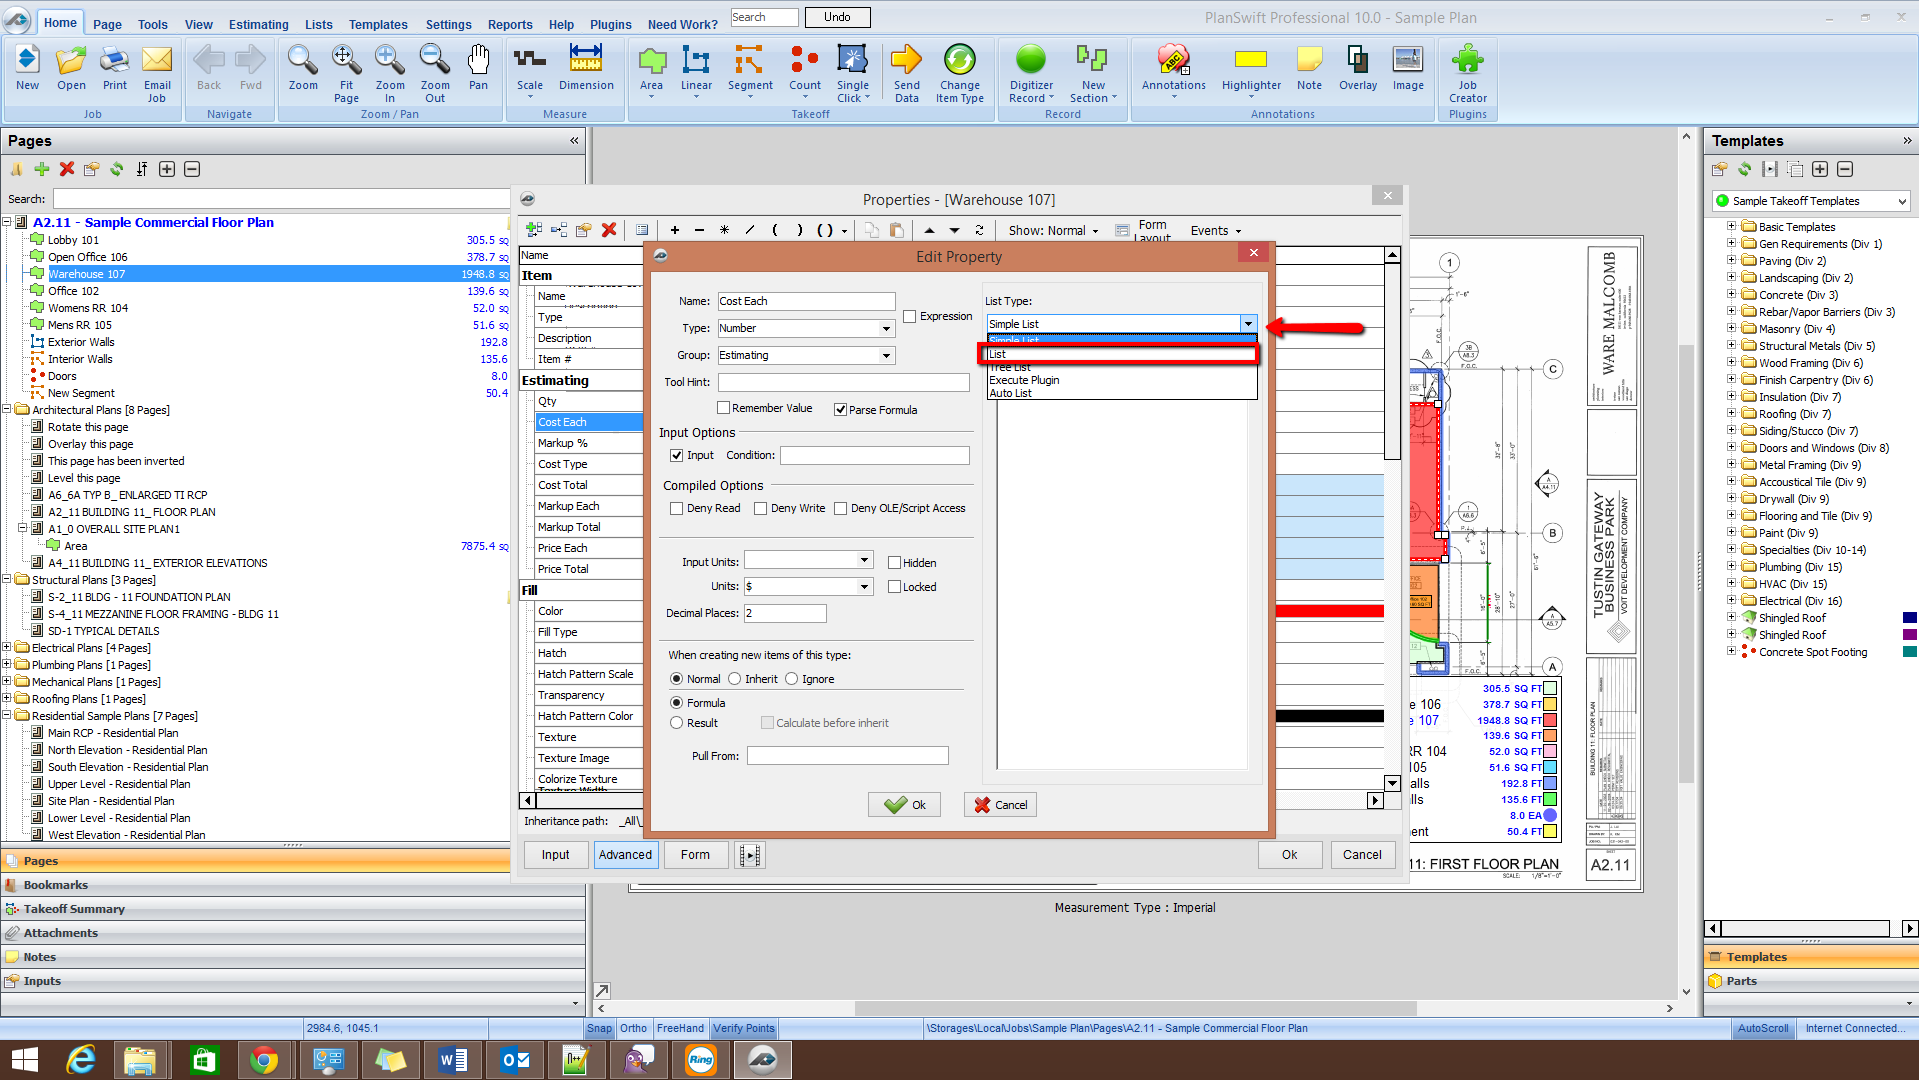
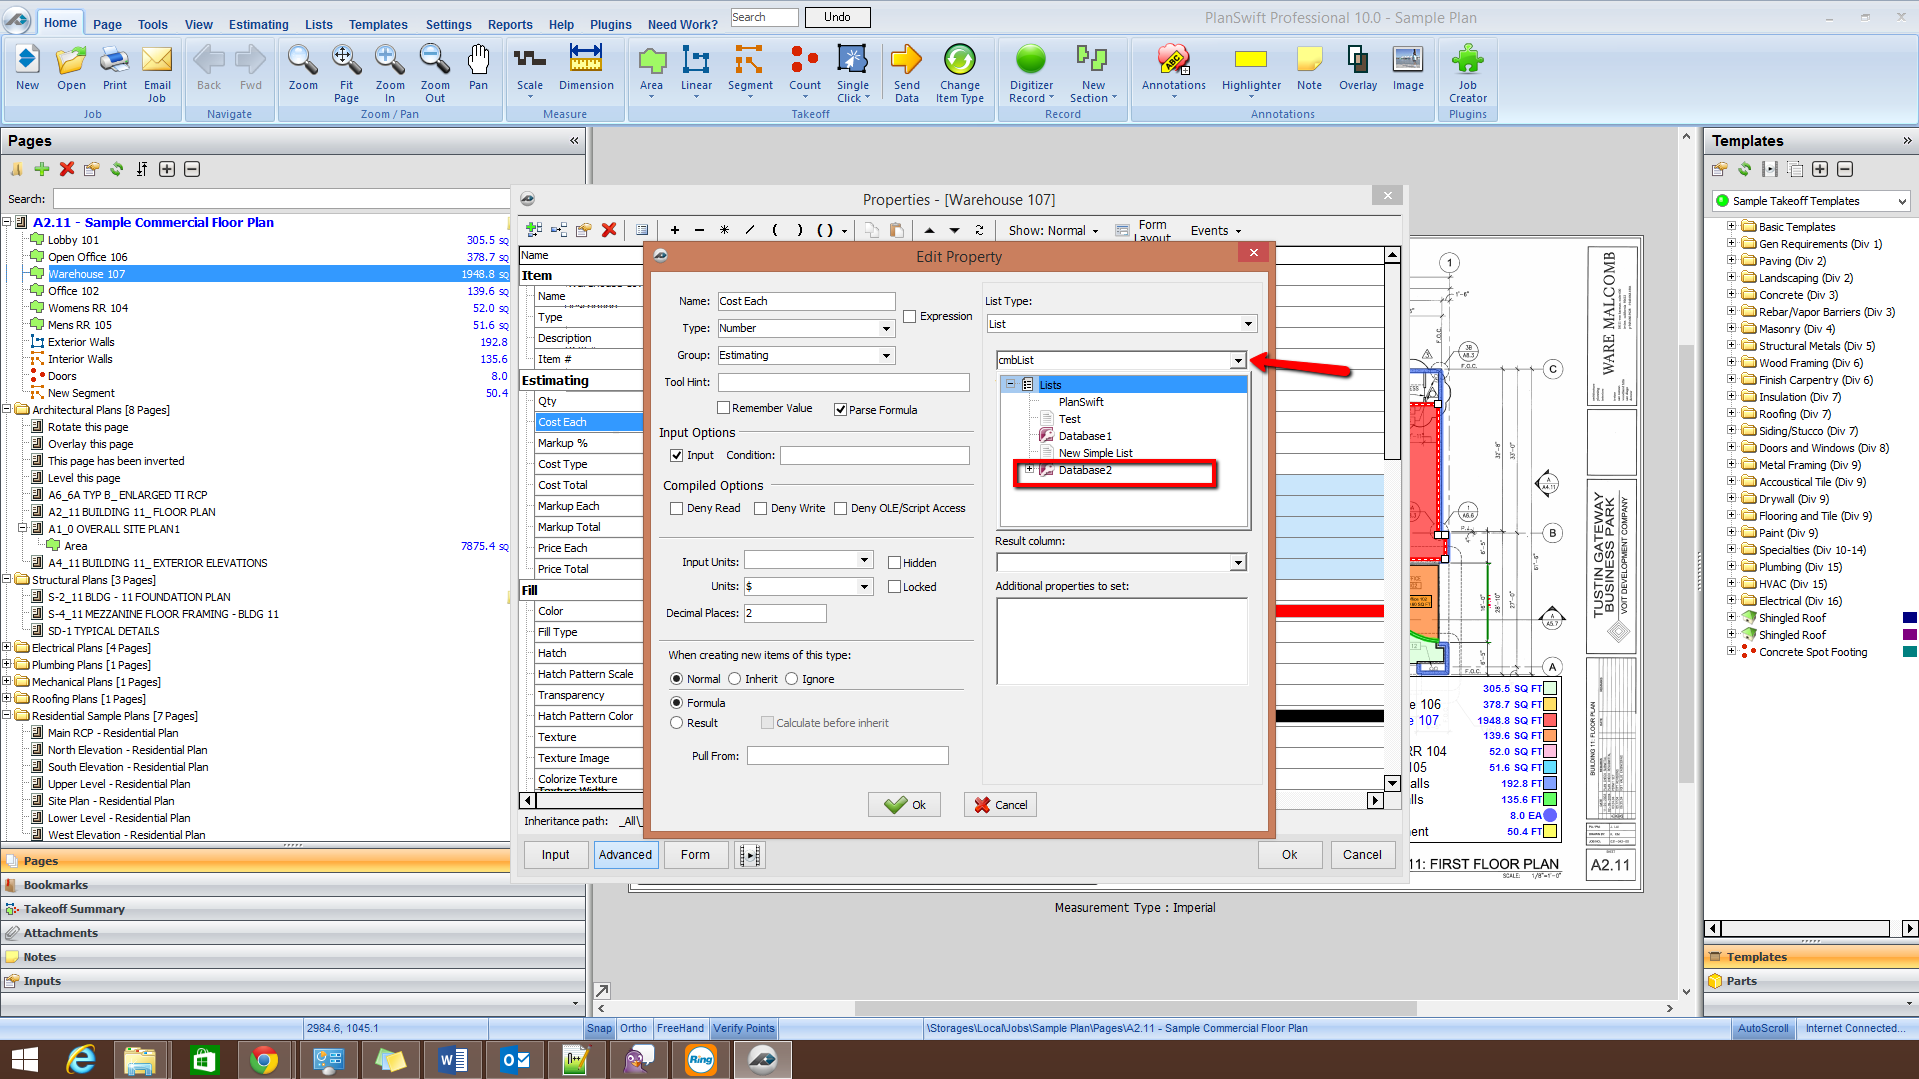
5. Select the property inside of the item you want to edit and double click on it (this property is usually either Name or Item #, something that will uniquely identify the item in your list that you're trying to select). In the Edit Property, which is made accessible by adding a property, you will want to have your list for the drop-down menu:
6. Next, you are going to add properties for each drop-down item listed. Here, you'll want to have the price for each item, so that if you choose an item from the drop-down, it will change the numbering in your "Cost Each" property (we'll get to that in a second).
7. Once you have selected the table of your Access DB that you want to use, you can proceed to tell it what columns you want to be viewable and which properties to set. The resulting column will represent what the property you are currently editing will show, and if you have any additional columns with the same name as the item's properties you can choose to have those set as well.
...

