How to: Digital Takeoff Tool Options
The Digital Takeoff recording options are located at the bottom of your screen.
There are five different tool options: Snap, Ortho, Freehand, Verify Points, and Record Mode. These options can be toggled on or off by simply clicking on their location.
Snapping allows an object to be easily positioned in alignment with another object. This will cause it to automatically jump to an exact position when you drag it into the proximity of the desired location. For example, if creating a New Linear, you can snap your lines to an existing point by putting your cursor near that point.
Ortho means straight. This will keep you locked in the horizontal and vertical axes as well as in the forty-five degree angles. You can temporarily override this option by holding the Shift key to allow you to move to any angle you would like.
Freehand allows the takeoff of a free-form object. By holding down the left mouse button, the lines will follow the cursor movement.
The Verify Points option allows you to modify the exact length of the segment you are taking off, on the fly. When you click each point after setting this tool, you will be prompted with a dialog box allowing you to adjust the dimension.
Record Mode has two options, Point to Point, and Box. Toggle between these options by clicking the on the Record Mode text.
...
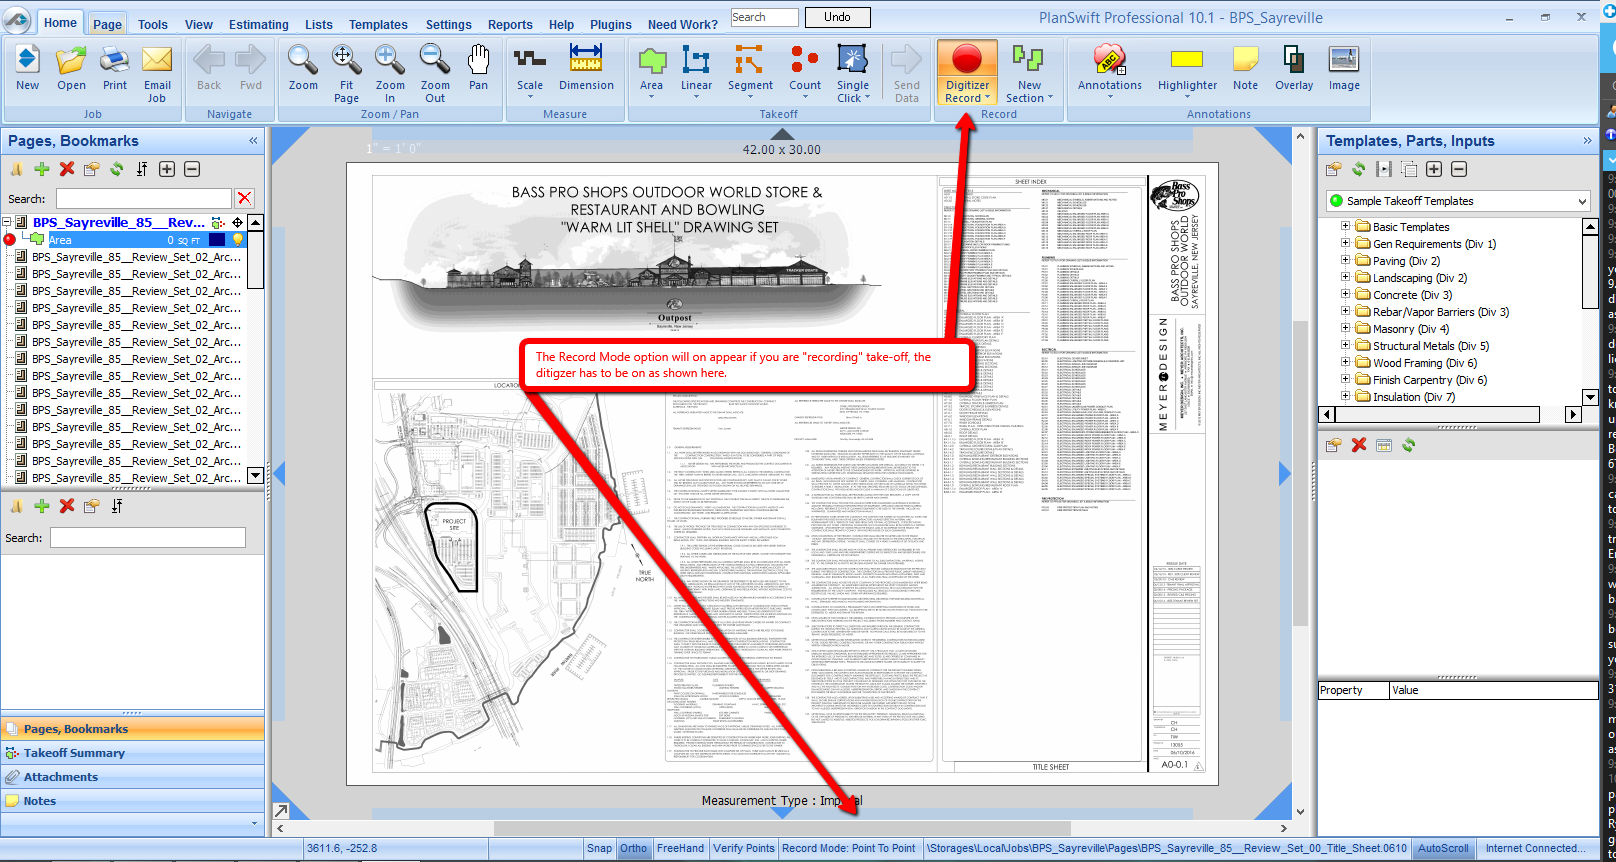
Note: This is only visible when you have a digitizer tool active.
- Point to Point sets a point each time you click your mouse while actively recording in a takeoff tool.
- Box is a two-click drawing mode which allows you to create rectangular or square areas by clicking two opposite corners, such as upper-left and lower-right.