In order to upgrade to the latest version of PlanSwift from PlanSwift 9, you need to proceed with the following:
1. Download the PlanSwift.exe file from PlanSwift.com/dl (by clicking this link, you should automatically start a download of the latest version of PlanSwift).
2. Click on the link in the lower left corner of your browser.

3. This should start the PlanSwift 10 Setup Up Wizard. Click on I Accept this Agreement and then click Next.

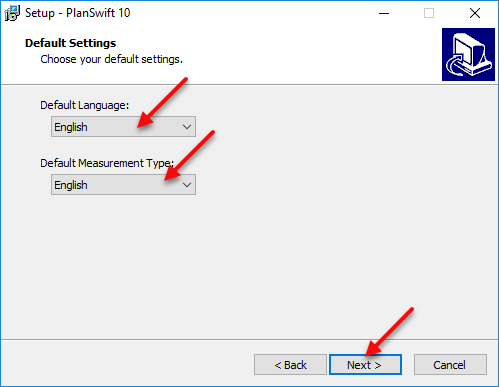
5. Next are the Default Settings. Here you can choose the Default Language and the Default Measurement Type.
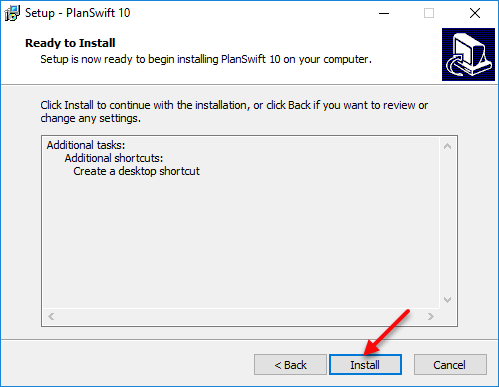
6. The following screen will be a review of your installation settings before you run the install. Click on Install and your computer will begin to install PlanSwift 10.
7. If you are installing from PlanSwift 9, you may need to move your local files over from PlanSwift 9, to Planswift 10.
8. Navigate to your PlanSwift9 folder located at C:\Program Files (x86)\PlanSwift9. In this folder, you are going to want to locate your storage folder. The Storage folder can be found at:
C:\Program Files (x86)\PlanSwift9\Data\Storages\Local
In this folder, you will find a Jobs and a Templates folder.
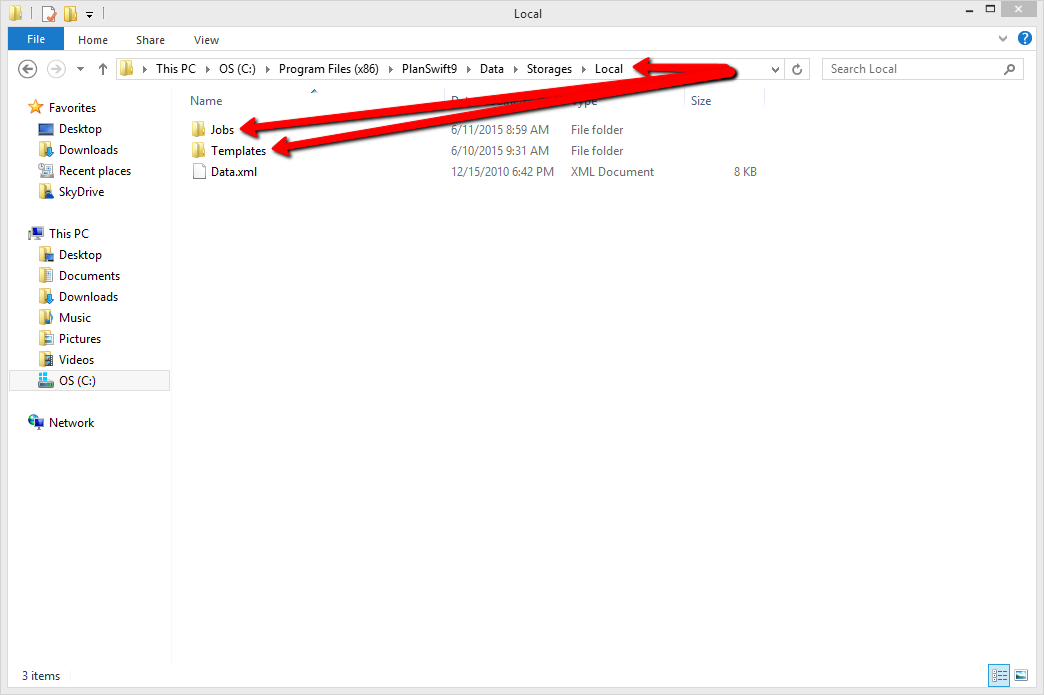
9. Select both the Jobs and Templates folder; right-click and choose Copy.
10. Now locate the PlanSwift10 folder; the file path is going to be C:\Program Files (x86)\PlanSwift10 and your storage folder is going to be located at C:\Program Files (x86)\PlanSwift10\Data\Storages\Local. This is where you will need to paste the copied data from PlanSwift 9.
11. Right-click and hit paste, let Windows complete the data transfer, and PlanSwift 10 will now have your jobs and data from PlanSwift 9.