The export template feature lets you create custom Excel templates for your exported lists of projects, participants and companies. All Insight users in your company can share the same template layout without having to manually rearrange, add and delete columns for each export.
Note: Click to see our Templates video.
This section contains the following topics:
Viewing, editing and deleting export templates
To view, edit and delete export templates,
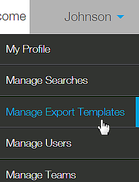
| 1 | From the Welcome menu at the top right of any page, click your name and then click Manage Export Templates:
Result: The Manage Export Templates window is displayed. | ||||||||
| 2 | Choose from the following for your action.
|
Creating export templates
You can create your own customized Excel templates for your exports of project, company and participant lists.
To create export templates,
| 1 | Access the Manage Export Templates window. |
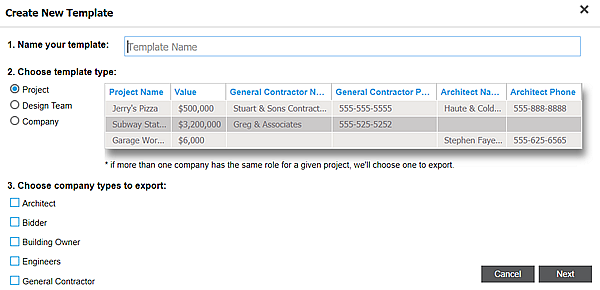
| 2 | In the menu, click New Template. Result: The Create New Template menu is displayed:
|
| 3 | Enter the name of the template in the Name your template box. |
| 4 | In the Choose Template Type section, select the template type . Note that the template type should match the type of export in your list:
|
| 5 | In the Choose Company Types to Export section, select the company types to export based on the template type you selected: For Project you can select from the following:
For Design Team and Company you can select from a full list of company types and subcontractor Divisions. |
| 6 | Once you have made your selections, click Next. |
| 7 | In the Choose your columns menu, select the columns you want included in your export.
Note: Click Clear at any time to clear the selections in the Selected Columns section. |
| 8 | When you are done, click Save. |
Assigning export templates
Administrators can assign an export template to any of their team members. Note that there must be at least one export template created to use this feature.
To assign an export template,
| 1 | From the Manage Export Templates window, select the template you want to assign from the list. |
| 2 | Click Assign. |
| 3 | In the Assign Export Template "All Participants" menu, select the users you want to assign to the template. Note that you can assign as many users to a template as you need. |
| 4 | Click Assign. Result: A message is displayed confirming your selection. |