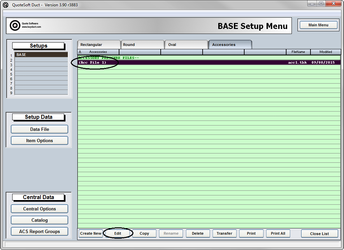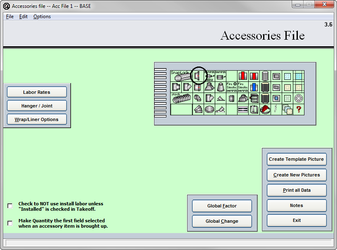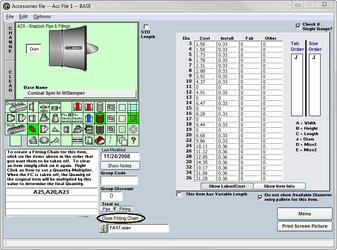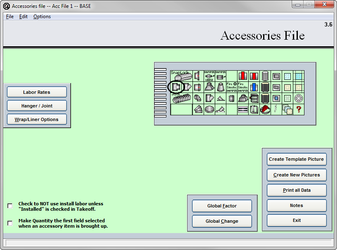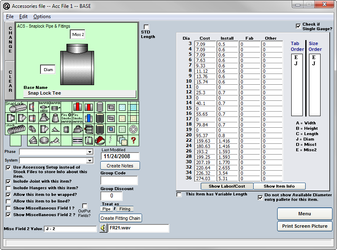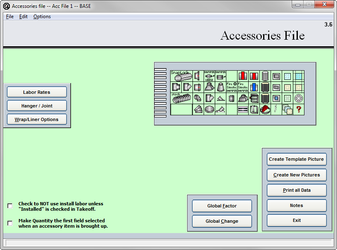

The Accessories File is designed to store all purchased items such as Snaplock pipe, adjustable elbows, flex duct, spin-ins, and others. Typically there isn’t a need to have more than one Accessories File as most contractors only buy these items from one location.
You can set up Accessories Files for material types as well. For example, you can create a second Accessories File for B-Vent Flue pipe. All Accessories Files have the same setup principles so creating a new file on demand is a simple process.
There is no limit to the number of files the system can store and use. Each file is linked back to the Data File for the component information to ensure that the setup of the Data File has been completed prior to constructing Accessories Files.
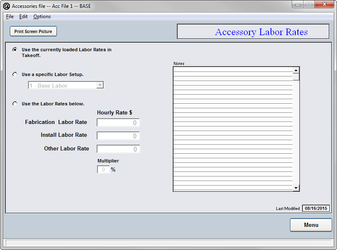
You will need to select which Labor Rates to be used with this File when performing the takeoff calculations.
Typically you would select "Use the currently loaded Labor Rates in Takeoff" and the program will use the rates you selected for the job. If you want this pressure file to always use a specific Labor Rate, select "Use a Specific Labor Rate" and choose which of the available you'd like to use or "Use the Labor Rates Below" and type in the rates needed.
Setup Tip! For a Change Order Pressure File, it is possible to use a multiplier on your labor rates here.
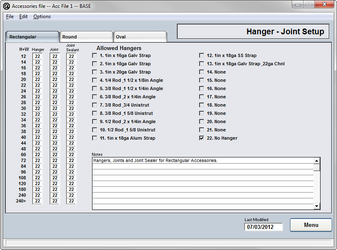
The Accessories Hangers and Joints are set up on the same page. Simply input the default Hanger, Joint, and Joint Sealer you with to use in the Takeoff.
Checking the Allowed Hangers, Joints, and Joint Sealers will allow you to have alternates to your defaults. Jobs may require specific systems requiring you to change your selection.
Setup Tip! Use Windows Copy and Paste functions to speed up the setup. Just modify after Pasting.
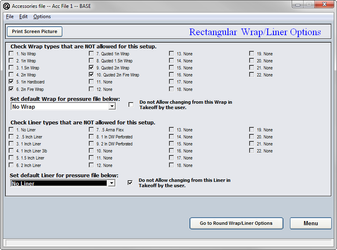
The Accessories file will allow you to disallow specific Wraps and Liners from each of the files.
Simply check the boxes of the Wraps and Liners you wish to DISALLOW from this file.
Setup Tip! Be sure to set up both Rectangular and Round pages!
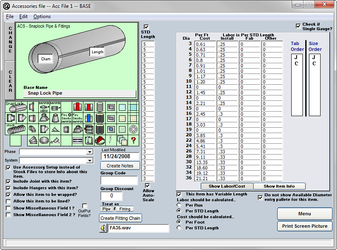
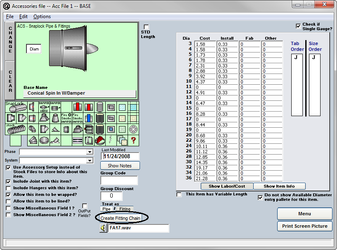
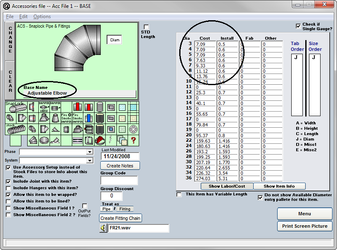
Each setup page for the Accessories can be customized with options. For example, you can have a gauge chart which will allow you to set up pricing and labor per gauge, not just per diameter).
The pricing and labor hours for each item should be qualified for accuracy to ensure the best estimate possible.
Be sure to review the options and verify that they are selected properly for your shop standards and setup.
Setup Tip! Modify the Standard Length column to make sure you get the proper number of pieces when you scale the pipe.
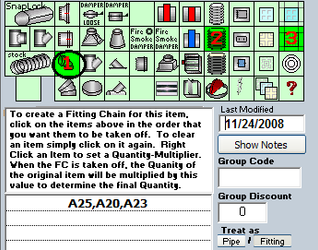
As an Exercise you will be shown how to create a Fitting Chain linking several items together for Takeoff. We will also outline how to replace an item with a new one.
