To open any link in a new tab, preserving your position in the current article, just hold down the <CTRL> key on your keyboard before clicking the link or click using your mouse wheel.
Home Tab: Annotations - Annotations - Revision Clouds
There are three additional Annotation Tools available in PlanSwift, each with numerous options: Revision Clouds, Rubber Stamps, and Sticky Tabs.
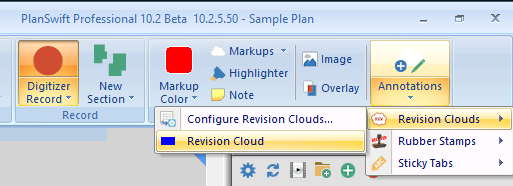
You access these tools on the Home Tab by clicking the “Annotations” drop-down.
Revision Clouds
Before you draw a Revision Cloud annotation, there are a couple options you can select. You can always change these options after drawing a markup, we explain that below, so if you want to skip this step, just click on "Revision Cloud" in the Revision Clouds drop-down and you can start digitizing right away.
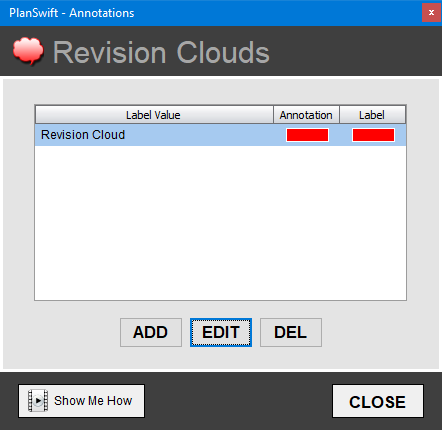
Click Annotations > Revision Clouds > Configure Revision Clouds
This dialog box shows you the color for the cloud and any label.
Click Edit.
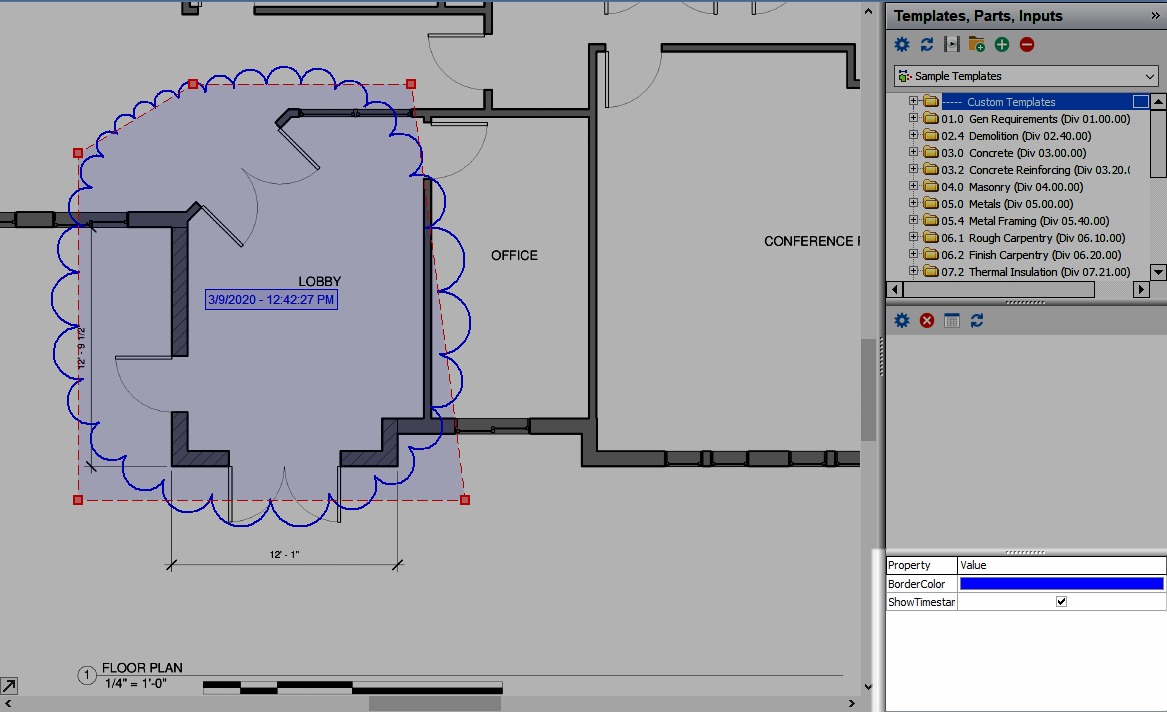
You can change the color of the cloud (Border Color) and opt to show the Timestamp (when you add the cloud).
We set our cloud to blue and click the "Show Timestamp" checkbox.
Click OK and then close the options dialog box.
Click on the Annotations button again and then click Revision Clouds and then Revision Cloud to begin digitizing.
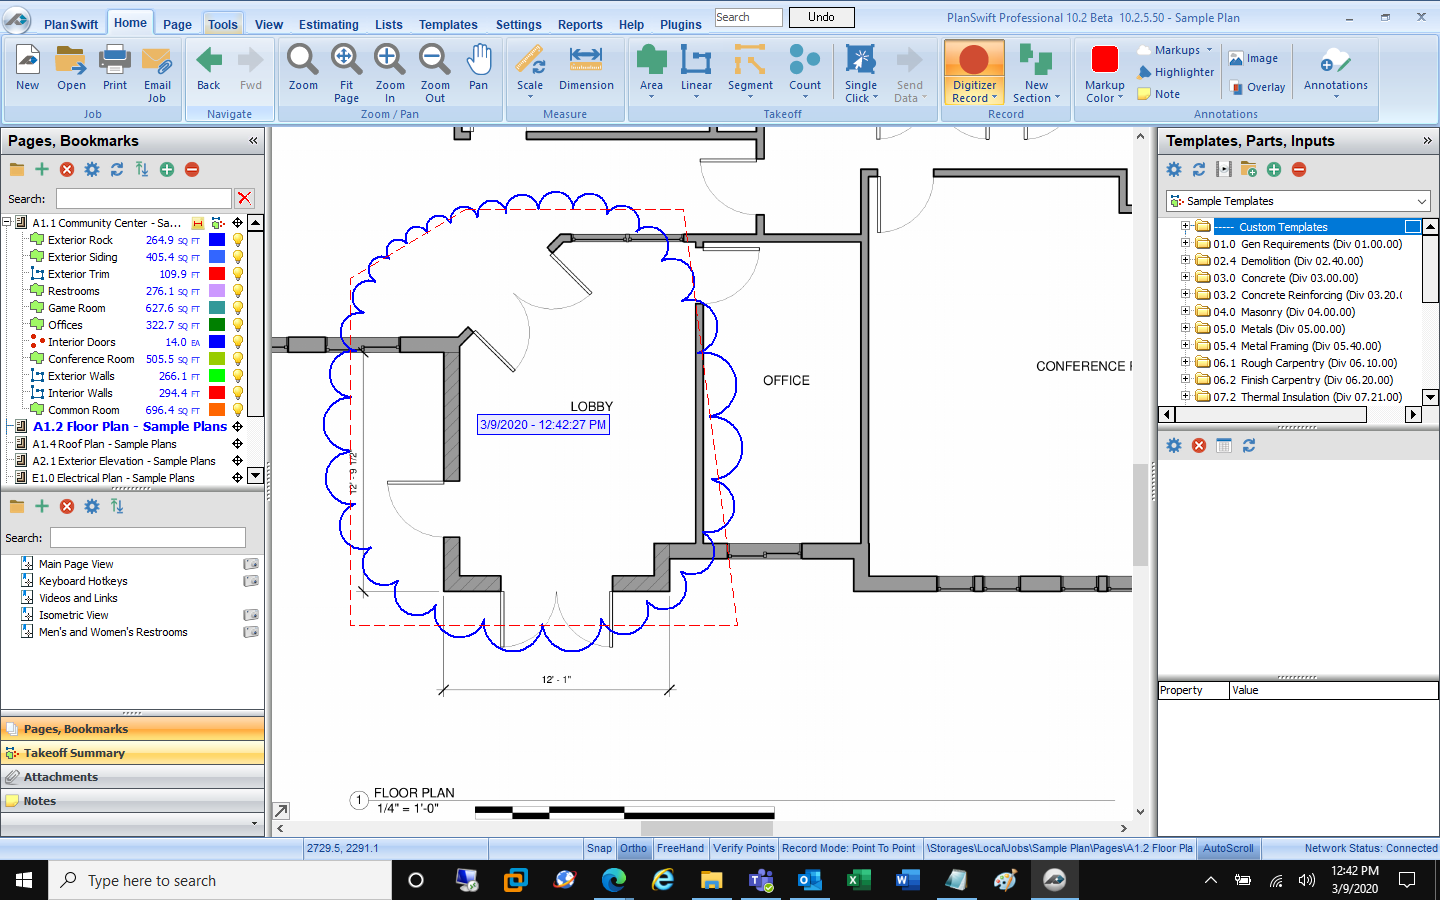
Notice, the "Digitizer Record" button is now activated.
Next, to draw your cloud, click the points that define the area around which you want to draw the cloud.
Double-click to stop digitizing and create your cloud.
Notice, because we selected "Show Timestamp", the date and time of when we drew this cloud is shown inside the cloud.
Changing Properties After Drawing Cloud
You can always adjust the color or hide the timestamp after drawing the cloud by selecting the object and editing its properties in the lower right corner of the application:
Copyright 2023 ConstructConnect


