To open any link in a new tab, preserving your position in the current article, just hold down the <CTRL> key on your keyboard before clicking the link or click using your mouse wheel.
How To: Reinstall Previous Versions of PlanSwift
- Kieran Cushman (Deactivated)
- Daniel Wal
- Kristi Larson (Deactivated)
Reinstalling previous versions of PlanSwift on your system is fast and simple. This guide will explain how to do it.
Make sure your system meets our requirements before continuing to the next step. You may also need to set up a My Account account with PlanSwift, which allows you to manage various aspects of your PlanSwift account. Click on the link below for the version of PlanSwift you want.
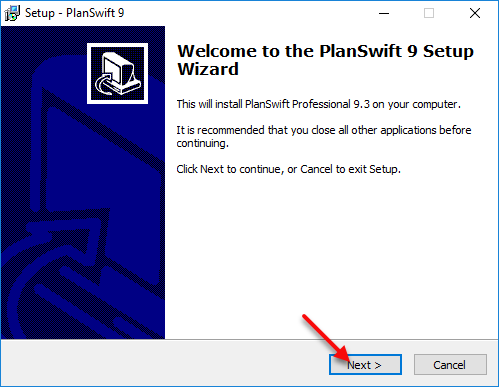
Once the download is complete, click on the executable (in the bottom left corner of your browser) to start the Setup wizard. Depending on the version of Windows you are using, you may receive a slightly different message here. Most users on Windows Vista or Windows 7 to Windows 10 will likely receive the Windows User Access Control warning such as, "Do you want to allow the following program to make changes to your computer?" Click Yes if you receive such a message, and then click on Next after the setup wizard begins.
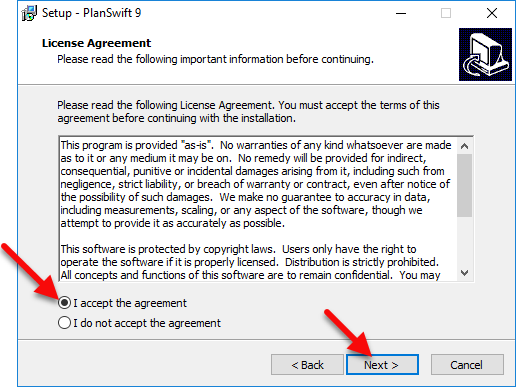
Read through the License Agreement and click that you accept the agreement, then click on Next.
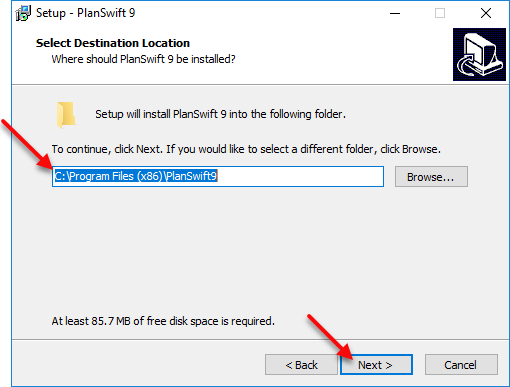
If you are running more than one version of PlanSwift, the directory you choose to install it in must be given a name that is different from your newer version.
Note: The installation must be on your local hard drive. You cannot install PlanSwift to a remote drive, external hard drive or thumb drive!
Either use the default installation directory (recommended) or use Browse to select your desired directory and click Next.
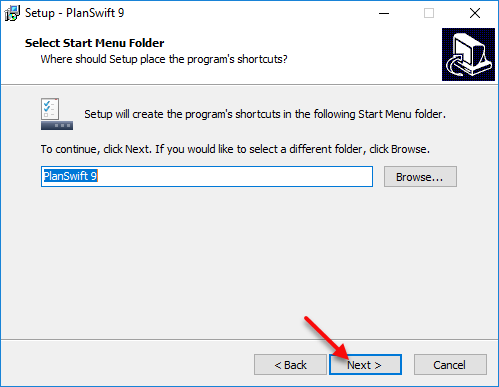
If you want to place a program shortcut in a different Start Menu folder, click on Browse to select it and click on Next; if you're satisfied with the default displayed, click Next.
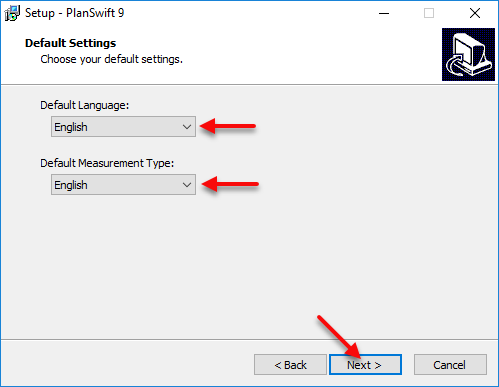
Select your Default Language and Default Measurement Type:
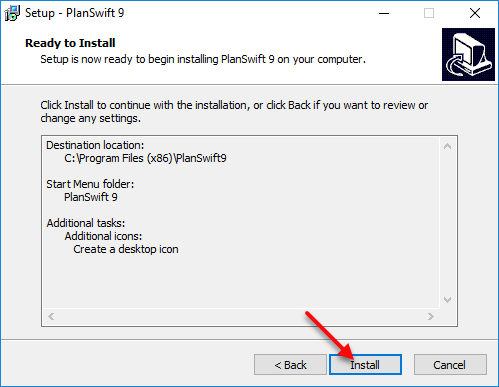
Review your installation options. If you made a mistake, simply click the Back button to change them; otherwise, click on Install.
A status bar displays the installation progress.

After installation is complete, you can choose to Launch PlanSwift and click on Finish.
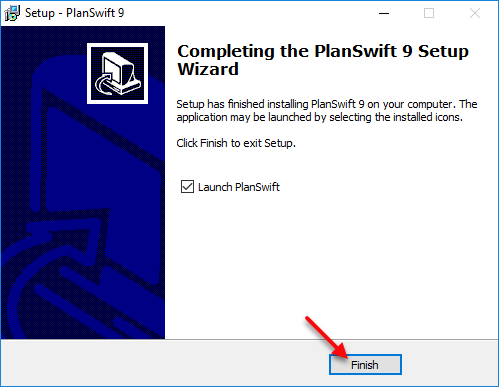
Congratulations - PlanSwift has been installed!
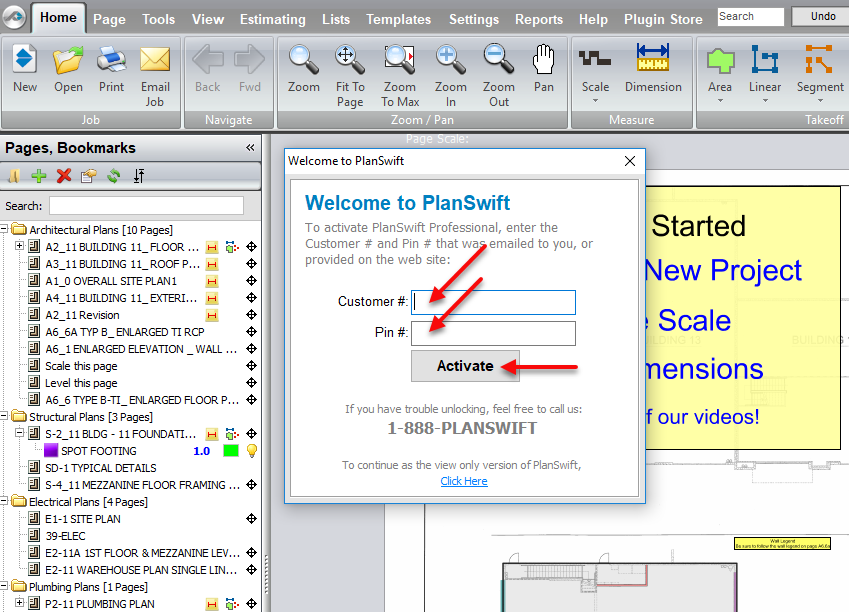
Activating PlanSwift
After PlanSwift is opened, a Welcome to PlanSwift window appears, asking you to activate your software. enter the Customer # and PIN # you received when you received your trial or purchase. Enter your Email Address and Password and click on Activate.
The Successfully Activated window appears next. If activation is not successful, you may need to set up a My Account account with PlanSwift.

Copyright 2025 ConstructConnect