To open any link in a new tab, preserving your position in the current article, just hold down the <CTRL> key on your keyboard before clicking the link or click using your mouse wheel.
Importing Jobs from PlanSwift 8 to PlanSwift 9 and Later
This How To guide will walk you through the steps needed to download and update PlanSwift 8 to a newer version of PlanSwift as well as importing your jobs and templates.
WARNING: PlanSwift may not be able to pull in every job or template into your new version. Unfortunately, this is because we are changing the file type of the jobs in PlanSwift. Also, we are only able to pull multiple jobs into PlanSwift if they are in a set data storage. If you were using the 'browse' function and saving jobs in different folders, then you will first need to put all the jobs into a set data location.
To continue:
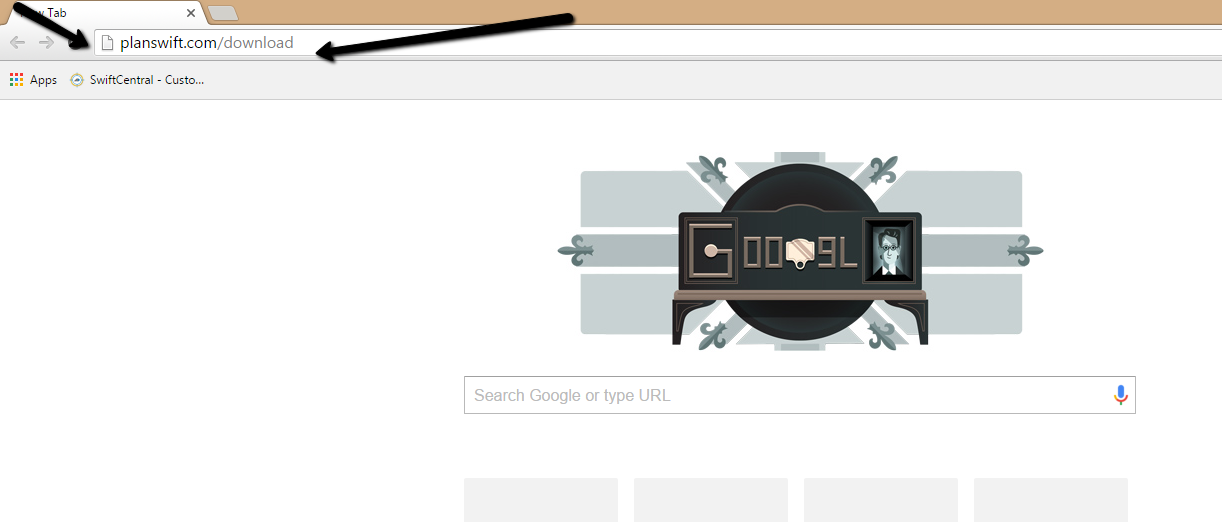
1. Download and install PlanSwift on your computer. For the newest version of PlanSwift you can go to PlanSwift.com/dl.
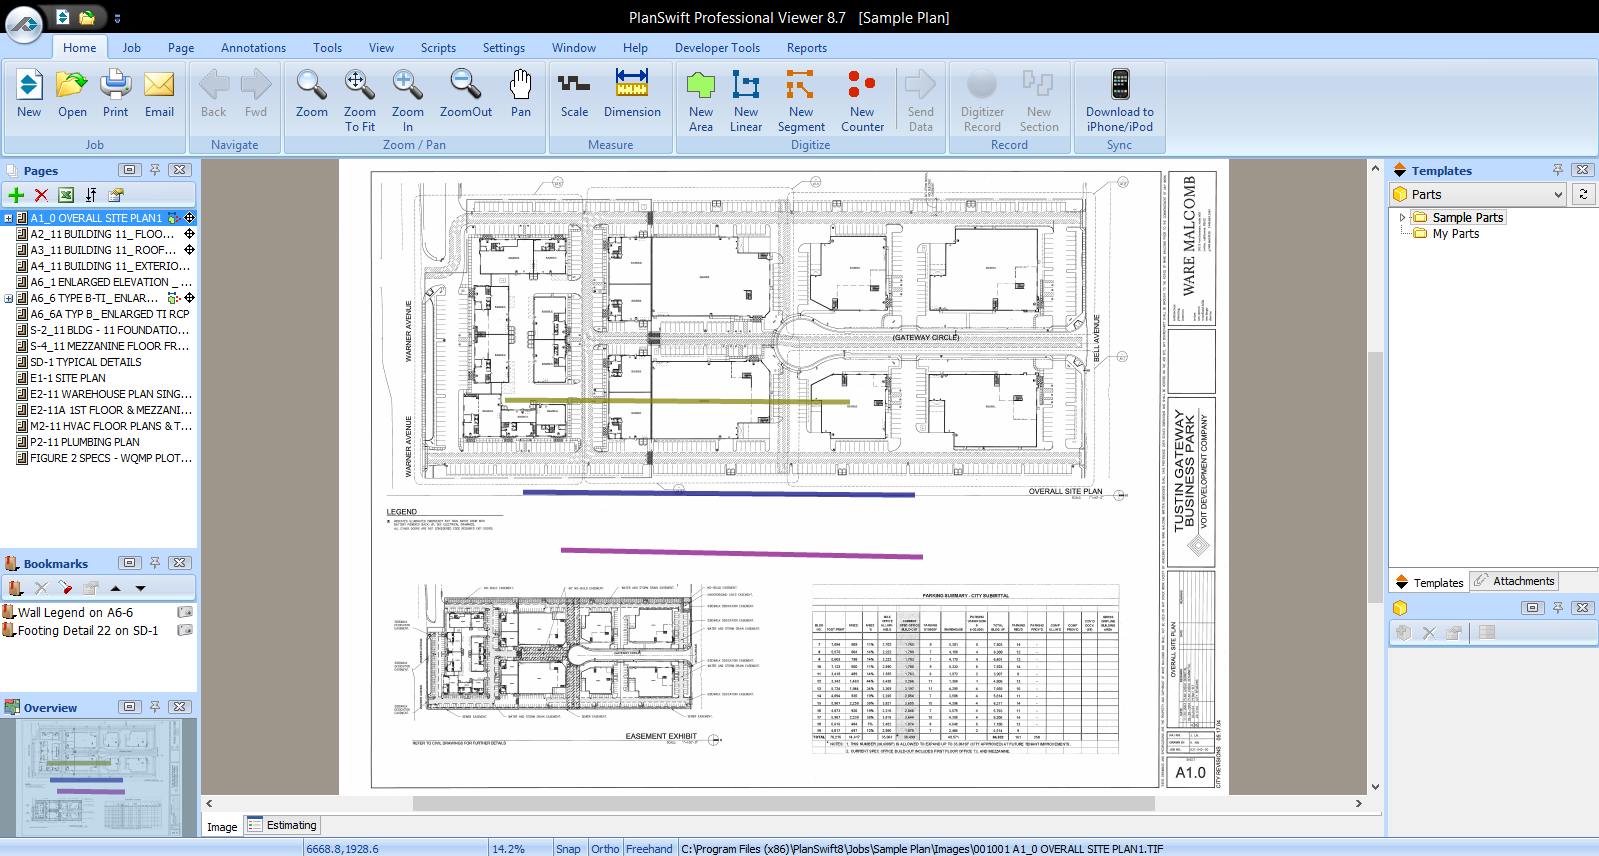
2. After downloading and installing PlanSwift, click on the PlanSwift icon in the top left corner of your new PlanSwift.
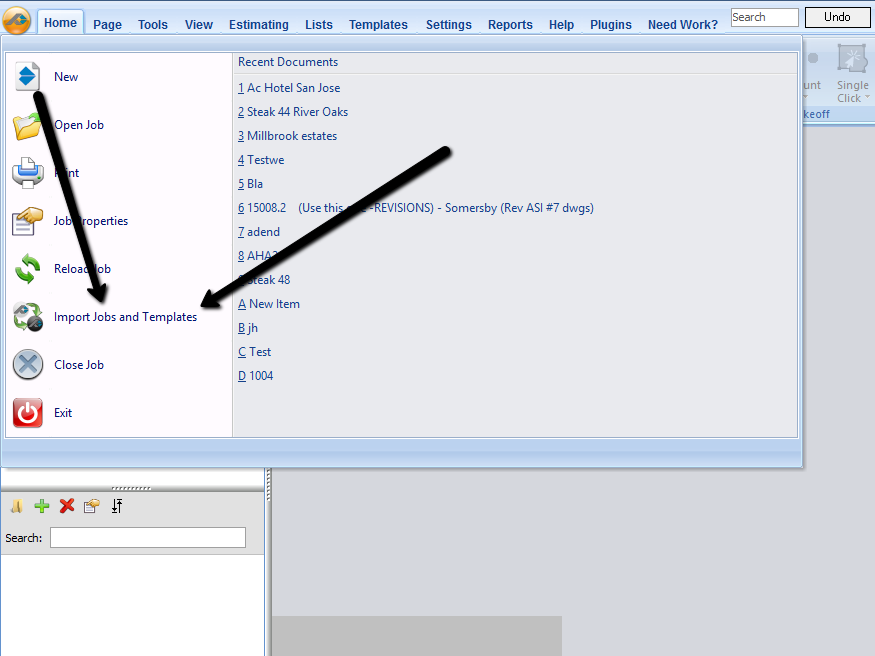
3. There is an option for Import Jobs and Templates; clicking on that should bring up a pop-up box.
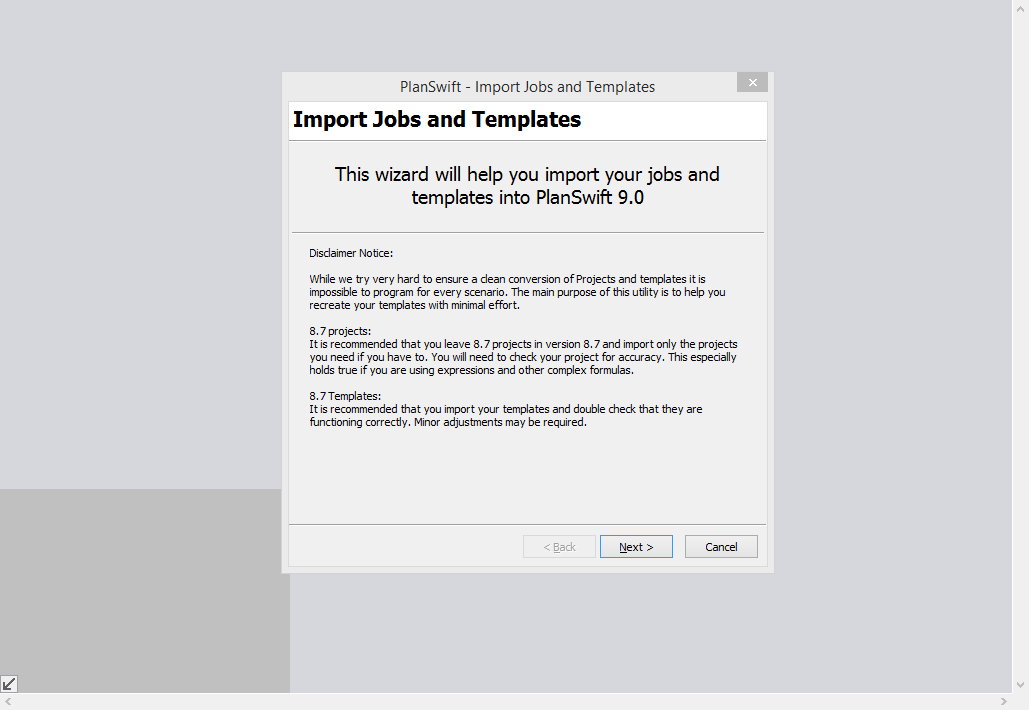
4. Again there is a disclaimer about pulling in jobs from PlanSwift 8; go ahead and click Next.
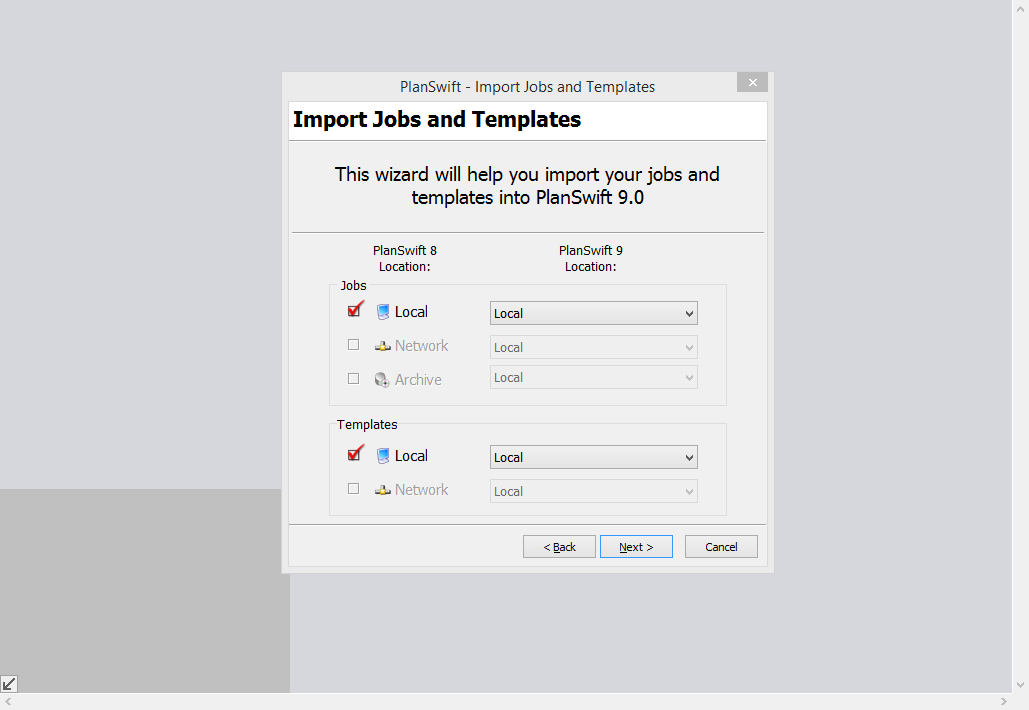
5. Here you can select your data storages to bring jobs to PlanSwift. Click on any data storage locations you want to import as well as any templates to import.
6. Clicking the Next button will allow you to select multiple jobs to bring in PlanSwift. Again it is recommended that you bring in only the jobs you need, as the transfer is not perfect.
7. Do the same with your templates.
8. Continue the import: depending on the size and number of jobs, this could take a while.
9. Clicking the Finish button will end the Import dialogue box, and now all of your jobs should be transferred to the local folder in your new PlanSwift.
Copyright 2023 ConstructConnect