To open any link in a new tab, preserving your position in the current article, just hold down the <CTRL> key on your keyboard before clicking the link or click using your mouse wheel.
Home Tab: Area Takeoff Tool

Calculating square foot areas in PlanSwift is simple:
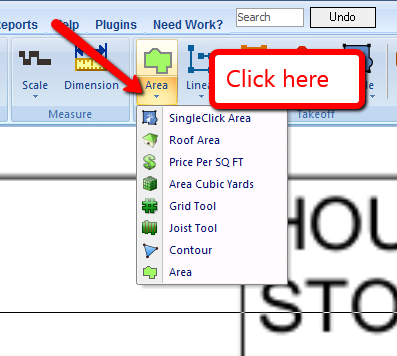
1. Open a plan image in the PlanSwift software and press the upper half of the new "Area" button from the Toolbar. This will create a basic area. Selecting the lower half opens a drop down menu of tools based on the basic area object, such as the Joist Tool.
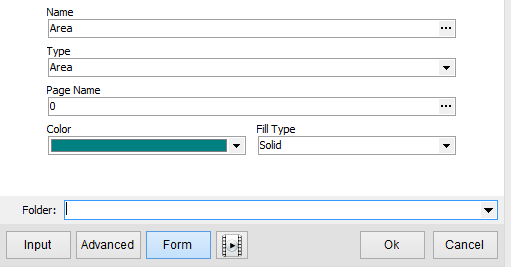
2. Enter a name for the area, and choose a Color and a Fill Type if desired.
3. Click on OK.
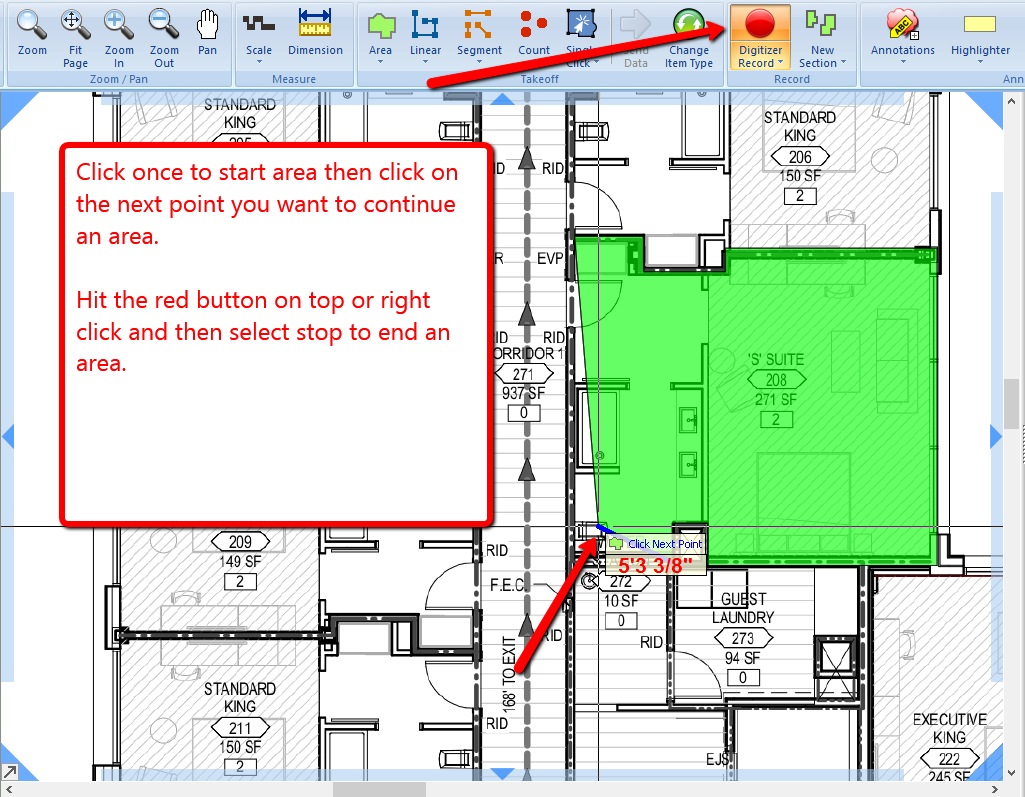
4. Perform the area takeoff.
5. After the area is completed, right click your mouse and choose Stop. Notice the square footage is reported next to the area's name underneath the plan image that contains the area. To continue digitizing a different section with the same area, press the green button next to the item in the pages list, or you can right click on the area and select New Section.
In PlanSwift 9.3 and later you can double-click to complete an area, this will also leave Digitizer Record on so you can continue digitizing areas. An example of this would be if you are digitizing a square area: double-click while picking third point, the area will close, and you may continue with a new Area. The new area(s) will be grouped with the previously closed area, similar to selecting an area and clicking the New Section button.
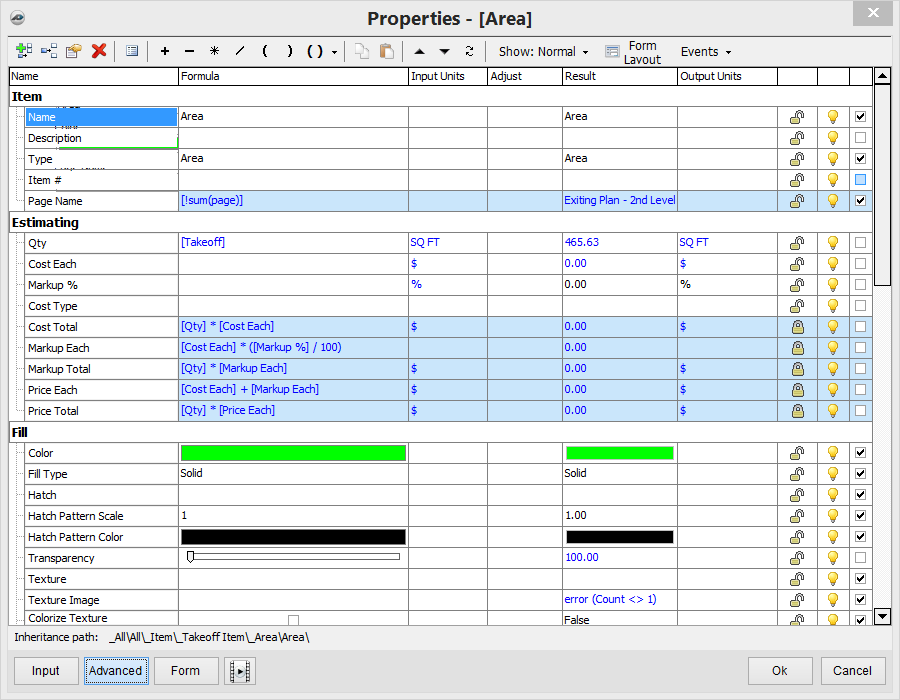
The Advanced option button will provide you will more options if you wish to use them.
Copyright 2023 ConstructConnect