To open any link in a new tab, preserving your position in the current article, just hold down the <CTRL> key on your keyboard before clicking the link or click using your mouse wheel.
Creating Projects and Downloading Documents from ConstructConnect Bid Center (CCBC) and Project Intelligence (CCPI)
The ConstructConnect Platform Plugin allows you to download project documents (plans, specs, and other documents) directly from ConstructConnect platform applications into PlanSwift.
Here's a video to help you get started...https://constructconnect.wistia.com/medias/1pp0xt25p6
Requirements
- You must have PlanSwift v.10.2 or 10.3 installed (licensed and viewer-modes are both supported) (PlanSwift 11 is not working with PS-Connect at this time)
- You must be registered for a ConstructConnect platform account (free and paid accounts are supported)
- You must log into PS-Connect with the same login as you use for the web site (app.constructconnect.com)
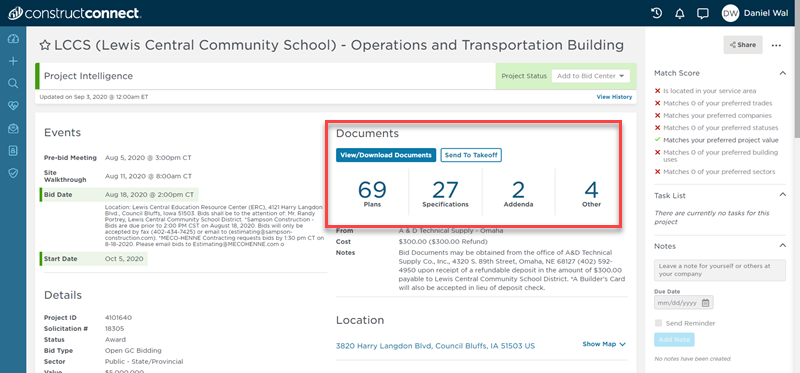
To import a project from app.constructconnect.com or Bid Center,
- Select the View/Download Documents button to open the Document Viewer
- Select the documents you wish to push to PlanSwift by clicking each checkbox next to the page, or click the Select All button to select all the documents
- When the desired documents are selected, click the Open With button
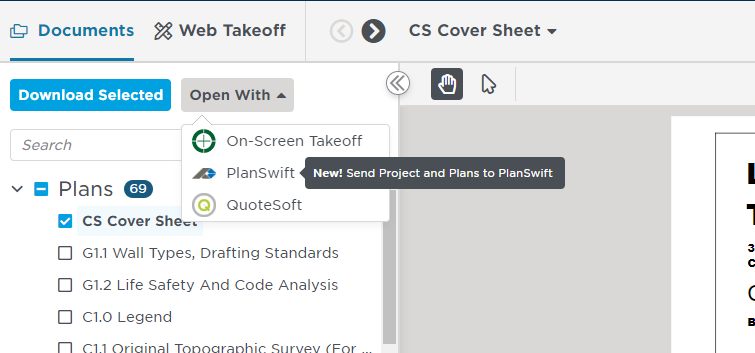
- Select PlanSwift from the menu
- A window opens allowing you to send the project to PlanSwift
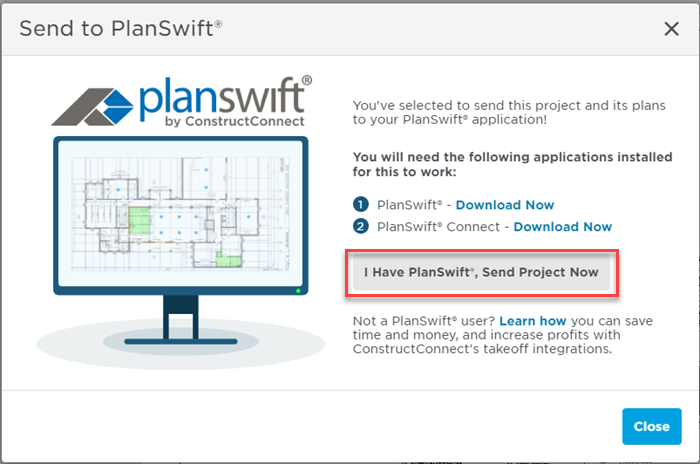
- If this is the first time you have sent a project to PlanSwift, you need to download and install the PlanSwift Connect utility. Click Download Now next to "PlanSwift® Connect" to download the PlanSwift Connect integration MSI file (PSConnect.msi)
- When the download completes, run the file to install
- You must enter the same log-in and password you use to log in to app.constructconnect.com to install the PlanSwift Connect utility properly
- If you have not already installed PlanSwift, you'll need to do that, too. Click "Download Now" next to "PlanSwift®" to download the latest version of PlanSwift.
- Once the installations are complete (or if you've already installed PlanSwift and PlanSwift Connect), return to the web page and click button that reads "I have PlanSwift, Send Project Now"
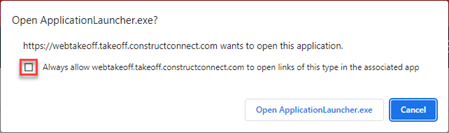
- PlanSwift opens and the plans begin downloading. Depending on the size of the project you are importing this may take a few minutes to complete
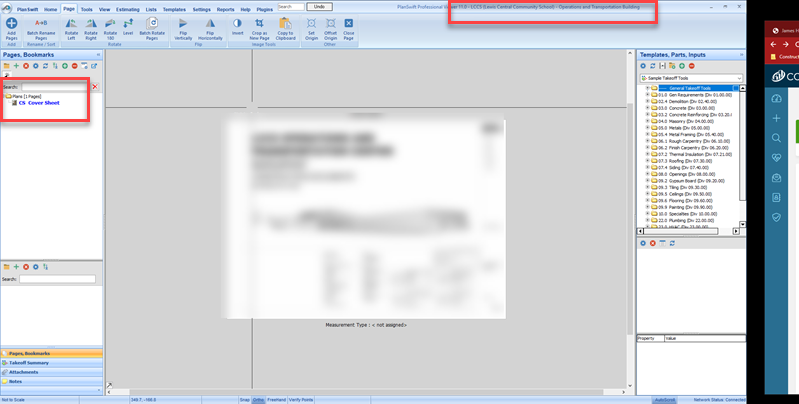
When the download/import is finished, click on the Pages Tab - all selected Pages (we only selected one) are named and put into folders the same way they were in the Document Viewer on app.constructconnect.com.
Project Updates
Each time you use the "Open with..." option in Document Viewer, PlanSweft creates a <em>new</em> Project; it does not update the existing Project. This way, there is no risk of overwriting any of your existing work. You can use the files that get downloaded as Overlays in your original Project, or copy/paste takeoff and markups from the original to the new Project - whatever works better for you.
Copyright 2023 ConstructConnect