Overview
The PlanSwift 3D Viewer Plugin allows you to view takeoffs in 3D. These instructions use the A1.2 Floor Plan – Sample Plan included in the Sample project.
This Plugin:
- Installs a 3D Viewer icon in the Takeoff group on the Main ribbon-bar menu:

...
How To Use the 3D Viewer Plugin
| Info | ||
|---|---|---|
| ||
First, you'll need to download and install your Plugin, see: Downloading, Installing, and Uninstalling a Plugin or Starter Pack Once your new Plugin is installed, follow the steps below to use it. We encourage you to purchase a training package for accelerated learning and faster customization, see:https://www.planswift.com/support/personalized-training/ for details on scheduling training. |
| Table of Contents | ||||
|---|---|---|---|---|
|
How to: Perform 3D Takeoffs
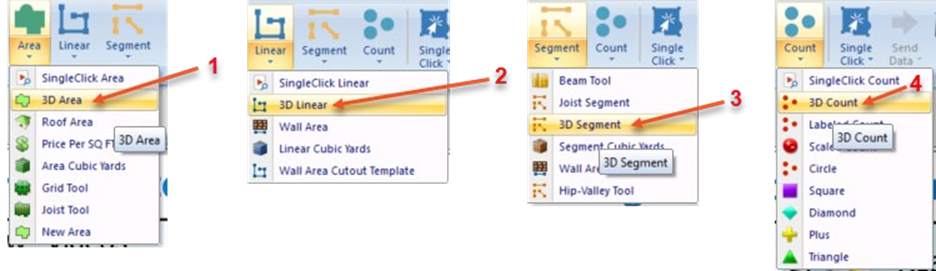
To use the PlanSwift 3D Viewer, your takeoffs must be done using a 3D takeoff tool (3D Area, 3D Linear, 3D Segment, or 3D Count).
There are two ways to start a 3D takeoff:
- Click on the drop-down menu in the Takeoff group of the Home ribbon bar tab for the Area, Linear, Segment, or Count.
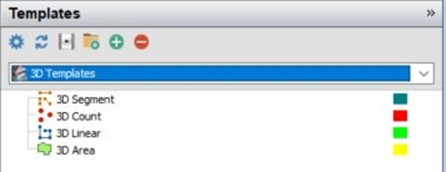
- Select the 3D Templates in the Templates window, then select the 3D Segment, 3D Count, 3D Linear, or 3D Area takeoff tool.
For this exercise, we’ll start with a 3D area takeoff.
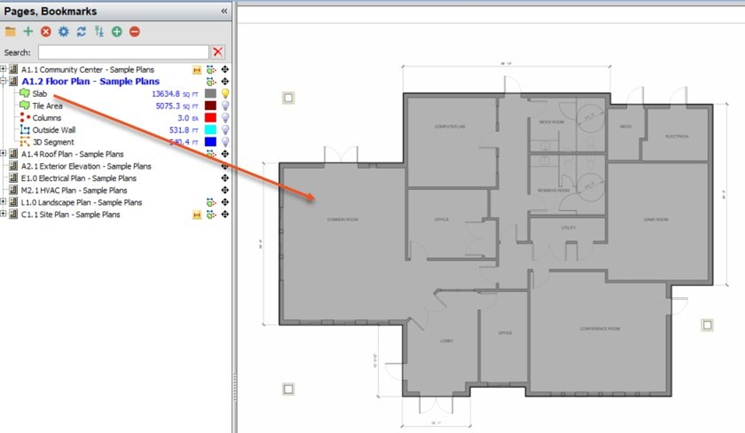
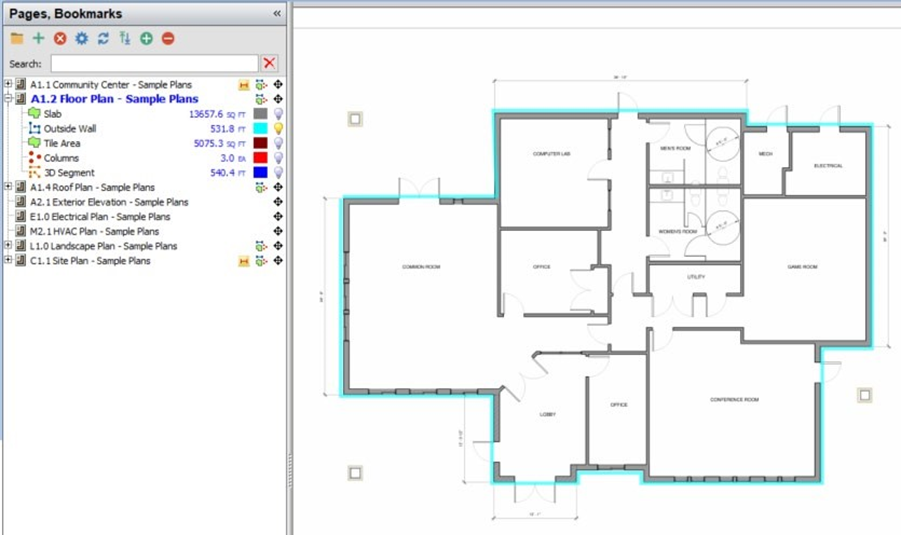
Open the A1.2 Floor Plan sample plan (released in the PlanSwift 10.2 release ).
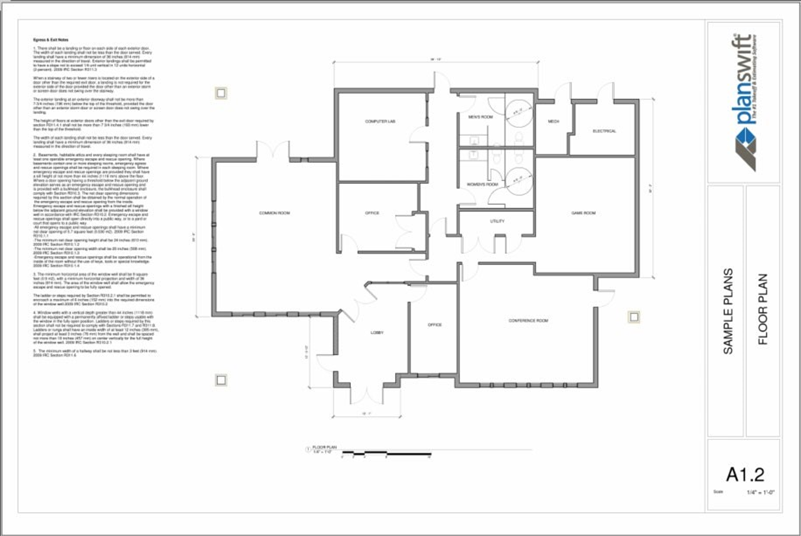
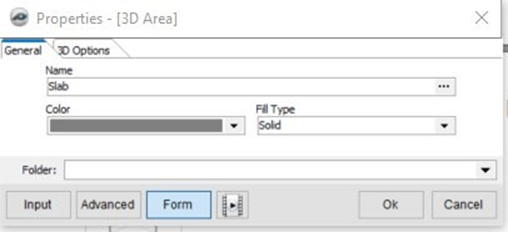
To begin the takeoff, click on the Area takeoff tool drop down and select 3D Area, this displays the Properties window...
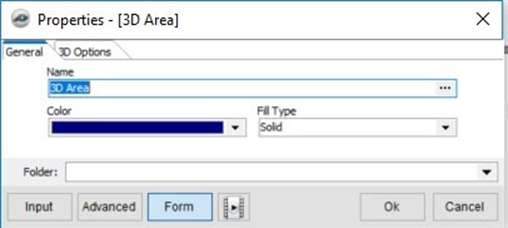
In the General Tab, name this takeoff “Slab” and select a gray color...
Click on the 3D Options tab.
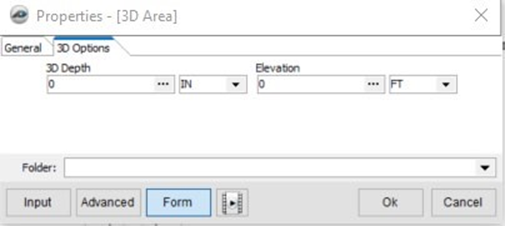
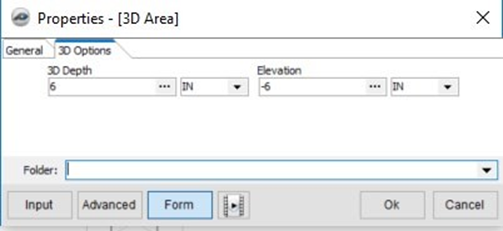
Enter “6” in the 3D Depth field so the slab depth is set at 6”. For the elevation, enter a “-6” and change the elevation units from FT to IN so that the slab will lay six inches below the zero or grade...
| Info | ||
|---|---|---|
| ||
| Note that negative values are below grade (zero) level, and positive values are above grade. If, for instance, you need a six-inch bed of gravel under the 6” slab, then the takeoff elevation for the bed of gravel would have to start at -12” and the slab would start at 6”. |
Click OK
Click the record now button and perform the area takeoff around the entire perimeter of the building.
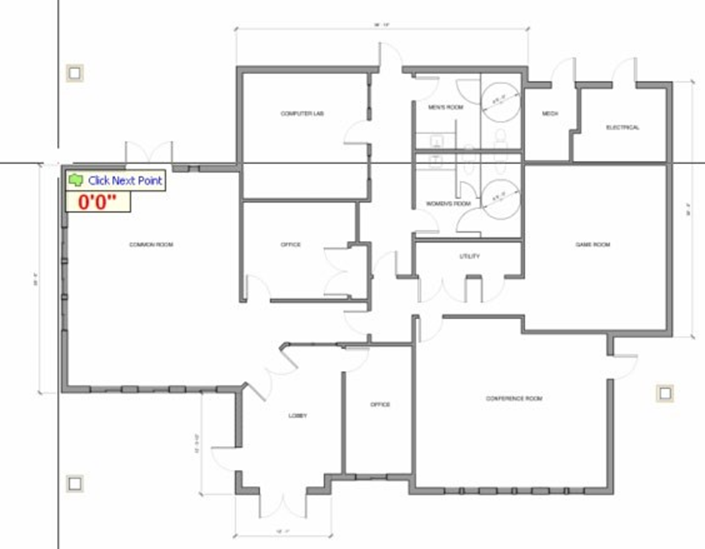
This is how your takeoff will look:
Next we need to draw a linear takeoff for the outside wall, but this time we'll launch the takeoff from the Templates window.
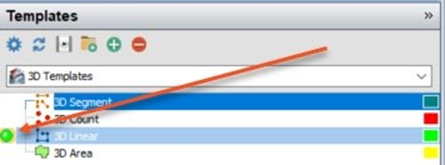
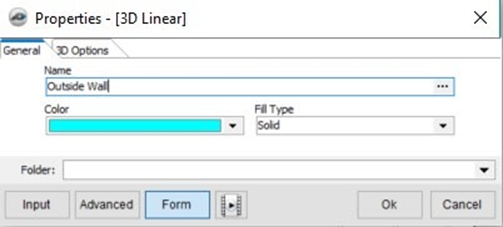
Click on the green launch button for 3D Linear. This opens the Properties – [3D Linear] window. In the name field, enter “Outside Wall” and choose a light blue color...
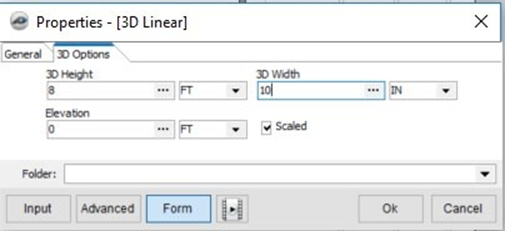
Click on the 3D Options tab in the Properties – [3D Linear] window. Enter the 3D Height as 8 feet and the 3D Width as 10 inches. Leave 0 as the Elevation, since this exterior wall will be sitting on top of the slab of concrete, the top of which is at grade level. Leave the Scaled box checked.
Click on OK to start the digitizer for the 3D Linear and digitize the perimeter...
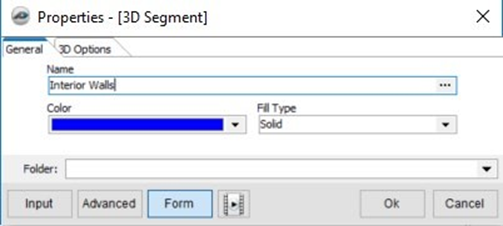
Next, we need to takeoff the interior walls using the 3D Segment tool. Either click on the Segment drop-down menu in the Takeoff group on the Home ribbon-bar menu and select 3D Segment, or select the 3D Segment template from the Templates window to open the Properties – 3D Segment] window. Name this takeoff “Interior Walls” and assign a navy-blue color to it.
Click on the 3D Options tab in the same window, enter “8” FT for the 3D Height, “4” IN for the 3D Width, and “0” for the elevation (since this perimeter wall will be on top of the slab). Leave the Scaled check box checked.
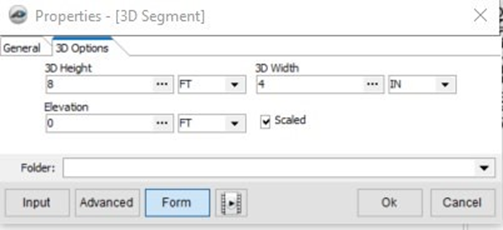
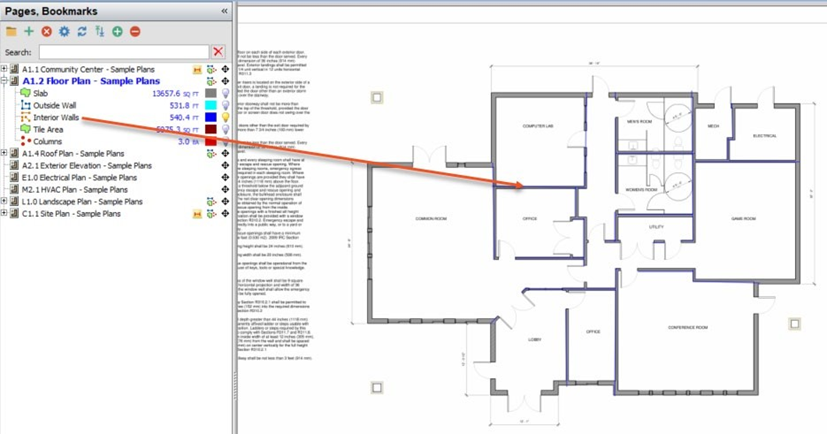
Click on OK to start the 3D segment digitizer and perform the takeoff for the interior walls.
The last step before viewing is taking off the three columns (using the 3D Count template) which will be 3 feet square and 10 feet tall...
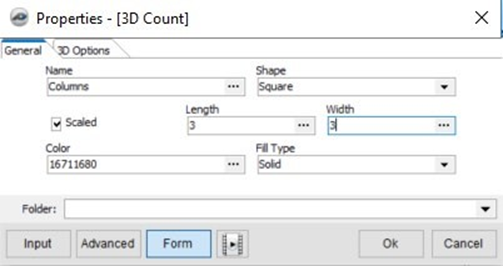
Click on the 3D Count template digitizer button in the Templates window to open the Properties – [3D Count] window.
Enter “Columns” as the Name and select Square as the shape (note that options in the Shape drop-down menu are Circle, Square, Plus, Triangle, or Diamond). Enter “3” in both the Length and Width fields and use the default color. Again, keep the Scaled box checked.
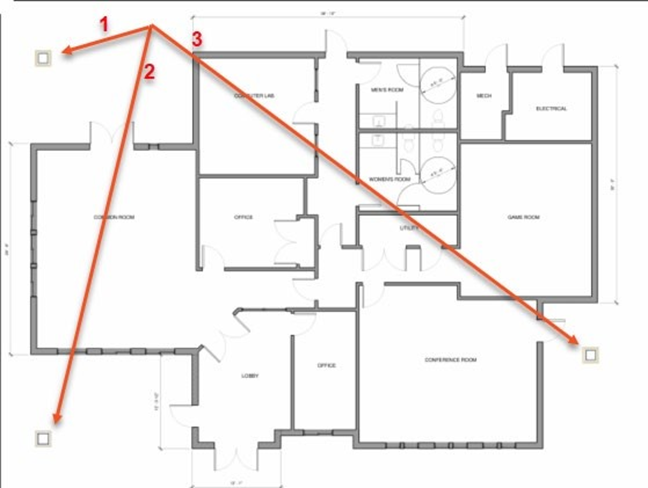
Click on OK to start the 3D Count digitizer, and digitize the columns...
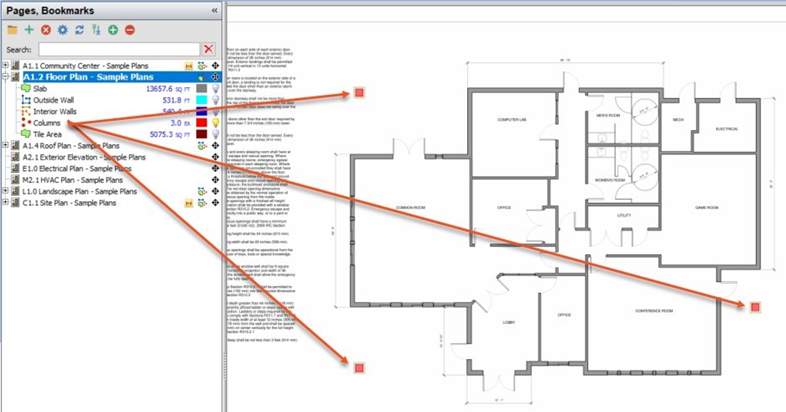
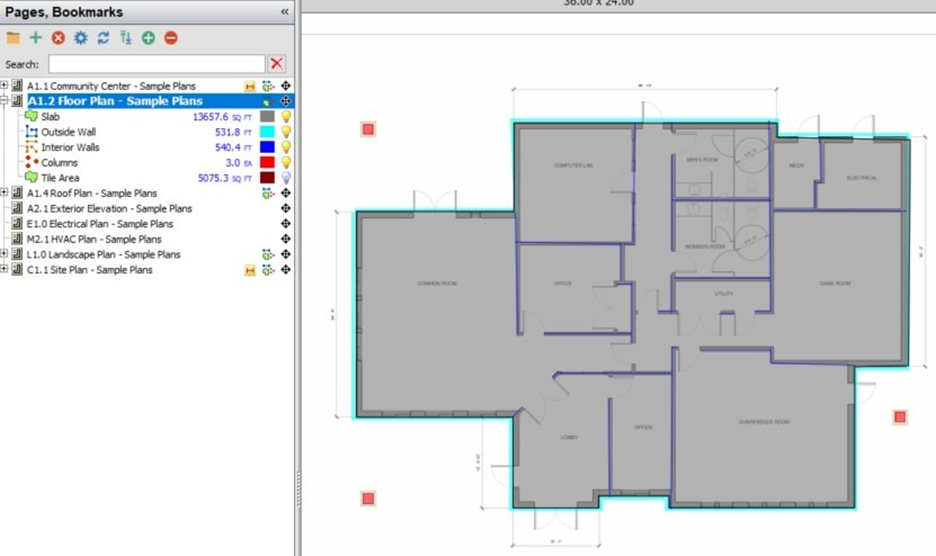
Review all digitized items to ensure all takeoff is complete and correct.
How to: View 3D Takeoffs
With the slab, exterior and interior walls, and columns now digitized, click on the View 3D icon in the Takeoff group on the Home ribbon-bar tab (shown in Figure 23).

This opens the PlanSwift 3D Viewer window, which is a top-down view of the takeoffs.

Moving the mouse while clicking and holding the left mouse button pans the image in any direction.
Clicking and holding the right mouse button while dragging the mouse up rotates the drawing on the X axis so you can see the 3D view of the front of the image...
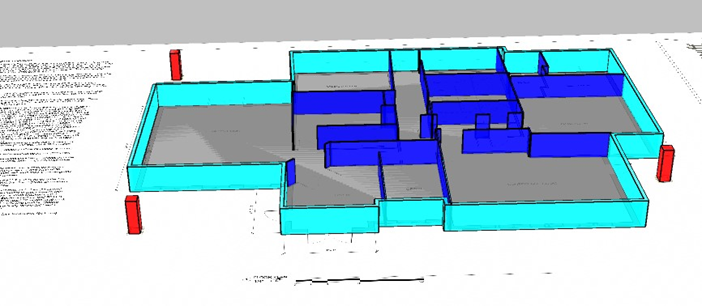
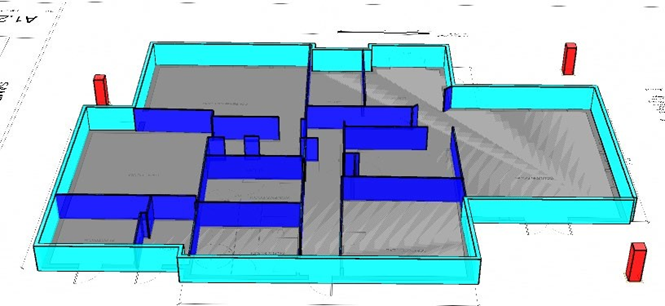
Here the eight-foot interior and exterior walls are visible, and the gray concrete slab is under the walls. The three ten-foot columns are also shown in 3D format.
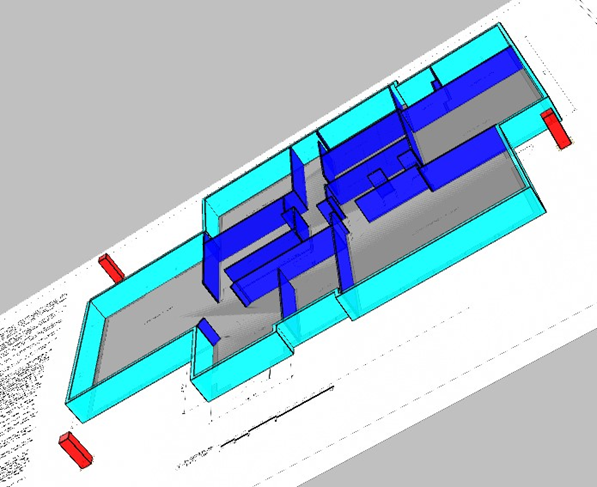
Dragging the mouse to the left with the right mouse button held down rotates the image about the Y axis (Figure 26). Dragging towards the left rotates the image the opposite way.
Holding down both right and left mouse buttons while dragging the image left rotates the image clockwise while maintaining the current 3D view (Figure 27).
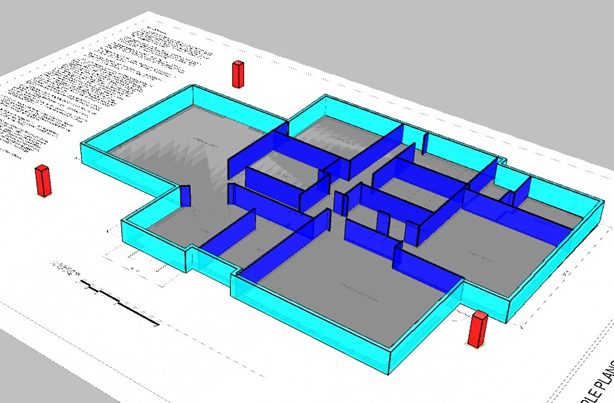
Holding down both left and right mouse buttons while dragging the image right rotates the image counter-clockwise while maintaining the current 3D view (Figure 28).
A full 180-degree rotation allows you to see the back of the building (see Figure 29).
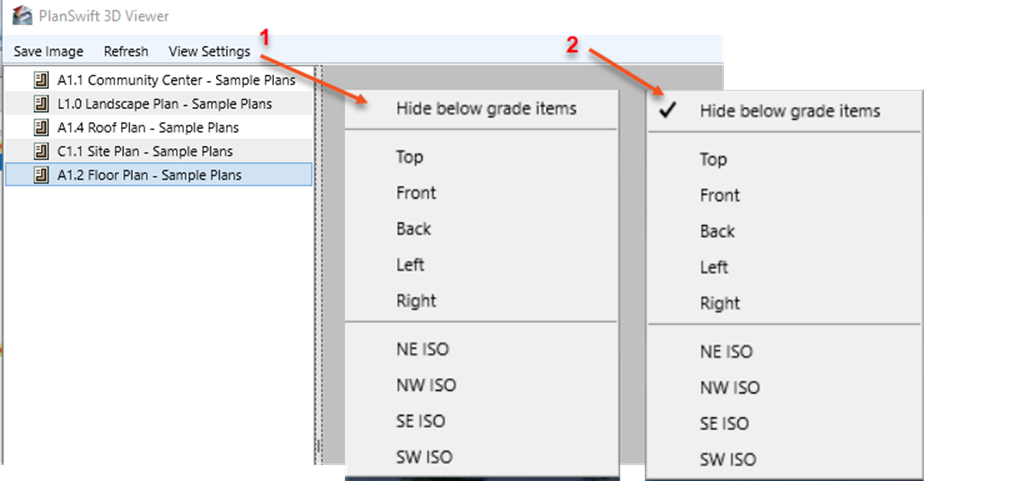
Other views may be quickly displayed using the View Settings drop-down menu (see arrow 1 on Figure 30). The Hide below grade items option hides all takeoffs that have a negative value (below grade). When it is checked as shown at arrow 2 in Figure 30, below grade items are hidden in all views. The Top option shows the top view, which is the default view when the viewer first opens. The Front and Back options show the view as if viewing the structure from the front or from the back. The Left and Right options show the view from the left or right side of the structure.
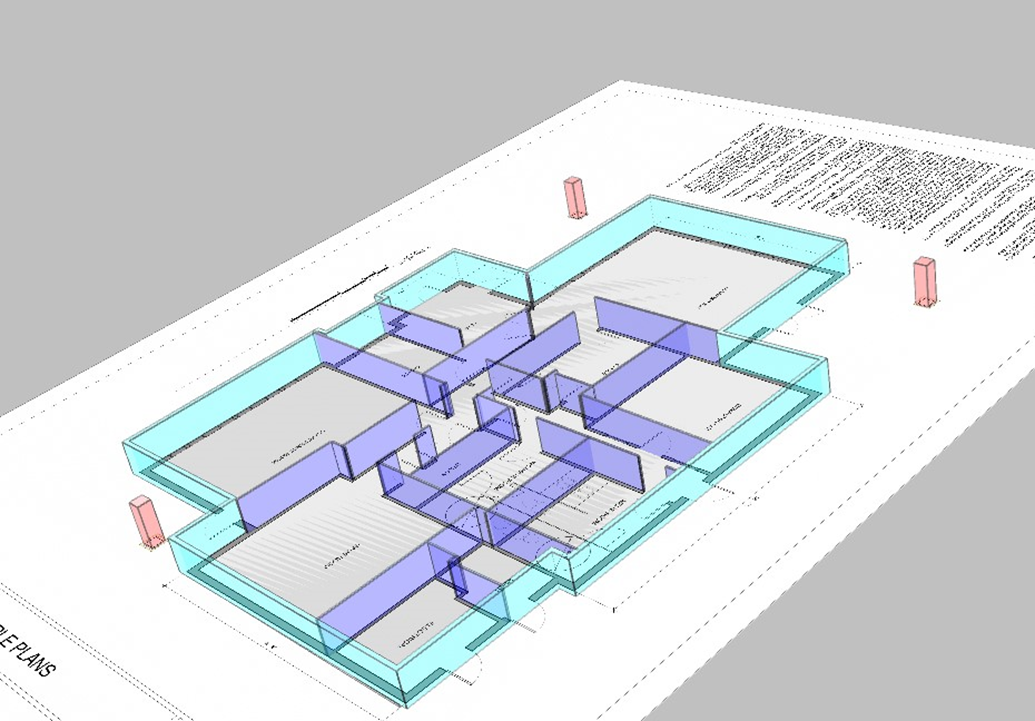
You can even see a front view with the below grade items displayed...

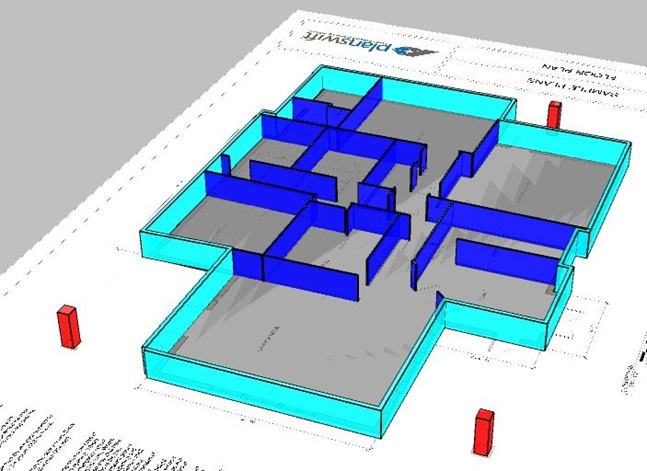
The NE ISO, NW ISO, SE ISO, SW ISO shows isometric views. These views assume that the top of the diagram (back side of structure) is north, the bottom south, the right side east, and the left side west.
Here we see the NE ISO view...
And the SE ISO view...

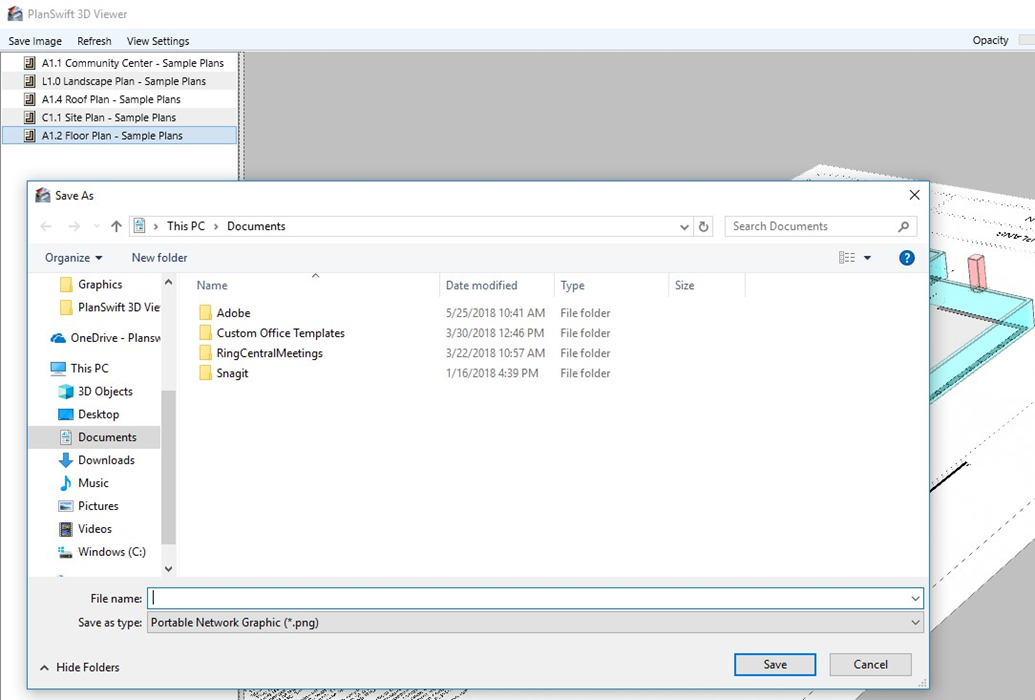
Any view can be saved using the Save Image option in the PlanSwift 3D Viewer menu (Figure 34).
As you perform the 3D takeoffs in PlanSwift, you can keep the viewer window open.
After making changes in PlanSwift, clicking on the Refresh option in the PlanSwift 3D Viewer window updates your latest PlanSwift changes in the viewer (Figure 35) and returns to the default top view.
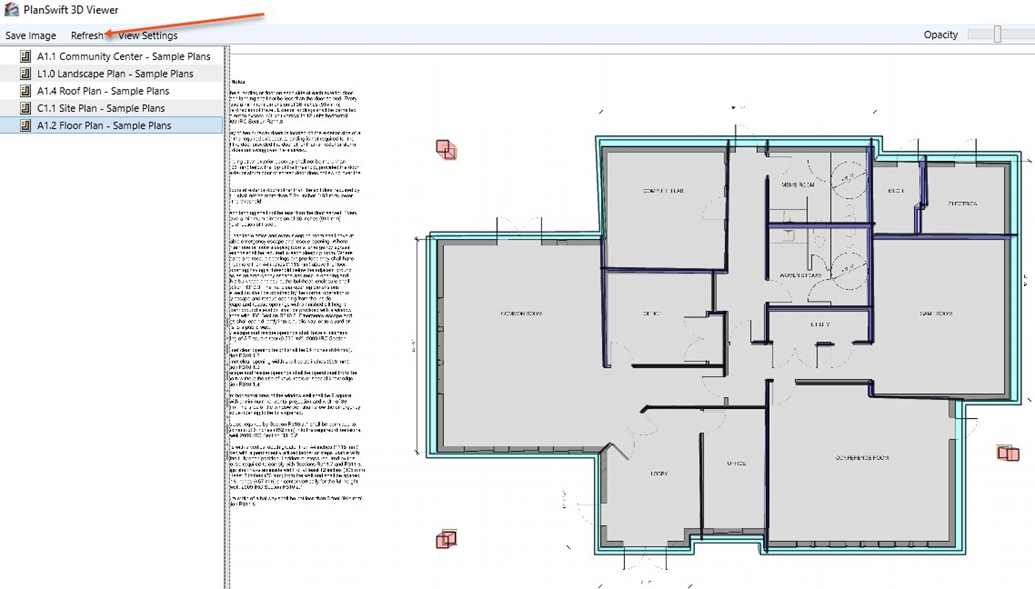
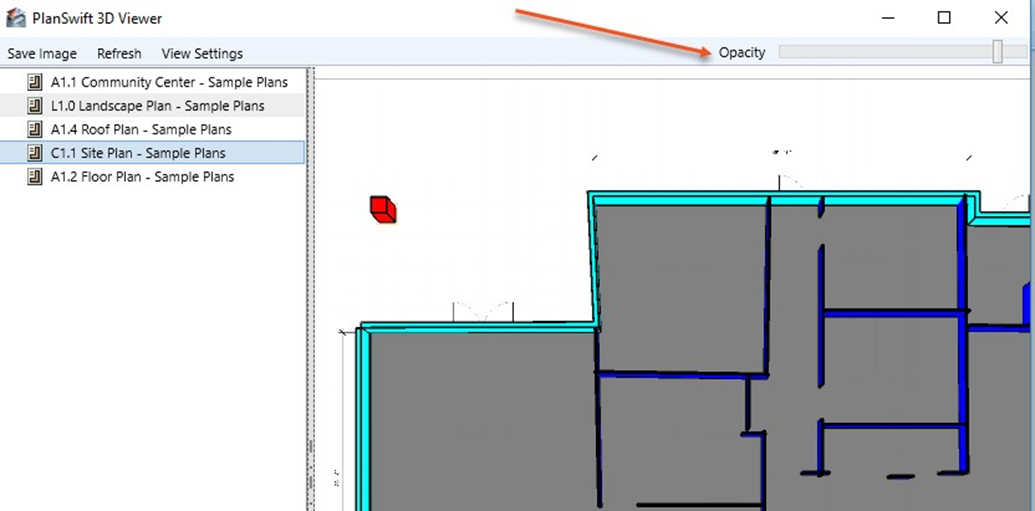
It is also possible to change the opacity of the 3D image with the Opacity slider bar (Figure 36). Sliding it to the right darkens the image, left lightens the image. Figure 35 shows the lighter opacity, Figure 36 the darker opacity.
FAQ
Question: I’ve read this user guide, and I still have questions. What do I do?
Answer: PlanSwift recommends that you purchase a training package. We highly recommend new users purchase a training package, because training is customized to each user. We offer one-on-one training and classroom training. Contact training@PlanSwift.com or at 1-888-752-6794 Ext. 4.
Question: Can PlanSwift 3D Viewer display sloped takeoffs?
Answer: No. PlanSwift 3D Viewer cannot display sloped takeoffs.
Question: Can PlanSwift 3D Viewer perform or display cutouts for doors or windows?
Answer: No. PlanSwift 3D Viewer cannot display door and window cutouts. It can, however, do cutouts with the 3D Area tool if you use the Subtract from Section option in the right-click menu. Door and window cutouts do not work for 3D Linear and 3D Segment tools.
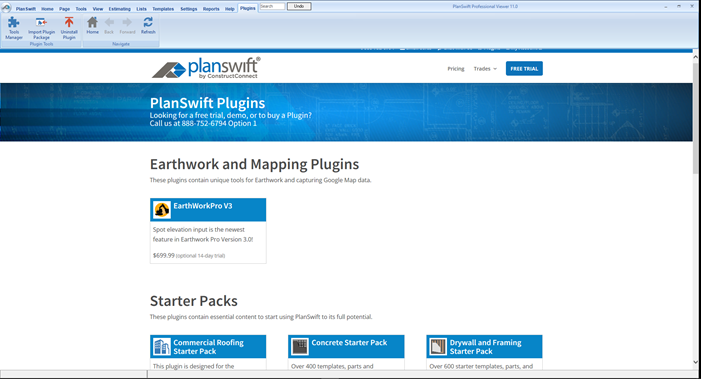
More Plugins and Starter Packs
Information on Plugins and Starter Packs is available directly on the Plugins Tab in PlanSwift...
If you encounter technical difficulty, consult this guide (including the FAQ section of this user manual) or contact the technical support department at:
PlanSwift® Technical Support support@PlanSwift.com
1-888-752-6794 ext. 2
PlanSwift also offers additional training. For training options, contact the training department at:
PlanSwift® Training Department training@PlanSwift.com
1-888-752-6794 ext. 4