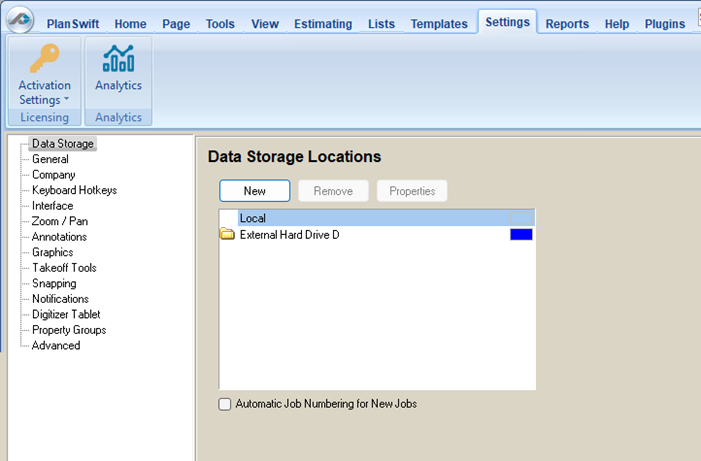
A data "store" is simply a location on your computer or network where your PlanSwift project files are stored.
Creating a new data storage location with PlanSwift is easy. You may create as many "storages" as you like. These can be Network locations or additional local locations on your PC. needed, although we recommend one - for backup/restore convenience.
| Info | ||
|---|---|---|
| ||
You can also use portable hard drives |
...
, however you will need to |
...
ensure that the drive letter designation that windows sets is the same on all systems |
...
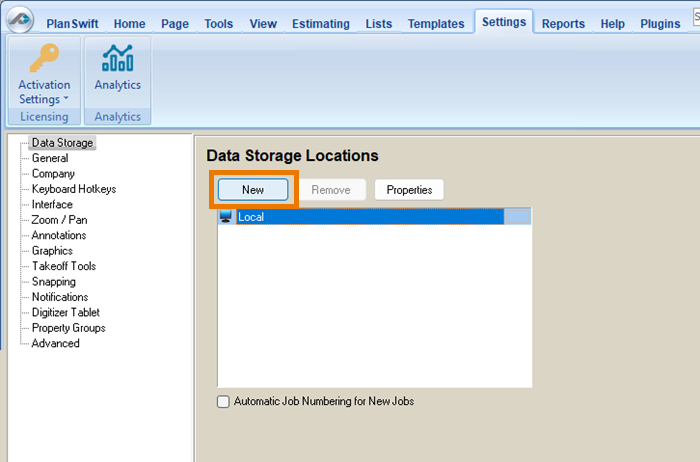
1. Select the Data Storage option.
2. Click New to select a new storage location.
...
(for example, it has to be the "D" drive on every computer on which you are going to use this portable drive). |
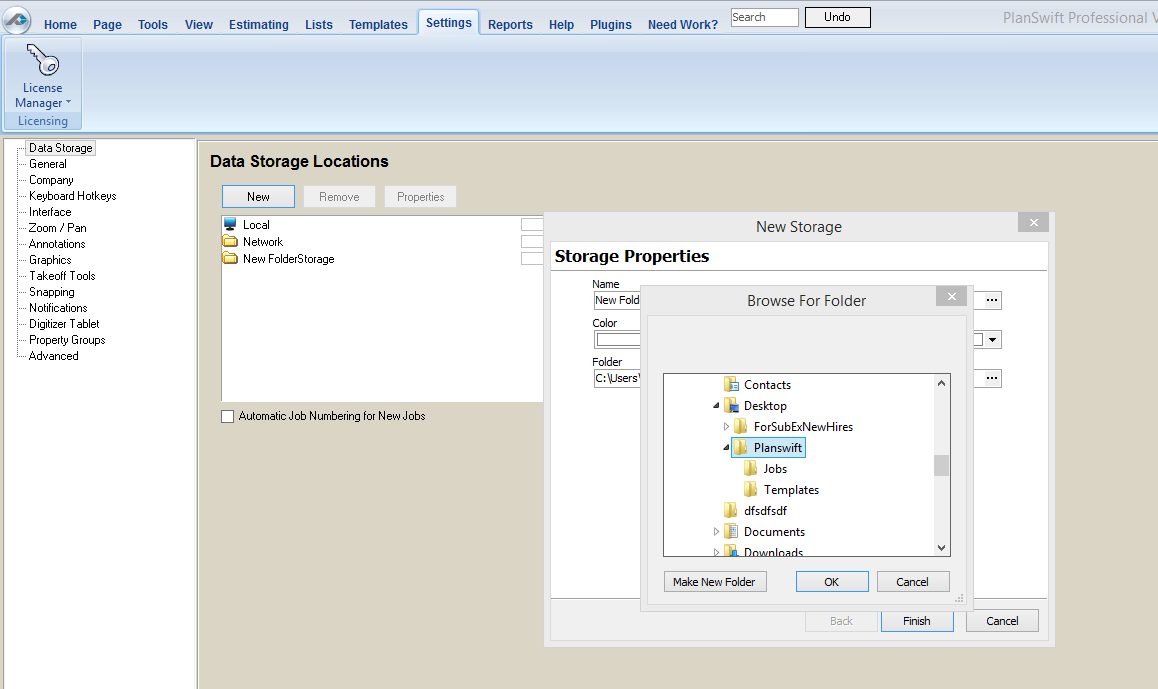
To create a new Data Storage Location
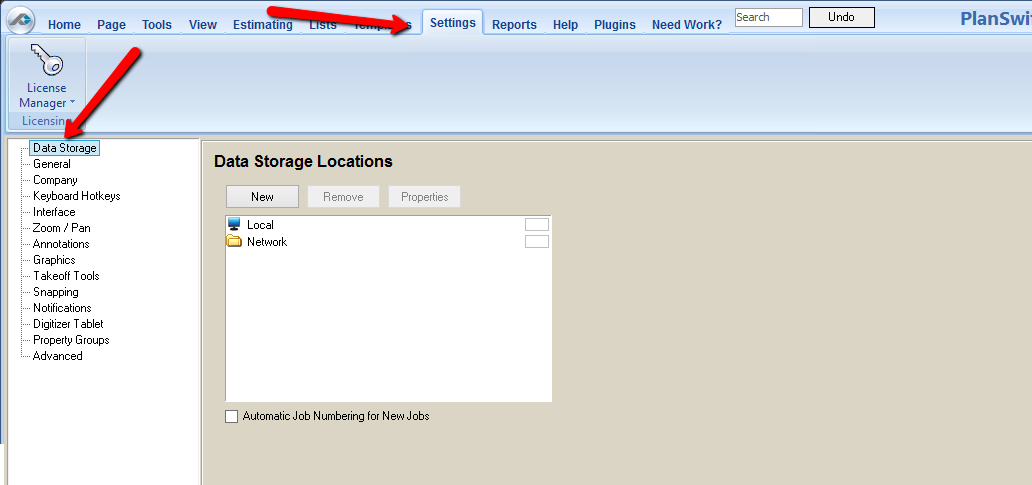
Click on the Settings Tab.
Click on Data Storage in the left-hand panel.
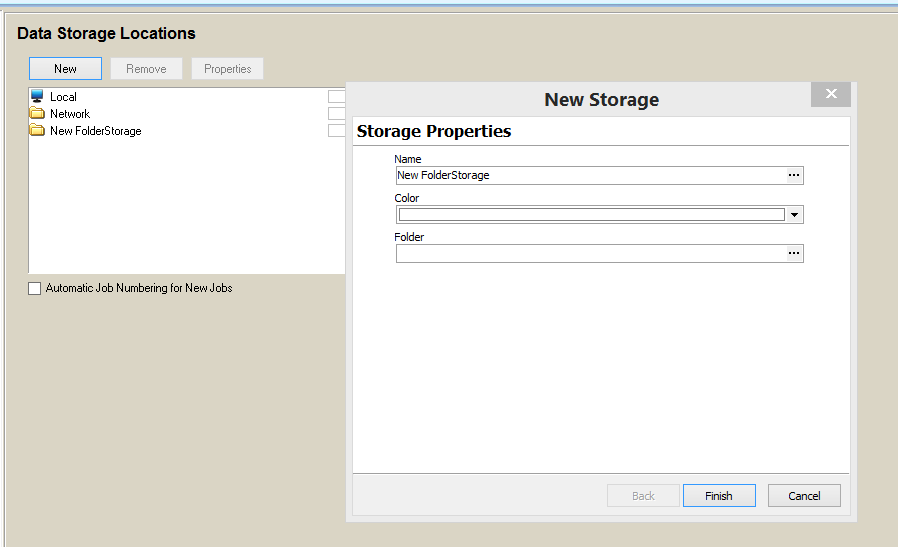
Click New and the New Storage dialog box opens.
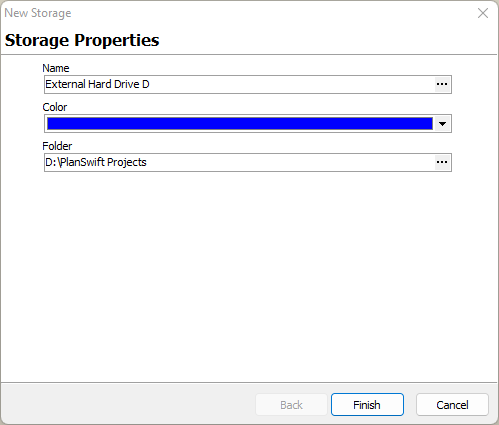
Enter the Properties for your new Storage Location:
- Name - make this something user-friendly and clear such as "Network Shared Storage" or "External Hard Drive D"
- Select a Color for the indicator in the Storage Locations list
- Enter the folder location or navigate to the folder location by clicking on the ellipsis button.
Click Finish when you are done.
CAUTION: This directory must remain in a clean state.
| Warning | ||
|---|---|---|
| ||
Do Not add additional files or folders to this directory through Windows Explorer. PlanSwift Storages |
...
must only be modified by the PlanSwift Application. |
...
You can add one level of sub-storages into the Parent directory as shown below.
|
...
DO NOT CONFIGURE SUB-FOLDERS OF SUB-FOLDERS AS SHOWN HERE - (Catastrophic results will happen):
|
...
|