Specifications consist of database items which define which type of pipe, fittings, valves, hangers, etc., will be used in a piping system.
...
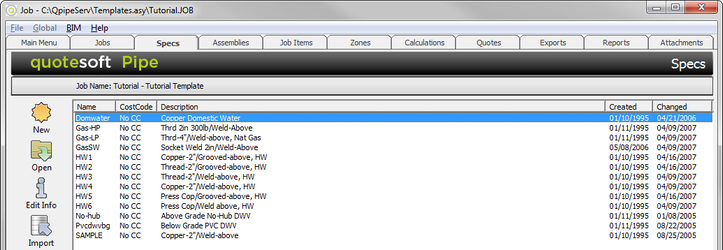
- Go to the Job where you want the new Spec copied to and click on the Specs tab.
- Click
 .
.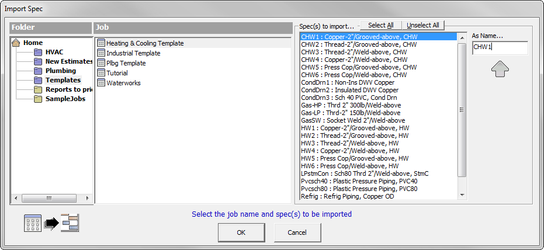
- Select the Templates Folder, the Heating & Cooling Job, and then the Spec you want to copy into your current Job. When you select
 , the spec is copied into your current job.
Next, you will manipulate the specification to use the exact specifications your company will use on a daily basis. This includes setting up the type of Pipe, Fittings, Joints, Valves, Flanges, Hanger Types, Hanger Spacing, Insulation Thickness, Specialties Items and Bookmarks.
...
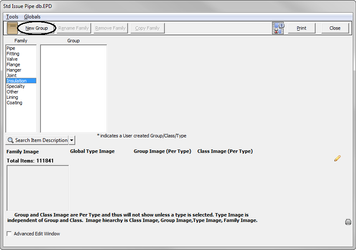
- To open and change a spec, highlight and double click on the spec.
- The Spec screen lets you select the Group, Class, Joint Group, Joint Class, and Joint Length. This breakdown is important for rapid lookup.
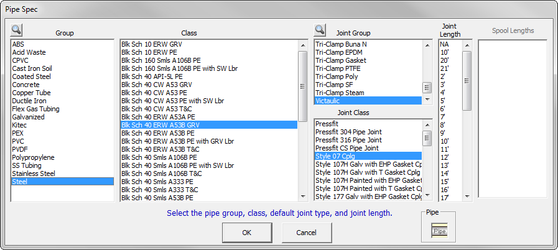
Group: Type of material.
Class: Weight or number of how it is broken down.
Joint Group and Joint Class: Select the Joint Group and Joint Class for automatic generation of joint quantities. Note that you should always select a coupling for types of pipe that require couplings. Any solder or other pipe joint material will be added automatically with the coupling. In some classes of pipe, Joint Groups, Classes or both may be automatically selected by default.
Joint Length: Tells the system how often the joints for the pipe will be automatically counted. - Ones you have the selection, click . The main spec screen reappears
Exercise 17: Edit the Fittings in a Spec
...
- Double click on a Fitting.
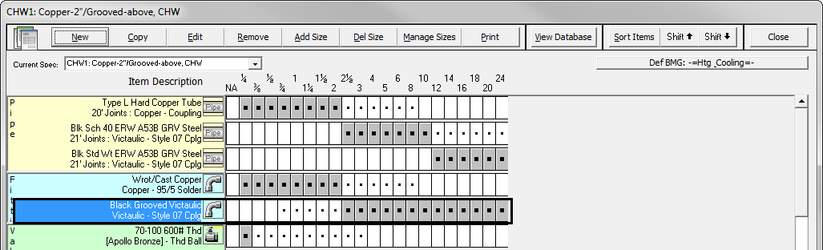
- The Fitting Spec screen appears. You can now verify that the selection is correct.
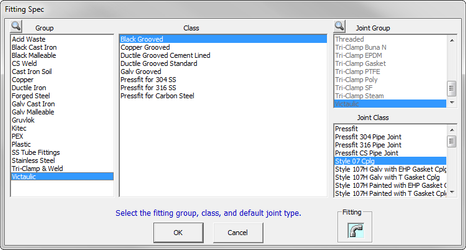
- Click to return to the Spec screen.
Exercise 18: Edit the Valves in a Spec
...
- Double click on a Valve.
- The Valve Spec screen appears. You can now verify that the selection is correct. If any accessories are needed, they can be selected here by clicking on the accessory to highlight it. You can select as many accessories as you want.
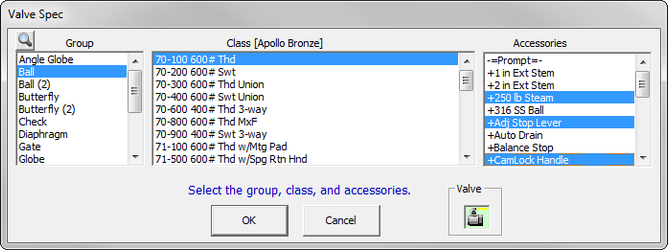
Note: For industrial contractors, you may want to select QUOTED valves since you may only be interested in getting the labor for the item. - Click to return to the Spec screen.
...
- Double click on a Flange.
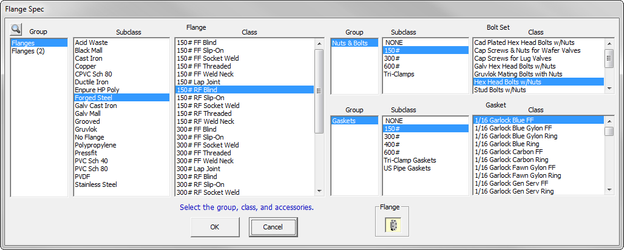
- You can now verify that the selection is correct. Bolt sets and gaskets are also selected here for automatic takeoff with each flange. Click to return to the Spec screen.
Exercise 20: Edit the Hangers in a Spec
...
Verify that the insulation thickness is correct so that the hanger size and sleeves are calculated correctly. (This is required for the proper over sizing of hangers.) Click to return to the Spec screen.
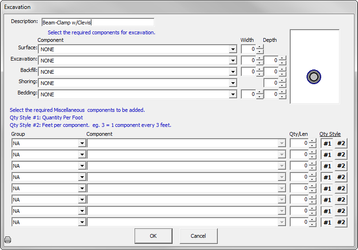
Adding a Hanger (for Excavation)
...
- Go to the specification where you would like to add the hanger.
- Click
 .
.
- A pull down list appears.
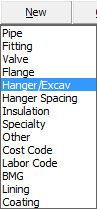
- Click on Hanger/Excav. A screen appears with Hanger/Excavation Forms where you can select which hanger you would like to add.
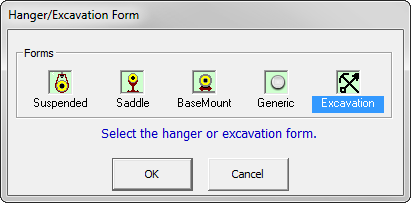
NOTE: Click on for your underground pipe.
 - Complete the hanger form as necessary.
...
- Double click on the Insulation thickness.

- Insulation Thickness appears.
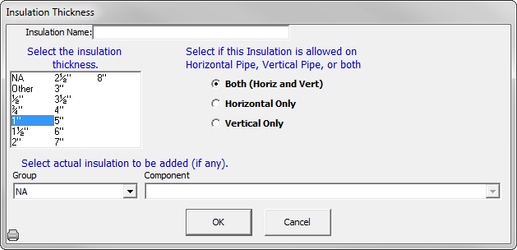
- You can now verify that the selection is correct. Click to return to the Spec screen.
Adding Material Cost of Insulation into Your Estimate
For most contractors, the insulation thickness is used so that the system will oversize hangers and sleeves automatically for you. If you self-perform your pipe insulation, you may want to select an insulation group and component for your spec. You will be generating a material cost and installation hours for doing pipe insulation.

You need to create the group in the database.You need to create the group in the database.
Exercise 23: Adding an Insulation Thickness to a Spec
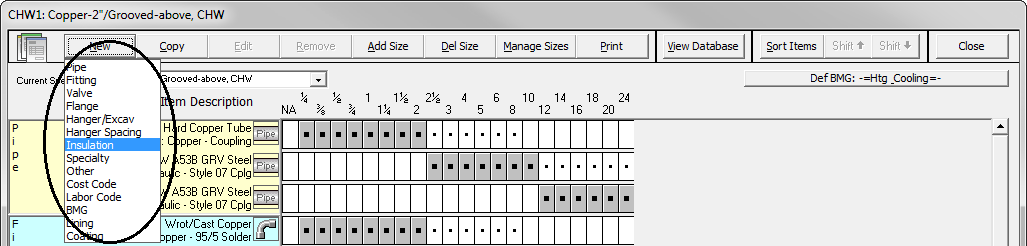
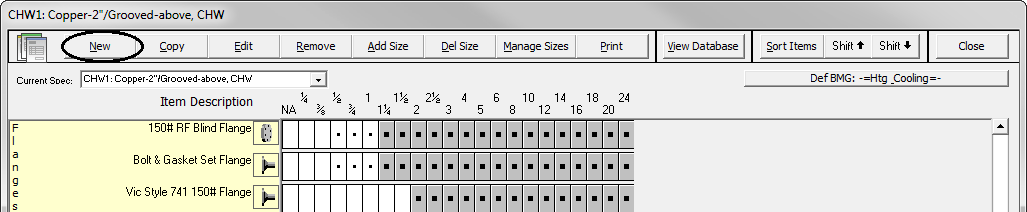
When you select ![]() Â at the top of the Spec screen, a pulldown list appears. You have a choice to add any group of items: Pipe, Fitting, Valve, etc.
 at the top of the Spec screen, a pulldown list appears. You have a choice to add any group of items: Pipe, Fitting, Valve, etc.