Table of Contents maxLevel 2
Importing into PlanSwift 11
Import Jobs & Templates
You can use the Import Wizard to copy data from a previous version of PlanSwift to the current version. See Using Import Wizard to Migrate Data & Templates for details.Before migrating data, be sure you recreate any
Network Storages
If you are using network-based Storages, otherwise, your data and templates will be migrated to the default Local storage. See Storing Your Jobs on a Network Drive (Setting up a you won't "migrate" your Jobs and Templates, you simply connect PlanSwift 11 to your existing Network Data Storage Location) for details.
Importing into PlanSwift 10
Copy Data Files using Windows Explorer
If you are upgrading from PlanSwift 9, you need to move your local files over from PlanSwift 9, to PlanSwift 10a major version (8 to 9, 10, or 11, 9 to 10 or 11, or 10 to 11), your data (your Jobs and Templates) don't automatically "migrate" to the new version. You can either migrate them, using the Import Utility above, or you can simply copy the folders using Windows Explorer.
C:\Program Files (x86)\PlanSwift9PlanSwift<version>\Data\Storages\Local
2.) In this folder, find folders named "Jobs" and "Templates".
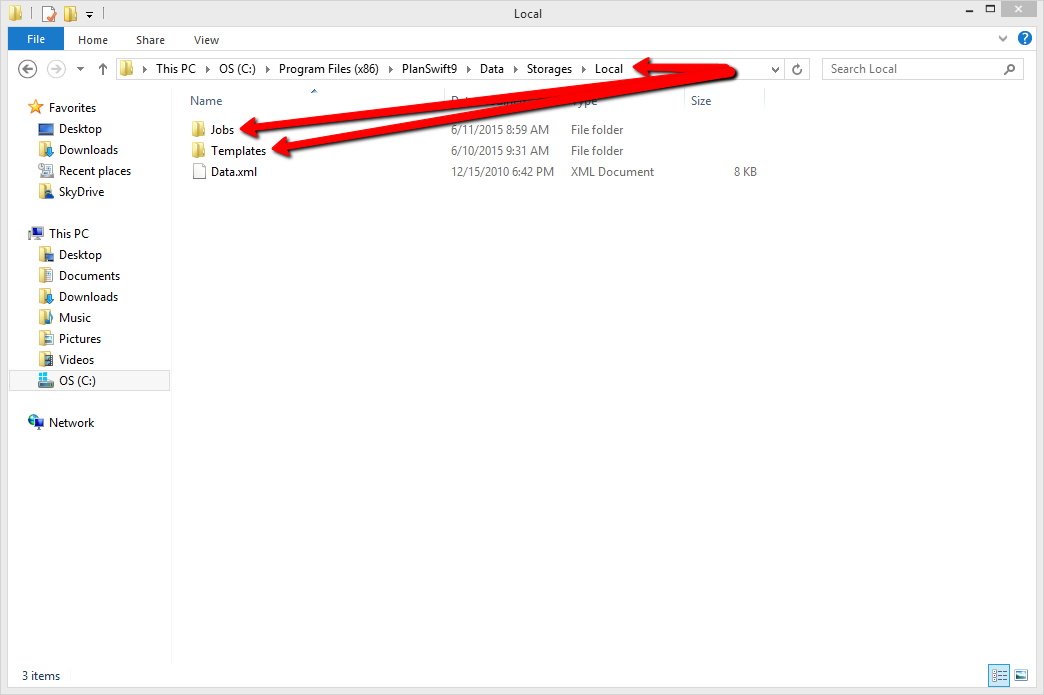
3. Select both the Jobs and Templates folders; right-click and choose Copy.
4. Next, locate the PlanSwift10 folder; the file path is going to be C:\Program Files (x86)\PlanSwift10 and your storage folder is going to be located at C:\Program Files (x86)\PlanSwift10\Data\Storages\Local. (This is where you will need to paste the copied data from PlanSwift 9.)
5. Right-click and hit paste, let Windows complete the data transfer.
Congratulations, you have successfully migrated your data from PlanSwift 9 to PlanSwift 10! Follow the instructions in the user guide to open an existing project.