When installing PlanSwift or upgrading PlanSwift, please close any Microsoft Office applications that may be running (Excel, Outlook, etc.) and disable your virus scanner for the duration of the installation.
Curious about MAC support, check out: Can I Install PlanSwift on a Mac?
To install PlanSwift:
1. Download the PlanSwift<version>.exe file from PlanSwift.com/dl (by clicking this link, you should automatically start a download of the latest version of PlanSwift). You can also get the version of PlanSwift you can license from MyAccount, see The PlanSwift Customer Portal (MyAccount). See How To: Check for and Install Software Updates to see if there is an upgrade to your existing software.
2. Click on the link in the lower-left corner of your browser.


Depending on your computer's security settings, you may see the User Account Control prompt - click Yes to continue the installation.
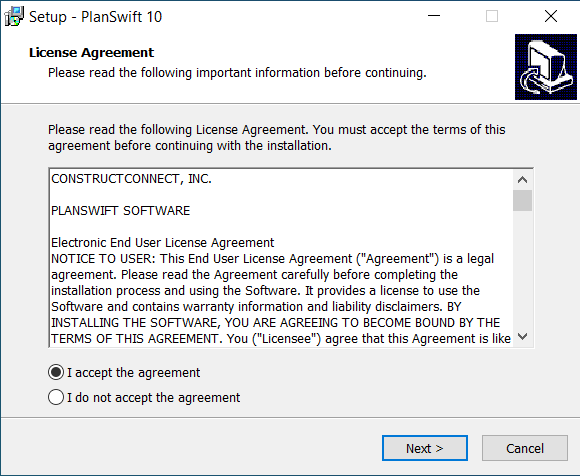
3. This should start the PlanSwift 10 Setup Up Wizard. The first screen you see is the License Agreement (aka "EULA") - Click on I Accept this Agreement and then click Next.
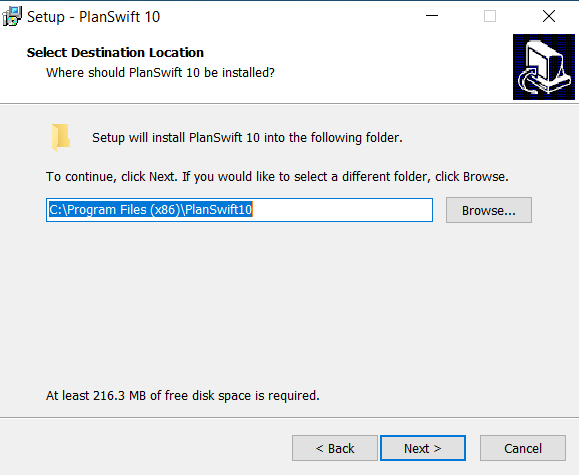
4. Next, you can change the folder where the program gets installed - we recommend you leave this as the default (C:\Program Files (x86)\PlanSwift10). If you are upgrading from a previous version of PlanSwift 10, you may see a prompt that this folder already exists, click "Yes" to confirm installation to the existing PlanSwift10 folder.
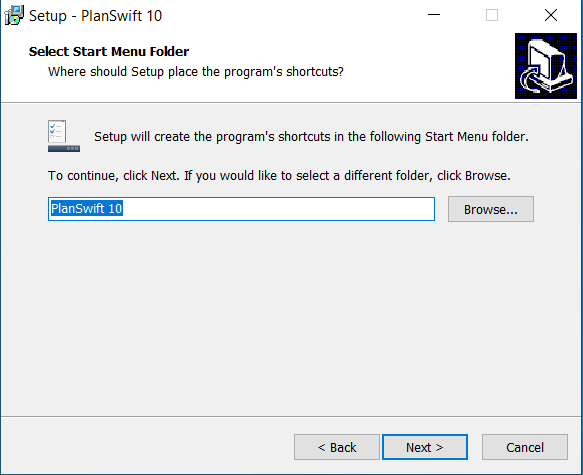
5. On the next screen, you determine where you want the program's shortcut placed on the Windows start menu - we recommend leaving this as "PlanSwift 10".
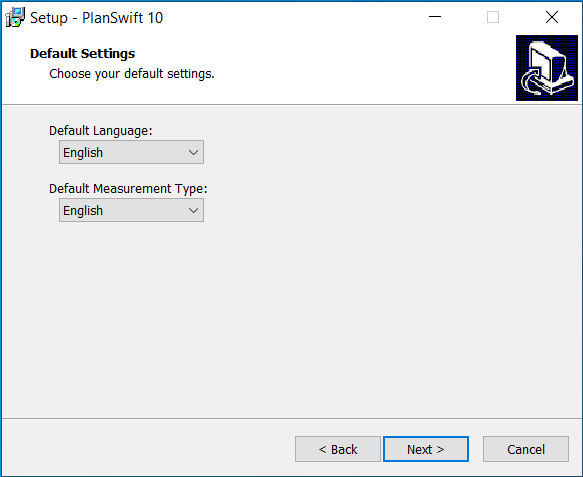
5. Next, choose your Default Settings. Select the Default Language and the Default Measurement Type - these Defaults can always be changed after you install the program so if you are not sure what to do, leave them as "English".
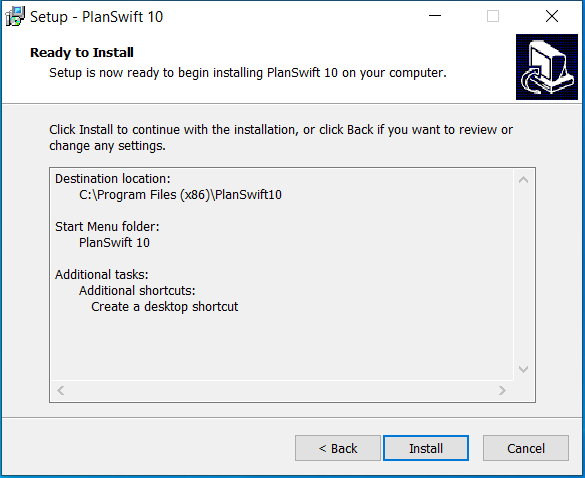
6. On the Ready to Install screen, review your installation settings before you continue, and then click Install.
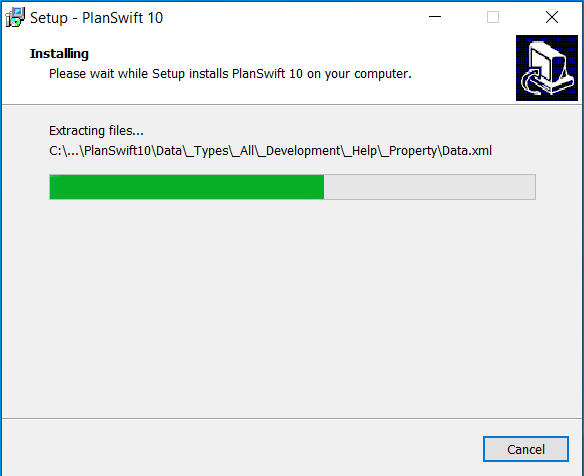
...this starts the installation of PlanSwift 10 - this can take a few minutes to complete...
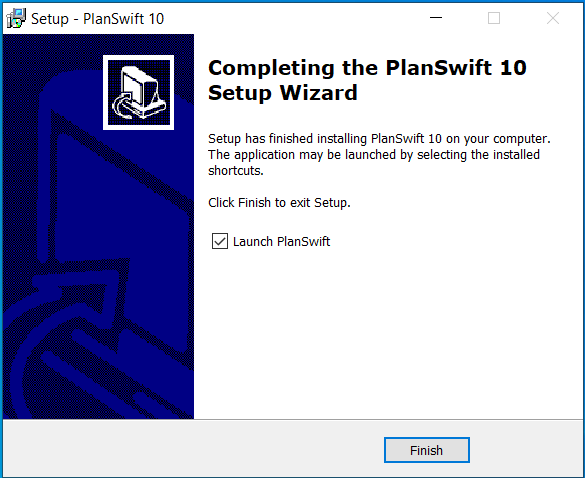
7. When the installation completes, leave "Launch PlanSwift" checked and click Finish if you want to launch the program right away, otherwise, uncheck "Launch PlanSwift" before you click Finish.
Next time you want to run PlanSwift, just double-click the PlanSwift 10 icon on your desktop.

Be sure to review the information on Licensing/Activating PlanSwift: Licensing PlanSwift (Activation)