When installing PlanSwift or upgrading PlanSwift, you need to close any Microsoft Office applications that may be running (Excel, Outlook, etc.) and it’s best practice to disable your virus scanner for the installation.
Applying updates to PlanSwift is simple and fast. This quick guide will show you how to do it.
HOWEVER, if you are moving from a version of PlanSwift 9, 9.1, 9.2, 9.3, 9.5 to PlanSwift 10 or above, you need to download the actual link for the newest version. You can do so at this link:
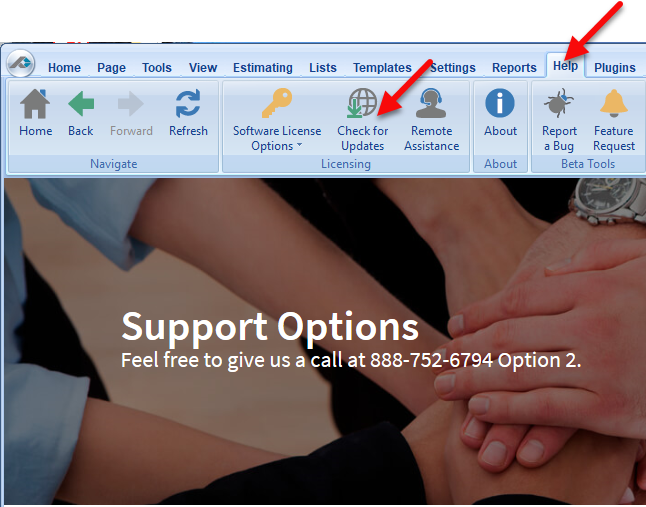
1. Select the Help tab along the top of your screen.
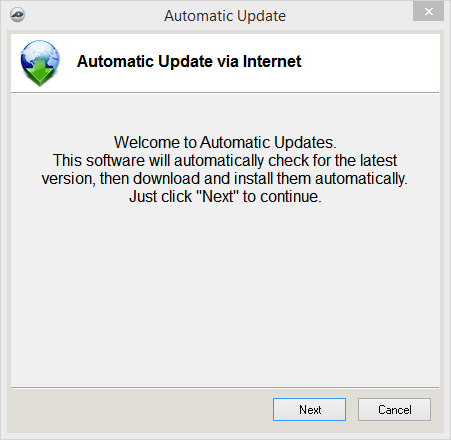
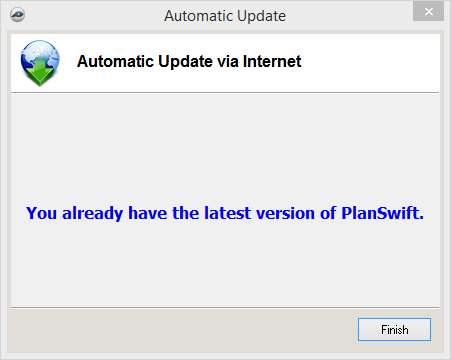
3. Select Next. PlanSwift will automatically check for updates. If your copy needs updating you will be asked to update. Otherwise, you will be informed that you have the latest version of PlanSwift.
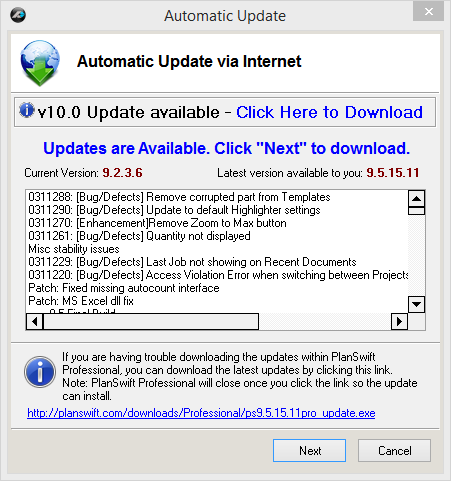
4. If you are already up to date, click Finish to end the updates, OR if you need updates, you will be shown what updates need to be installed.
5. Click Next to download updates to your computer. You can follow the progress of the updates with the download bar.
6. Click Next to begin the installation process. Follow the prompts to allow the program to install the updates.
7. PlanSwift will automatically restart with the latest updates working.
Tutorial Video:


