Safeguarding your PlanSwift data is an essential task for all users. Making a backup of your data, and storing it in a secure location, protects you and your organization from unforeseen issues such as hardware failures, malware, or even user error.
There are two main ways to backup your work on PlanSwift: One using Data Stores and folders inside of PlanSwift and then copying jobs into the "backup" storage location, the other using Windows Explorer to copy the actual data files to a secure location.
Backing Up Within PlanSwift
You can create a "Backup" Data Store and then copy jobs into that store to backup your jobs.
Create Data Storage
First, create a new data storage named "Backups".
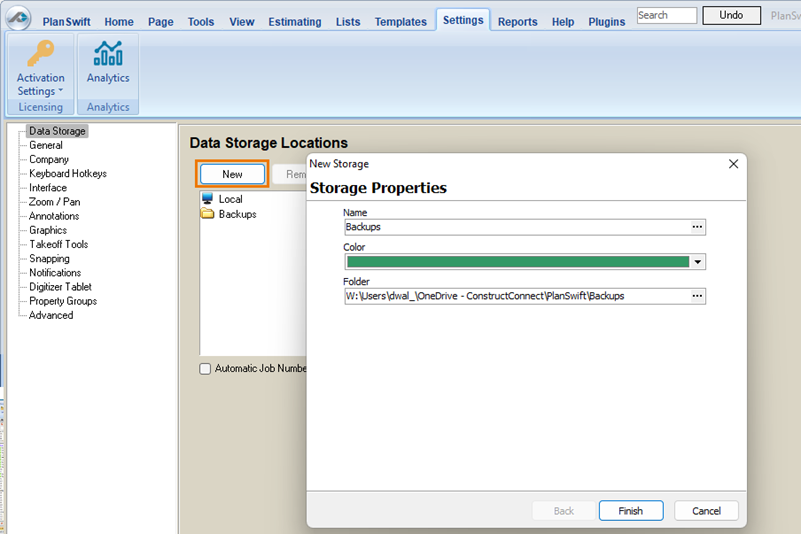
For more information on creating a Network Data Store please review Data Storage.
Copy Jobs to Backup Storage
After you set up your backup Storage Location,
- Click the Home tab,
- Then click Open on the ribbon bar
- Locate and select the job you want to backup
- Click the Copy To button and select your "Backups" Storage Location from the list

Using Windows Explorer to Copy Program Data Files
Moving Files from PlanSwift Folders
If you prefer, you can use Windows Explorer to copy the entire job file folder from one location to another.
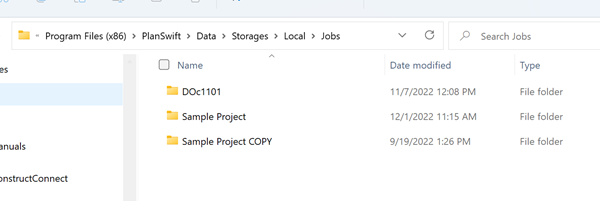
By default, your local Data Storage Location is here: C:\Program Files (x86)\PlanSwift9\Data\Storages\Local\Jobs.
- Open that location,
- Locate the job folder you want to backup (or select the entire "Jobs" folder to backup all of your jobs)
- Click Copy the job folders that you want to backup (you can select multiple jobs at a time) and copy the jobs.
- Next, create a folder named "Backups" where you want to store your backed-up jobs (see recommendations above)
- Paste the copied job(s) into that folder