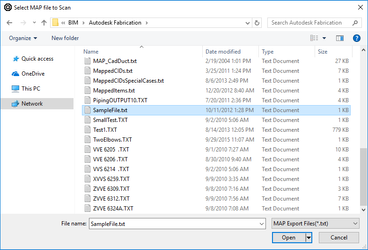
The first step to importing a file from Autodesk Fabrication is to scan the file, to check whether there are items in your Autodesk Fabrication file that don’t correspond to the standard rectangular, round, and oval items. To do this, click on BIM on the menu bar of QuoteSoft Duct and select the option for Autodesk Fabrication. Then, select “Scan File”.
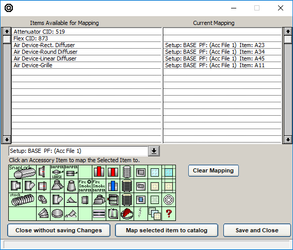
If any such items are found, you will be prompted to map their items to an accessory pressure file so that the items can be mapped properly when you import the Autodesk Fabrication file. If there are items that do not correspond to any of the accessory pressure files that you already have, then you can cancel the scan and add those accessory pressure files before re-scanning.
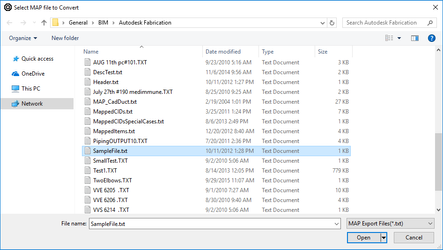
Once you have scanned the Autodesk Fabrication file and ensured that all of the items are properly mapped to items in QuoteSoft Duct, then you can import the file. Go back to BIM on the menu bar and under the option for Autodesk Fabrication, select “Import File”.
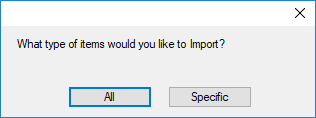
At the beginning of the import process, you will be prompted to decide whether you would like to import all items from the Autodesk Fabrication file or only specific groups of items
Importing All Items
If you select “All”, you will be presented with the following screen.
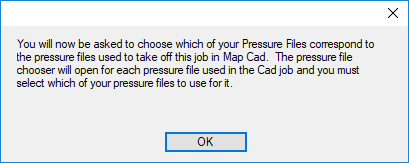
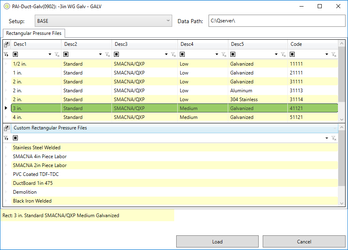
Click “OK”, and you will be presented with a window where you can select the pressure files for each item. The item in question is listed in the title of this window. Once you have selected a pressure file for an item, click “OK” to move on to the next one.
Once you have completed assigning pressure files, QuoteSoft Duct will import the Autodesk Fabrication file.

Once the file has finished being imported, you will be presented with the following screen.
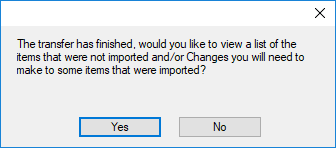
If you would like to view whether there were any items that were not able to be imported and what those items are, click Yes”. QuoteSoft Duct will open a window in Notepad that features a list of all of the items and what they were assigned to, if anything. If items were skipped, this means you did not successfully complete the scan process before importing and you may need to try again. If you continue to have issues, you can contact QuoteSoft Technical Support at 800-813-7020.
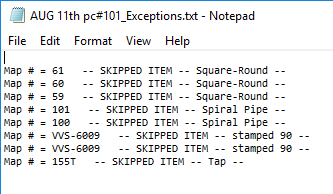
If you wish, you can copy this list to another application, or save the Notepad file by selecting Save from the File menu, and then choosing a location to save the file. Otherwise, you can close this window and return to Takeoff.
Importing Specific Items
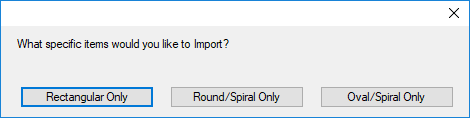
If you select “Specific”, you will be presented with options of which specific items you want to import: Rectangular, Round/Spiral, or Oval/Spiral.
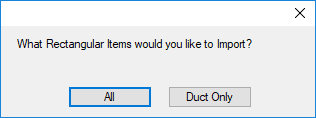
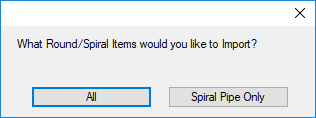
Once you select which one you would like to import, you will be presented with another option, this time whether you would like to import all of that type of item, or only specifically duct (or, for round and oval items, spiral).
Once you make a selection, you will be presented with a window where you can select the pressure files for each item. The item in question is listed in the title of this window. Once you have selected a pressure file for an item, click “OK” to move on to the next one.
Once you have completed assigning pressure files, QuoteSoft Duct will import the Autodesk Fabrication file.
Once the file has finished being imported, you will be presented with the following screen.
If you would like to view whether there were any items that were not able to be imported and what those items are, click Yes”. QuoteSoft Duct will open a window in Notepad that features a list of all of the items and what they were assigned to, if anything. If items were skipped, this means you did not successfully complete the scan process before importing and you may need to try again. If you continue to have issues, you can contact QuoteSoft Technical Support at 800-813-7020.
If you wish, you can copy this list to another application, or save the Notepad file by selecting Save from the File menu, and then choosing a location to save the file. Otherwise, you can close this window and return to Takeoff.