Opening Onscreen
QuoteSoft Duct Onscreen is an add-on tool to the Takeoff program much like a digitizer. In order to launch the Onscreen tool you must create a job, create a zone and enter the Takeoff screen.
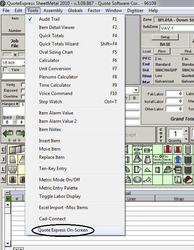
From within the Takeoff program, go to the Tools drop down menu and select QuoteSoft Duct Onscreen, at the bottom of the menu. The Onscreen window will open in its last closed location and palette configuration.
Prior to creating a zone, copy all plan files onto the Attachments tab of the current job. Please see here for instruction on copying drawings into the job and converting them if needed.
Loading a Plan File
Once Onscreen has finished loading, a navigation window will appear waiting for the selection of the plan file that is needed for this zone. Onscreen settings should be set to default to the current job’s attachment directory; if not, see here for instruction.
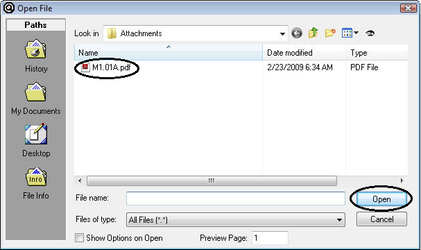
Select the plan file from within the window and click Open.
The Onscreen program will now load the plan file and perform a conversion to tiff on the PDF file. The tiff will be stored in the same attachments directory for the job.
Defining Scale
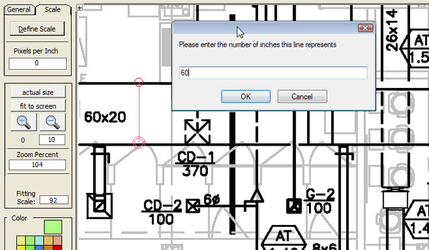
After selecting the plan file the prompt to define the scale will be shown. Onscreen does not use predetermined scales such as 1/8in, 1/4in, 1/2in, etc. In order to set the scale for the plan file simply click two points of a known length and type in the number of inches for the distance scaled. Onscreen will then build a digital scale in pixels per inch.
Once the plan file is loaded Onscreen will require the scale to be defined. An image showing three rulers will appear over your plan file. Click the green button for Define Scale.
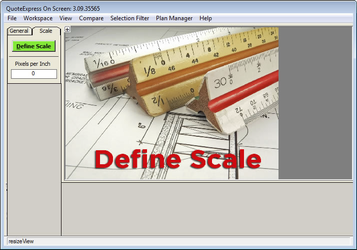
The image will be removed and the plan file will become visible.
The mouse cursor will change into a symbol indicating it is ready to define the scale.

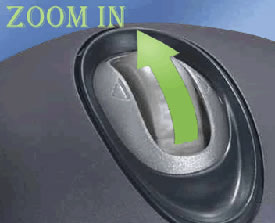
Zoom in to the print to a distance that allows a clear view of the distance that is going to be scaled to set the scale. To zoom in use the mouse wheel and roll forward, to zoom out roll the mouse wheel backwards.
To pan or move the print, right click and hold. This will grab the print and enable the ability to move the plan in any direction.
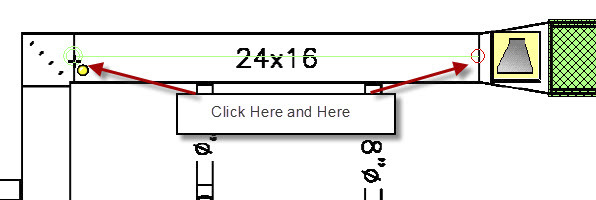
Select the longest known dimension available to set the scale. The program will have greater accuracy if the scale is set using a length that has a minimum length of 24inches.
Click the left mouse button to initiate the scale set procedure, then move the mouse and click again to end the process. Using the keyboard type in the length of the scaled dimension, Onscreen will then set the scale for the print. Only one scale is allowed per drawing.
Scale Three Ways
Pairs with Multi-Fitting
Using this option will require each duct length to be placed on the plan file.


Click an item to be scaled such as Rectangular Duct, Spiral Pipe, Snaplock Pipe or Oval Pipe. Click on the plan file the beginning location of the run and then the ending point of the run.
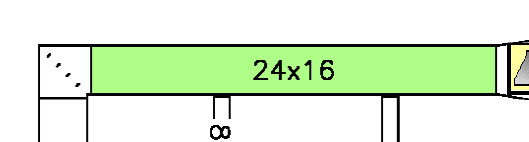
Onscreen will then draw a rectangle box over the top of the scaled item. This box will have the dimensions of the duct or pipe as entered prior to beginning the scaling process.
While in Multi-Fitting mode after selecting a fitting it is possible to continuously click the plan file and place the fitting as many times as required. Onscreen will continue to queue up another item with the same dimensions after each item is accepted.