From within the Templates tab, you can create Areas for use in estimating and takeoff before you need them; you can then export or import them into jobs.
1. To create a new area, select the New Area button; to create a new sub-item area, select the lower portion of the button.
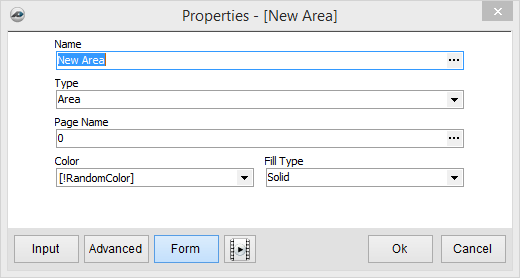
2 The Form properties window allows you to name your area and to set the color, fill type and location.
3. When finished, click the OK button to continue; you have now created a new area for your use.
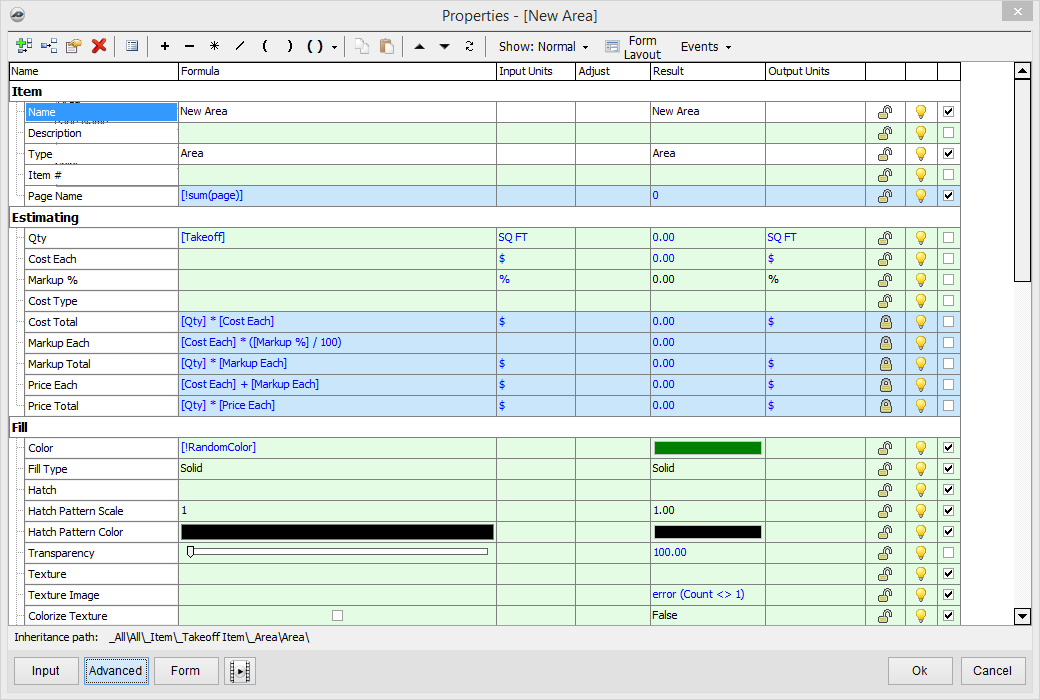
4. The Advanced Area option allows you to enter, set, and update more options.
5. Select the Advanced button to open the Properties window.
- Estimating - This section allows you to estimate, set formulas and equations for estimating, and define other area estimating rules for use later.
- Item - This section allows you to set general information about the template area, including the name and the area type.
- Other - Under this section, you can set some of the actions the area will handle.
- Audit Trail - Properties related to when the folder was created and when it has been updated.
- Created By - Who created the folder.
- Time Stamp - Date and Time the Folder was updated.
- Padlock - Allows you to lock and unlock the contents of that row. Clicking on the lock toggles the setting.
- Light bulb - Indicates if the row is visible or not.
- Yellow Bulb - Row Visible.
- Gray Bulb - Row will be invisible.
6. When done, click the OK button to continue; you have now created a New Area for your use.