Notes
When you are installing or upgrading PlanSwift, please close any running Microsoft Office applications (Excel, Outlook, etc.) and disable your virus scanner for the duration of the installation.
See Check for and Install PlanSwift Updates to see if there is an upgrade to your existing version of PlanSwift.
Curious about MAC support, check out: Can I Install PlanSwift on a Mac?
Before you install PlanSwift, be sure your computer meets or exceeds our System Requirements.
You must be a local (Windows) administrator to install and update PlanSwift.
To Install PlanSwift:
Download the PlanSwift version for which you are licensed from MyAccount, see The PlanSwift Customer Portal (MyAccount) for more information. Typically, your browser will save the installer to your Windows "Downloads" folder.
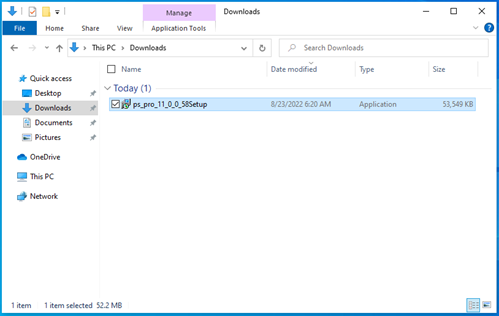
When the download is complete, locate the file that was downloaded and double-click it. (If you are using Chrome browser, you can just click on the downloaded file in the lower-left corner of your browser to launch it.)
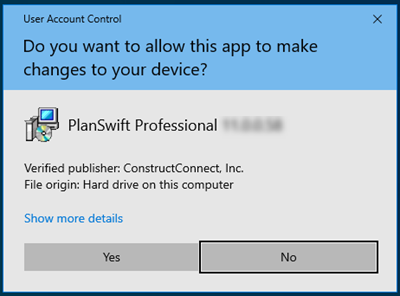
When prompted by User Account Control, click Yes.
The PlanSwift Setup wizard starts, and the first screen you see is the License Agreement (aka "EULA").
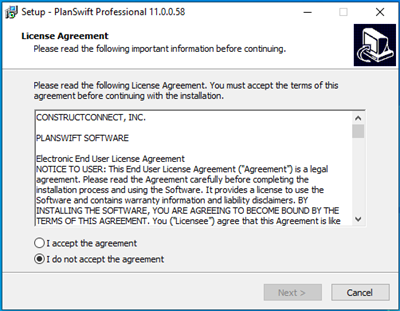
Please review the EULA, select "I Accept the Agreement", and then click Next.
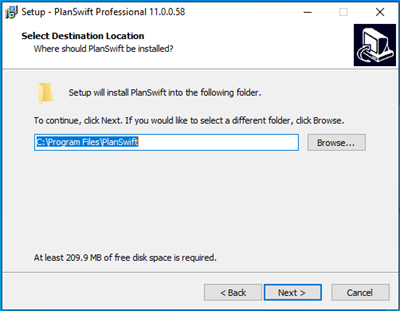
Next, you are asked where you want PlanSwift installed.
Upgrade or Side-by-Side Install
For PlanSwift 11 and newer:
- If this is a fresh installation, the location will be <system drive>:\Program Files (x86)\PlanSwift - this is the default installation folder. You can change it to any valid location you like on your local hard drive, however changing the folder may cause issues with future installations.
- If you are installing when there is a previous version of PlanSwift already installed (or was installed and its installation folder is still on your hard drive), the installer shows the highest version's folder here.
- If you leave the folder (for example "PlanSwift 10") as it is, PlanSwift 11 will be install over PlanSwift 10, upgrading it. Projects created, Plugins/Starter Packs installed prior to the upgrade will remain available. During installation, the folder name will be change to "PlanSwift" and all future releases will operate as "upgrade in place" installations.
- If you change the folder, say to "PlanSwift 11", PlanSwift 11 will be installed side-by-side with your previous version(s) of PlanSwift. This means, you'll have to use those version to access your existing projects or map PlanSwift to your old data store.
For PlanSwift versions older than PlanSwift 11
- For fresh installations, the installer defaults to PlanSwiftX where X is the version number you installing.
- For upgrades, everything else is pretty much the same. Post installation, the folder name will remain versioned, though.
When you are performing an upgrade-in-place over a previous version of PlanSwift, you will see a prompt that this folder already exists, click "Yes" to confirm installation to the existing folder.
Click Next.
You can change where the program's shortcut is placed on the Windows start menu - we recommend leaving this as "PlanSwift".
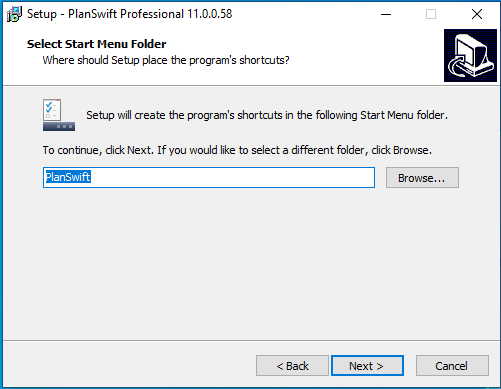
Click Next.
You are asked if you want to create a desktop icon for easier access to PlanSwift, - we recommend you create the desktop shortcut - you can always delete it later if you want.
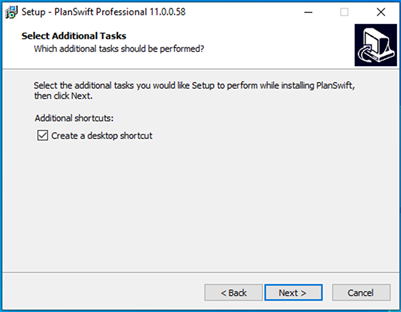
Click Next.
Choose your Default Settings.
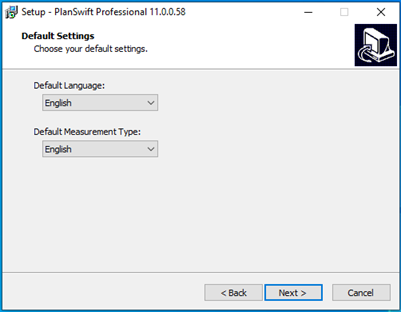
Select the Default Language and the Default Measurement Type - these defaults can always be changed after you install the program so if you are not sure what to do, leave them as "English".
Click Next.
On the Ready to Install screen, review your installation settings before you continue, and then
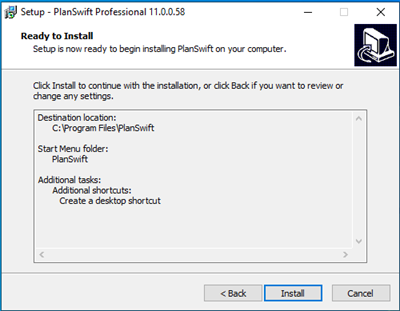
Click Install.
The installation proceeds - this can take a few minutes to complete.

When the installation completes, you have the option of immediately launch PlanSwift.
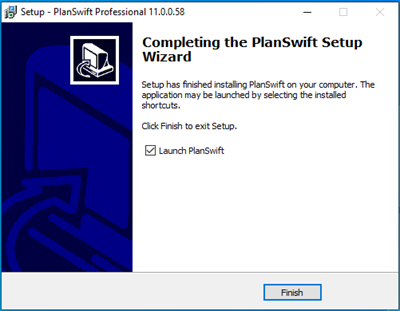
Leave "Launch PlanSwift" checked and click Finish if you want to launch the program right away, otherwise, uncheck "Launch PlanSwift" before you click Finish.
Next time you want to run PlanSwift, you can:
Double-click the PlanSwift icon on your desktop (assuming you opted for a desktop shortcut)...

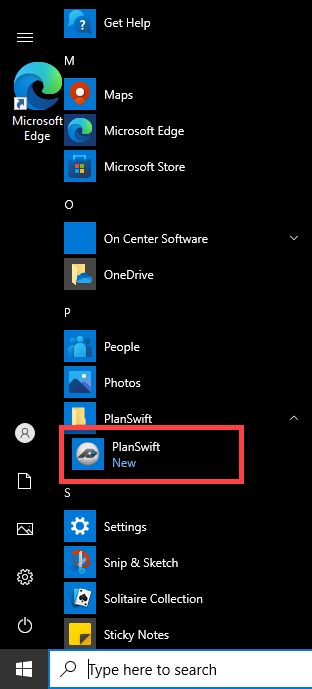
Or locate "PlanSwift" in the Start Menu...
Be sure to review the information on Licensing/Activating PlanSwift: Licensing PlanSwift (Activation)