When you are installing or upgrading PlanSwift, please close any running Microsoft Office applications (Excel, Outlook, etc.) and disable your virus scanner for the duration of the installation.
Before you install and upgrade to PlanSwift, be sure your computer meets or exceeds our current System Requirements.
You must be a local (Windows) administrator to install and update PlanSwift.
This process only works with supported versions of PlanSwift (PlanSwift 10.2 and higher).
Check for Available Updates
Installing PlanSwift updates is simple and fast, just follow the steps below:
Select the Help Tab along the top of your screen.
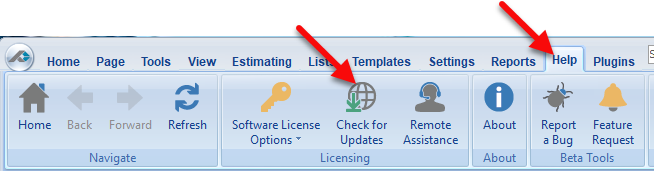
Select the Check for Updates button.
The Automatic Update screen opens...
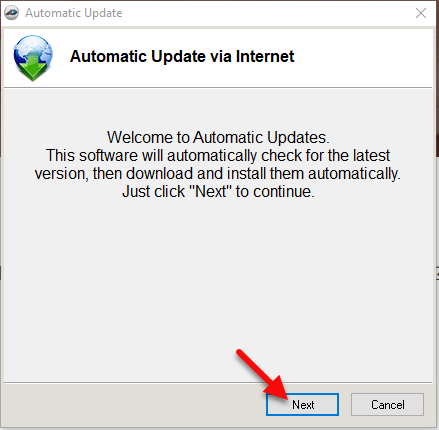
Click Next and PlanSwift automatically checks for updates.
No Updates Available
If there are no updates available for your license you see the following message:
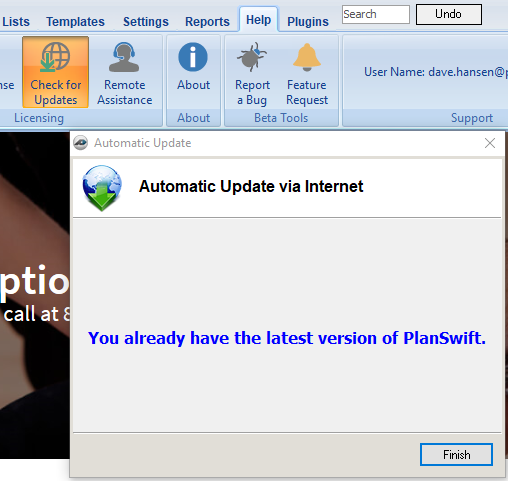
Click Finish to close the Automatic Update dialog box.
Updates Available
If there are updates for your version/license, you are shown what updates need to be installed...
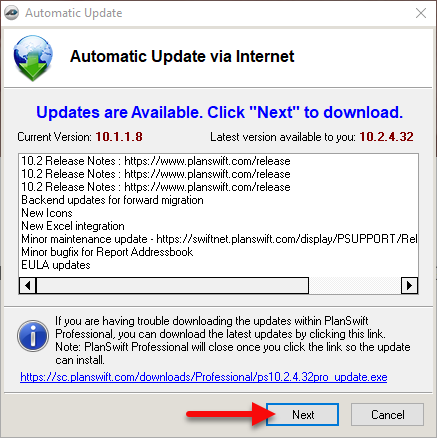
Click Next to download the available updates to your computer.
If you see a message asking you to check your internet connection, and you know you have an internet connection, your computer may be blocking PlanSwift from phoning home.

You can check MyAccount to see if there is a newer version of PlanSwift available for your license.
When the updates are downloaded, you'll see the following screen:
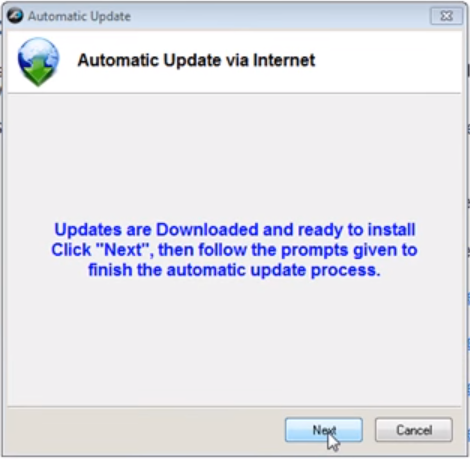
Click Next.
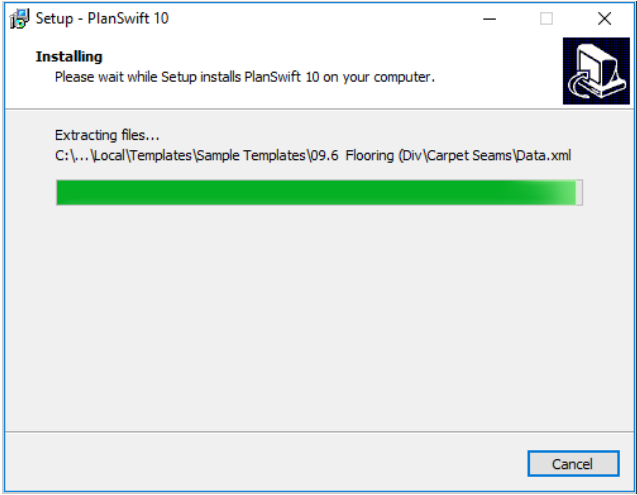
The PlanSwift Setup utility launches and starts installing the update(s). You may be prompted by User Account Control to permit the installer, click Yes if prompted.
When the update is complete, you'll see the following screen:
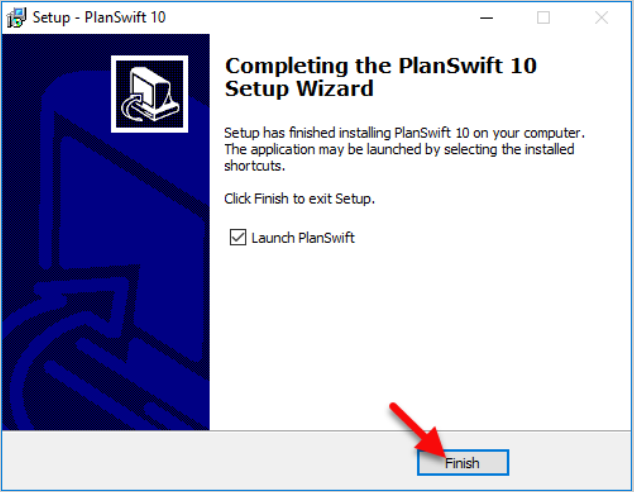
Leave the Launch PlanSwift checkbox checked, and click on Finish to complete the installation process and launch PlanSwift.
When PlanSwift opens after an update, you'll see the "Welcome to PlanSwift" screen so you can activate the update...
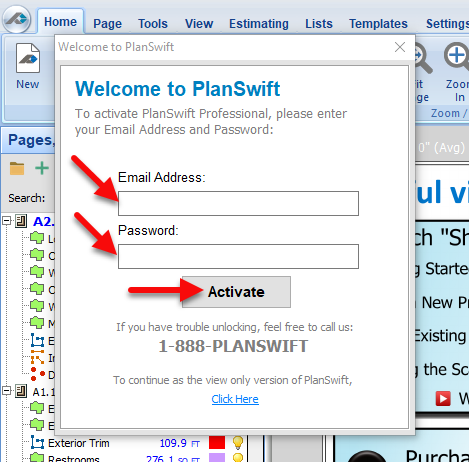
Activate by entering your Email Address and Password. (the same ones you use for My Account).