To open any link in a new tab, preserving your position in the current article, just hold down the <CTRL> key on your keyboard before clicking the link or click using your mouse wheel.
How To: Uninstall PlanSwift
To uninstall PlanSwift (for those using Windows 10), follow these steps:
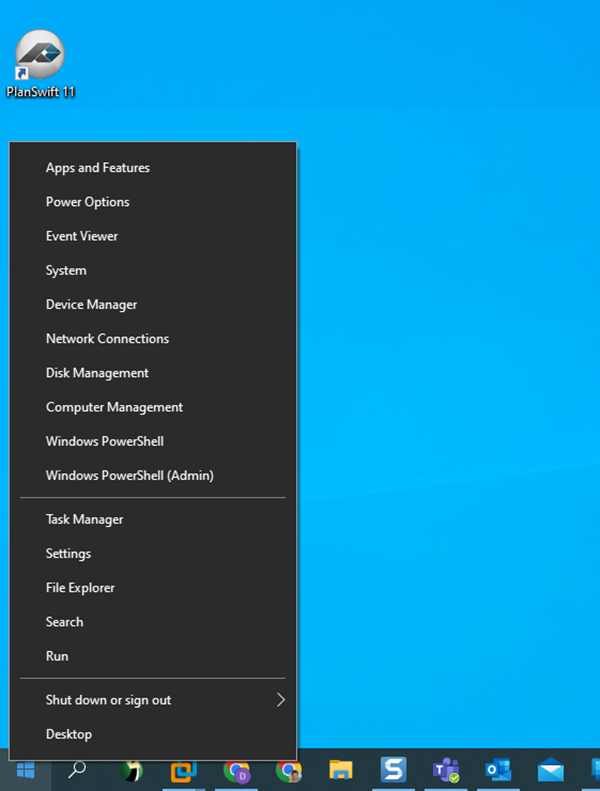
- Right-click on the Windows Start button.
- Select "Apps and Features" from the context menu.
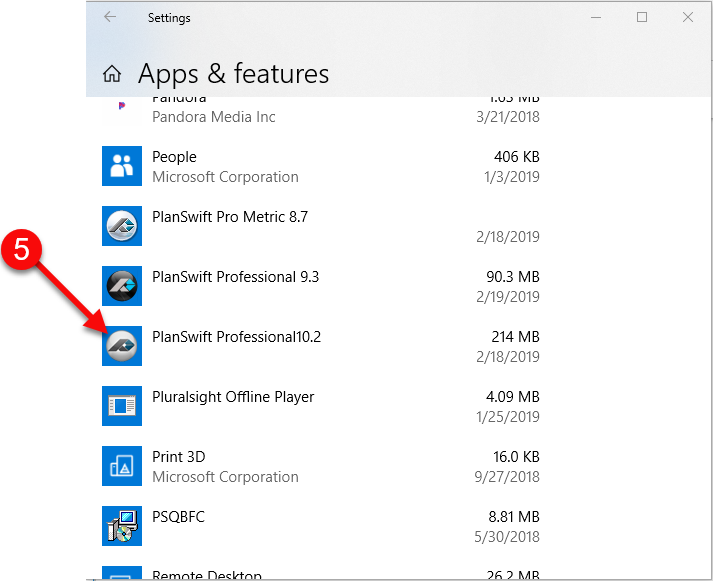
- Locate the version of PlanSwift you want to uninstall.
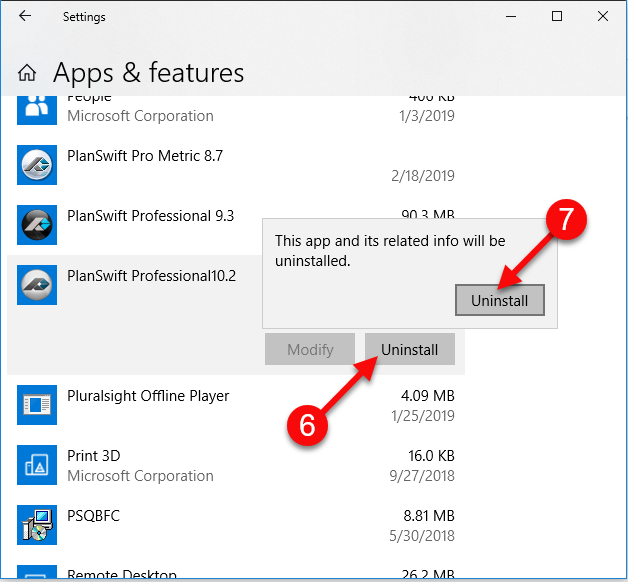
- Click on the PlanSwift version you want to uninstall and then click on Uninstall.
- Click on the second Uninstall button to verify that you want to begin uninstalling.
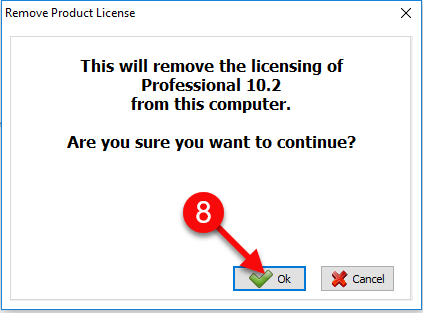
You may see a notice that your current license will be removed from this computer. Some versions simply return your license for you automatically without informing you.
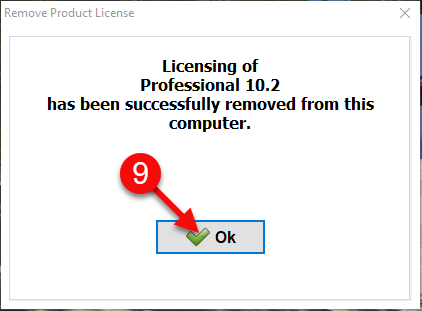
- Click OK.
You are notified that the PlanSwift licensing has been removed.
- Click OK to continue uninstalling PlanSwift.
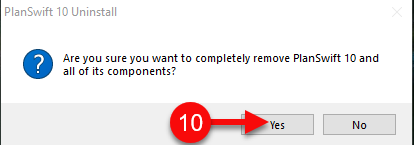
Click YES when you are prompted to confirm uninstall.
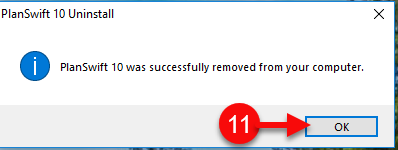
PlanSwift and its components are removed from your computer, however your data files (your jobs, custom templates, etc.) are not removed.
Click OK.
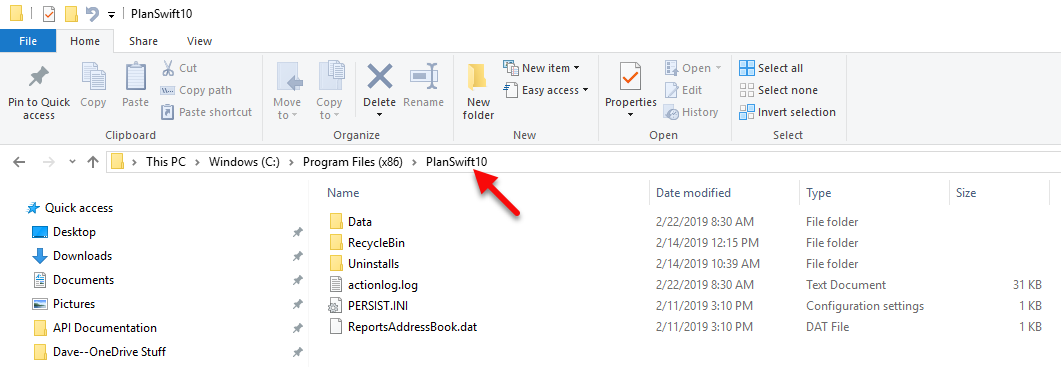
An example of the files and directories remaining in the PlanSwift directory is shown in the figure below.
If you reinstall or install a new version to that same PlanSwift10 (or whatever version you uninstalled), all your data will be available to you on first launch. If you install to a different folder, you'll need to migrate over some/all of your data. See Copy Data and Templates folders from Previous Version of PlanSwift (Migrating Jobs and Templates Using Windows Explorer) and Moving Your PlanSwift Data Files from One Computer to Another for details.
Copyright 2023 ConstructConnect
