To open any link in a new tab, preserving your position in the current article, just hold down the <CTRL> key on your keyboard before clicking the link or click using your mouse wheel.
Home Tab: Dimension Button
- Jacob Oveson-Davis (Deactivated)
- Daniel Wal
- Kristi Larson (Deactivated)

Finding the dimension of any length in PlanSwift is easy.
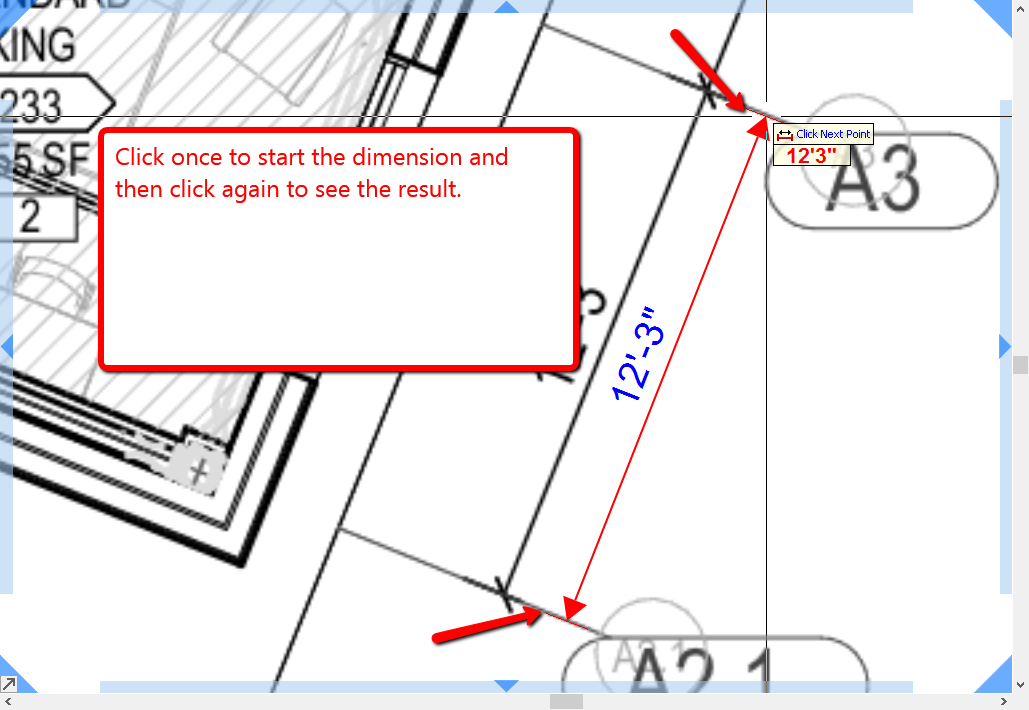
1. Select the Dimension button.
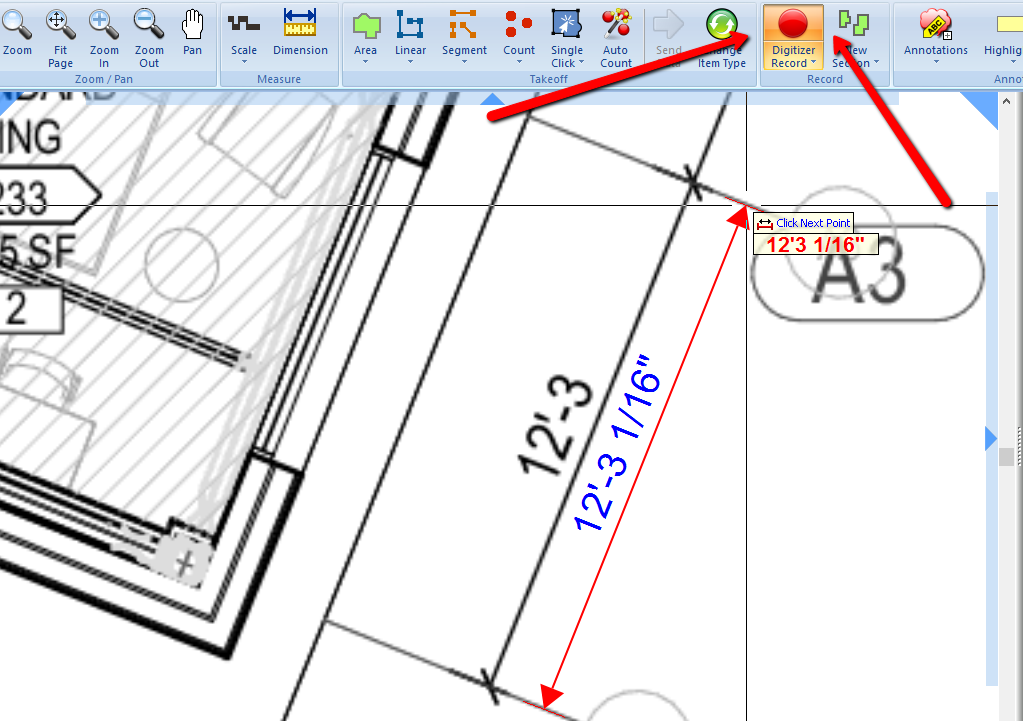
2. Select the stating point by left clicking your mouse, then move to the end point and left click again. This will give you the dimension. You can continue select dimensions with the same colors.
3. When you are done, press the Digitizer Record button or Ctrl-C to stop the dimension system.
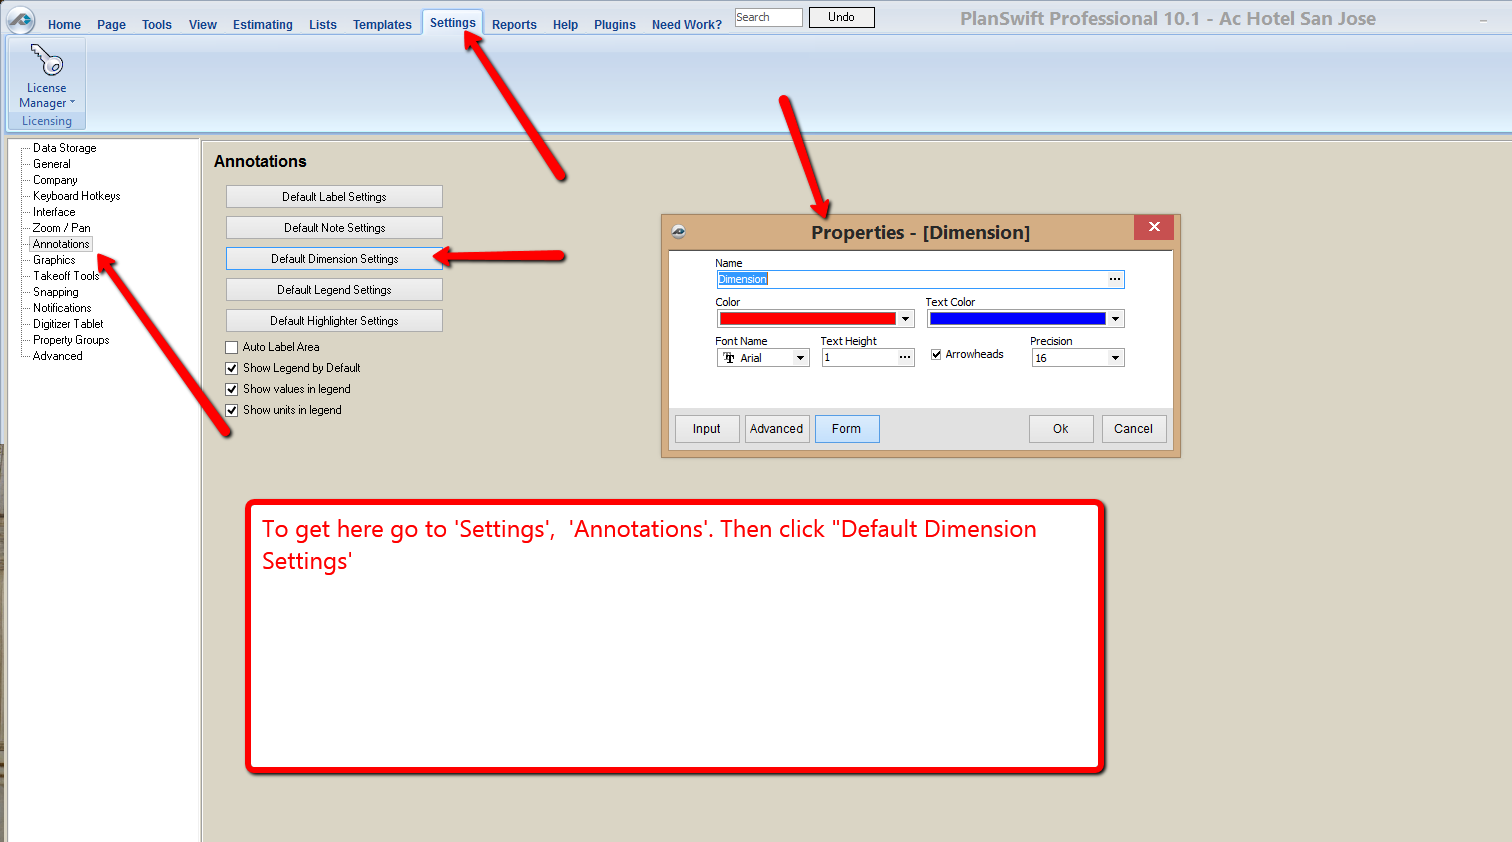
4. You can customize the line color and text color of your dimensions.
- Name - Allows you to name the dimension to something more fitting.
- Color - Selects the color of the dimension line. Clicking on the colored area will bring up a color palate option box.
- Text Color - Selects the color of the dimension text.
- Font Name - Allows you to change the font style for the text.
- Text Height - Allows you to change the size of font used on the dimension line. In 9.3 and above this also controls the size of the Dimensions ticks (arrows).
- Arrowheads - In 9.3 and above you can select this option to add ticks (arrow heads) to the end of your dimension lines.
- Precision - In 9.3 and above you can set your dimensions precision to the nearest 1" (1), 1/2" (2), 1/4" (4), 1/8" (8) or 1/16" (16). **Applies to imperial (standard) measurements only.
In 9.3 and above the Properties section looks like this:
TIP: If you have Ortho enabled and need to place a dimension on an angle off of one of the cardinal coordinates, you can either turn off Ortho or hold the SHIFT key while placing the dimension line.
To remove a dimension, select the desired dimension by clicking with the cursor and press Delete on your keyboard.
See the video below on how to add dimensions.
Copyright 2023 ConstructConnect