02. Data File
- April Friedman (Unlicensed)
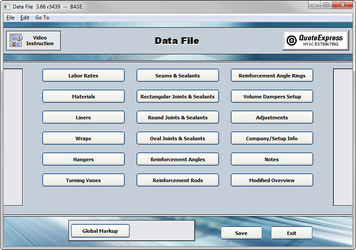
The Data File is an accumulation of material prices and labor hours that are required for the estimating and building of your duct systems. Specific Labor Rates, Insulation, Hanger Systems, Joint Connectors and Reinforcements are all in the Data File and they consist of pricing and labor hours.
For example, one component needed in a duct system is a Hanger. The cost per foot of the Hanger Strap and the labor to attach the strap to the duct and to the structure is stored in the Data File. You will also need to input costs for the connectors (inserts, beam clamps, etc.) as well as their labor units. The same can be said for the Joint Connectors, Sealers, and Insulation used by your company.
Labor Rates
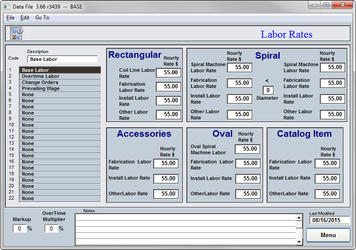
The Data File can store up to 22 different Labor Rates. You can use these rates during your Takeoff process to specify what hourly rates to use on your job. The Labor Rates page is broken up into 5 sections; Rectangular, Spiral, Accessories, Oval, and Catalog. Each of these categories have entries for Fabrication, Installation, and Other rates.
The percentage boxes at the bottom of the page for Markup and Overtime Multiplier will be applied before any calculations are completed. If you use these fields the program will not be able to show you true cost on your labor. These fields are only used by Fabricators to apply a markup and or give a discount.
Setup Tip! Click on “Labor Rates” to set all rate to the same amount. Less typing by hand is a good thing!
Materials
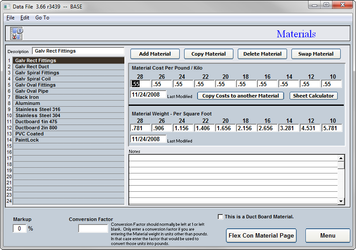
There is no limit to the number of material types you can have available in your program. Galvanized Steel, Stainless Steel, Aluminum, and Black Iron are examples that have already been set up for you with their nominal weights; you just need to input your local prices per pound.
To Add New, Copy an Existing or Delete a Material type use the buttons at the top of the page. You can also Swap the placements.
Remember, the description that you type is EXACTLY what the system will look for when loading files in the Takeoff program. If you change or alter a name here, you will have to visit EVERY Pressure File using that material type to make corrections.
Setup Tip! Use the “Copy Costs to Another Material” to save time.
Liners
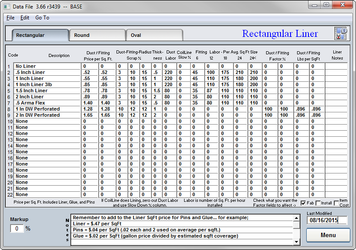
The Liner section is divided up into three pages; Rectangular, Round, and Oval (tabs at the top of the page). Be sure to set up each of the pages as the costs and labor factors can be dramatically different.
The system is capable of using double wall liner as well. Simply incorporate the cost and labor of the inner skin into the setup of the liner. See the Liner Setup Exercise for a better example of this procedure.
Setup Tip! All of the Windows Copy, Cut, and Paste functions work great here!
Wraps
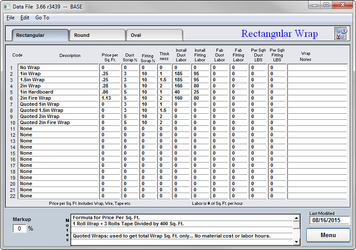
The Wrap page is also divided up by type using the buttons at the top of the page exactly the same as the Liners page.
Be sure to set up all three pages with costs and labor factors. You are allowed maximum of 22 wraps. The column descriptions are the same as we covered in the Liners section.
Setup Tip! Right click on the Rectangular tab to quickly copy setup from one page to another.
Hangers
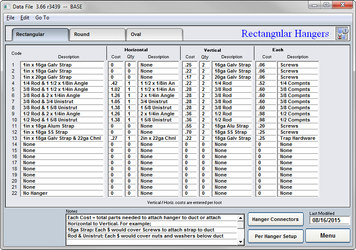
Hangers are divided up under the Rectangular, Round, and Oval tabs at the top of the page just like Liners and Wraps. All must be set up for accurate estimating. Once again, 22 is the maximum allowable hanger setups per type.
Be sure to set up the Horizontal, Vertical, and Each costs to ensure the most accurate estimate possible.
At the bottom of the page are the Hanger Connectors and Per Hanger Setup pages. Hanger Connectors are the components used to attach the Hanger Setup to structure such as beam clamps, concrete inserts, etc. Verify that they are priced and labored accurately.
Per Hanger Setup contains the labor for each of the Hanger Setups. On this page you will be asked to input the labor hours required to install each setup, such as the hours needed to put up a set of 3/8in all-thread rods and connect them to the angle used under the duct.
Setup Tip! Do you have multiple lines getting the same numbers? Use the Fill Down option available under the Edit Menu.
Vanes
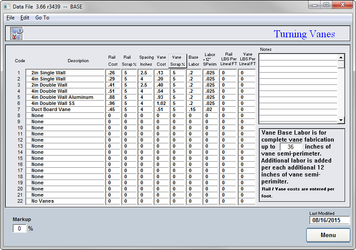
Most companies use multiple types of Turning Vanes and Rail. The system allows 22 different types to be input.
The Rail and Vane components are broken into separate columns and have their own scrap percentages as well.
The program calculates the labor to build and install the Turning Vanes starting with a Base and then increasing every 12 inches in semi-perimeter. The Base to start with is set to your shop standards.
Seams
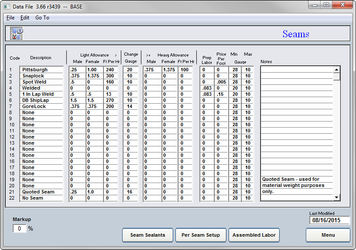
QuoteSoft Duct comes preloaded with the industry standard duct seams and labor hours for those seams.
Any new seams that you wish to include will need pricing (if applicable) and labor hours to construct the seam.
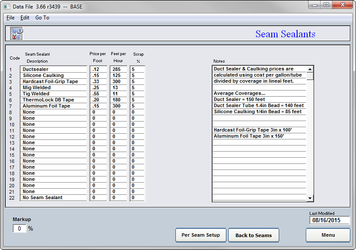
The Seam Sealants located at the bottom of the page will have material costs that you will verify as well. Labor hours to install this sealer are set to the national average.
Per Seam Setup and Assembled Labor pages should be checked for accuracy as well.
Setup Tip! Using the Per Seam Setup page, you can link Seams and Sealants together (thus not allowing the user to choose Pittsburgh and Tig Welding at the same time).
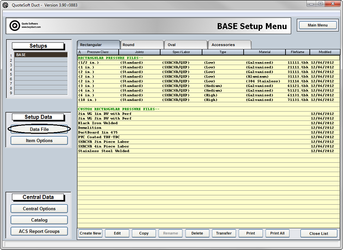
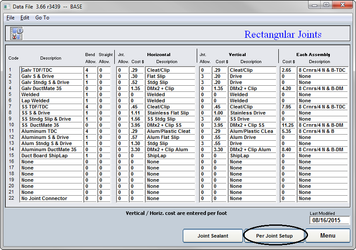
Rectangular Joints & Sealants
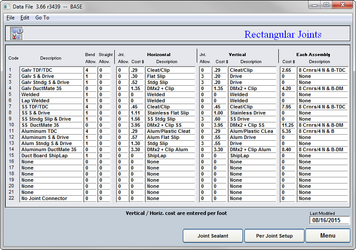
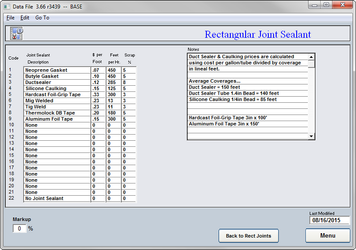
Rectangular joint connectors are a very important part of an estimate. The labor hours alone can vary dramatically from type to type, and that makes it important to verify accuracy of setup. The Data File has space for 22 different Joint Connectors and Sealers.
Each type of connector system (such as TDC/F or Ductmate) has a specific set up process. Please follow the description available in the Joint Setup Exercise for Slips and Drives (page 9).
The location of each connector is critical to the setup of the Pressure Files. For example, if you originally have Slips & Drives located on line 3 and then move it to line 4 after you have pressure files constructed using it on line 3, then you will need to modify each file using Slips & Drives to make the modification there as well. It is strongly recommended that you DO NOT move the location of your Joint Connectors after you have constructed files using them. The same warning can be given for the Joint Sealers as well. For example, if you construct a pressure file using Slips & Drives, which are on line 2 in the Data File, and then move them to line 3 you will then need to modify that pressure file to change the code to a 3 to reflect the change you made in the Data File.
Round & Oval Joints & Sealants
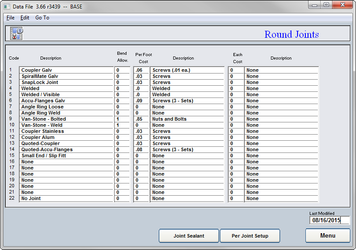
You can begin your setup of the Round and Oval pages following the same examples laid out for the Rectangular Joints & Sealants as well as the Per Joint Setup.
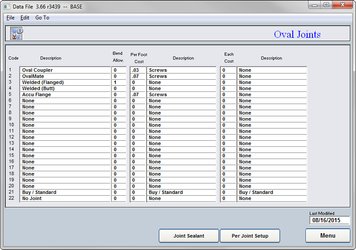
You must update the different connectors and their corresponding material prices as well as labor hours to get the most accurate estimate possible.
Setup Tip! All of the Windows Copy, Cut, and Paste functions work great here!
Reinforcement Rods & Angles
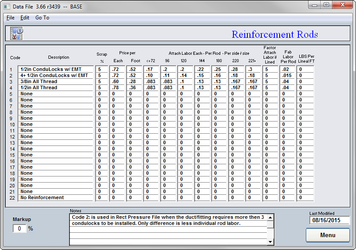
QuoteSoft Duct allows Reinforcement Rods and Angles to be used in the construction of the duct. Depending on your shop standards you will be using Rods, Angles, or a combination of both. In order to have these available you must qualify their setup on their respective pages.
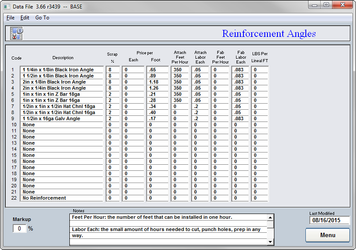
Setup tip! Do you have multiple lines getting the same numbers? Use the Fill Down option available under the Edit Menu.
Volume Dampers
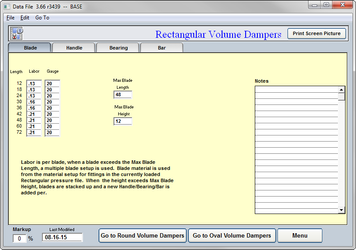
If your company constructs its own volume dampers using blades, bars, and hardware, then you’ll need to set up this section. If you purchase all your dampers, then you get to skip this section as it will not be used.
Adjustments
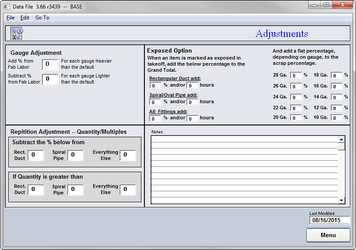
There are specific adjustments you can have the system automatically do for you while completing a Takeoff.
Most contractors setting up the system prefer to make correction factors manually at the time of Job input rather then have the system adjust the labor units behind the scenes.
Company Setup Information

The Company Name, Address, and Phone Number should be filled out so the system can export the proper data to your Excel final estimate summaries.
The program will also export this data to your bid cover letter saving you the step of having to fill out the company data.
Some contractors elect to use company letterhead instead, thus not needing to fill out this page.
Setup Exercises: Data File
As an Exercise you will be asked to input prices per pound for Galvanized Material and copy those prices to another Material type. You will also be shown how to modify the Slip & Drive material costs and labor hours.
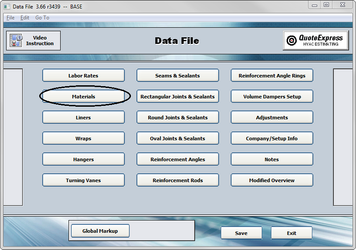
Exercise 1: Galvanized Material Price Update
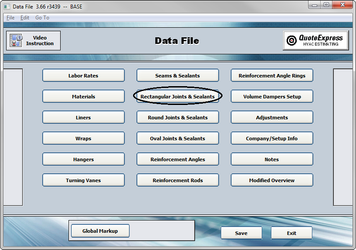
- Click the Data File button on the Setup Menu.
- Click the Materials button on the Data File Menu page.
- Click the Low Galv Rect Fittings Material in the list. Then click into the 28 Gauge price per pound box and you will see the current number highlighted. Type in the new price per pound and then hit the TAB key on your keyboard to move to the 26 Gauge box. Simply repeat until you have all prices updated.

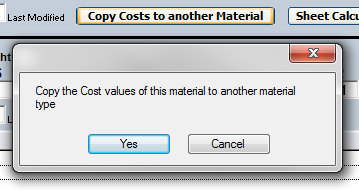
- In order to send these costs to another material in the list, simply click the “Copy Costs to another Material” button. Then click “Yes” on the confirmation button.
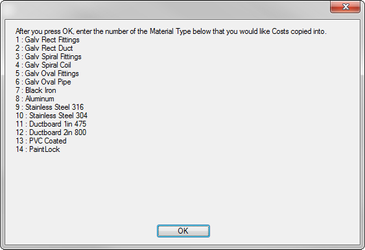
- Note the material number that you wish to copy your new costs to, and then click the “OK” button.
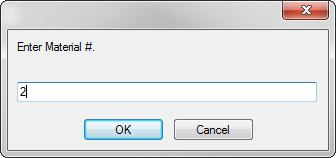
- Type in the number of the material and click “OK”. Click the material in the list and verify the costs.
- Click the Menu button and then Exit to save your changes.


Exercise 2: Updating the Slips & Drives Pricing and Labor Hours
- Click the Data File button on the Setup Menu.
- Click the Rectangular Joints & Sealants button.
- Locate Slip & Drive (Code 2 in this example) and follow the line across to update the per foot costs of the Slips and Drives by simply clicking on the number and typing in your new cost. Update any descriptions needed at this time as well.

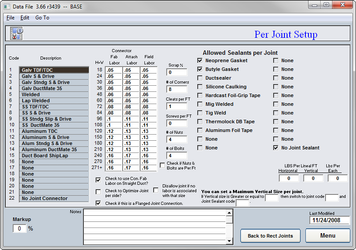
- Click on the Per Joint Setup button at the bottom to modify the labor hours stored for this and the other joint connectors.
- Click on the Slip & Drive in the joint list to the left to view the setup for that joint connector.
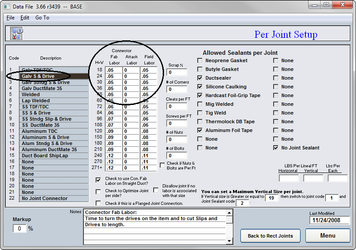
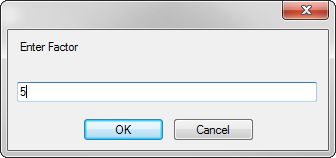
- Make the adjustments to the Fab, Attach, or Field labor. You can either clear the data in there already and type in your new labor hours, or click the column heading and factor the labor up or down by a percentage.
- Click the Menu button and then Exit to save your changes.
©2022 ConstructConnect, Inc. All rights reserved.